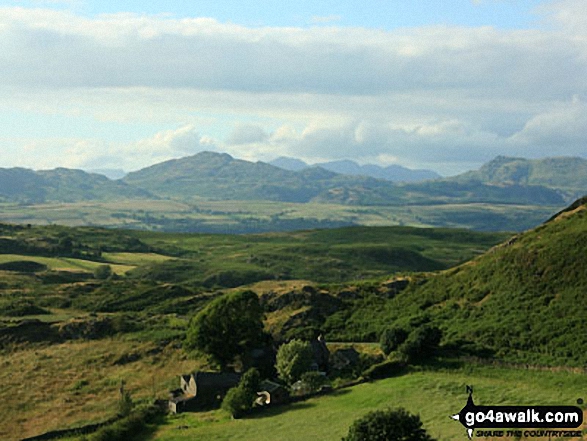
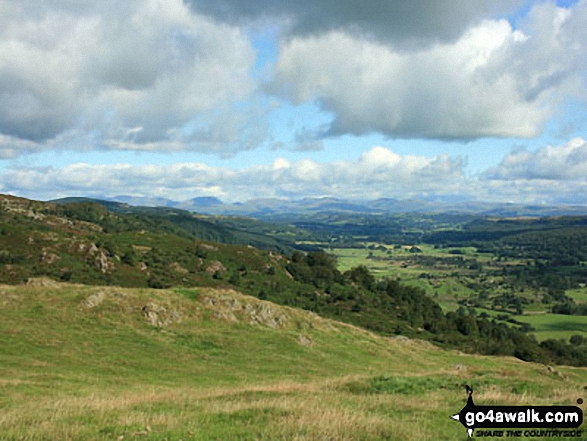
The Southern Marches area of The Lake District National Park - a fully detailed list of all the Mountains, Peaks, Tops and Hills
The Southern Marches area of The Lake District National Park, Cumbria is the area enclosed by:
- The Duddon Esturay to the West
- The River Duddon to Seathwaite (Duddon Valley), the Walna Scar Road to Coniston Village and then the A593 to Ambleside to the North West
- Lake Windermere & the A590 to Morecambe Bay to the East
- Then the Irish Sea to the South
If you count only the Wainwright Outlying Fells there are 34 tops to climb, bag & conquer and the highest point is Walna Scar at 621m (2,038ft).
To see these Mountains, Peaks, Tops and Hills displayed in different ways - see the options in the left-hand column and towards the bottom of this page.
![]() Your Personal Bagging Record for The Southern Marches area of The Lake District
Your Personal Bagging Record for The Southern Marches area of The Lake District
LOG ON and RELOAD this page to show which Mountains, Peaks, Tops and Hills you have already climbed, bagged & conquered [. . . more details]
See this list in: Alphabetical Order‡
| Height Order
To reverse the order select the link again.
Mountain, Peak, Top or Hill:
Bagged

![]()
1. Beacon (Blawith Fells)
255m (836ft)
Beacon (Blawith Fells) is on interactive maps:
A downloadable go4awalk.com PDF Peak Bagging Map featuring Beacon (Blawith Fells) will be available soon. |
![]()
2. Bigland Barrow
183m (601ft)
Bigland Barrow is on interactive maps:
A downloadable go4awalk.com PDF Peak Bagging Map featuring Bigland Barrow will be available soon. |
![]()
3. Blawith Knott
246m (807ft)
Blawith Knott is on interactive maps:
A downloadable go4awalk.com PDF Peak Bagging Map featuring Blawith Knott will be available soon. |
![]()
4. Brant Fell
191m (626ft)
Brant Fell is on interactive maps:
A downloadable go4awalk.com PDF Peak Bagging Map featuring Brant Fell will be available soon. |
![]()
5. Brock Barrow (Top o' Selside)
229m (752ft)
Brock Barrow (Top o' Selside) is on interactive maps:
A downloadable go4awalk.com PDF Peak Bagging Map featuring Brock Barrow (Top o' Selside) will be available soon. |
![]()
6. Burney (Great Burney)
298m (978ft)
Burney (Great Burney) is on interactive maps:
A downloadable go4awalk.com PDF Peak Bagging Map featuring Burney (Great Burney) will be available soon. |
![]()
7. Carron Crag
314m (1,031ft)
Carron Crag is on interactive maps:
A downloadable go4awalk.com PDF Peak Bagging Map featuring Carron Crag will be available soon. |
![]()
8. Cartmel Fell (Raven's Barrow)
152m (499ft)
Cartmel Fell (Raven's Barrow) is on interactive maps:
A downloadable go4awalk.com PDF Peak Bagging Map featuring Cartmel Fell (Raven's Barrow) will be available soon. |
![]()
9. Caw (Dunnerdale Fells)
529m (1,736ft)
Caw (Dunnerdale Fells) is on interactive maps:
A downloadable go4awalk.com PDF Peak Bagging Map featuring Caw (Dunnerdale Fells) will be available soon. |
![]()
10. Claife Heights (High Blind How)
270m (886ft)
Claife Heights (High Blind How) is on interactive maps:
A downloadable go4awalk.com PDF Peak Bagging Map featuring Claife Heights (High Blind How) will be available soon. |
![]()
11. Dunnerdale Fell (Broughton Mills)
280m (919ft)
Dunnerdale Fell (Broughton Mills) is on interactive maps:
A downloadable go4awalk.com PDF Peak Bagging Map featuring Dunnerdale Fell (Broughton Mills) will be available soon. |
![]()
12. Finsthwaite Heights
170m (558ft)
Finsthwaite Heights is on interactive maps:
A downloadable go4awalk.com PDF Peak Bagging Map featuring Finsthwaite Heights will be available soon. |
![]()
13. Grandsire
251m (824ft)
Grandsire is on interactive maps:
A downloadable go4awalk.com PDF Peak Bagging Map featuring Grandsire will be available soon. |
![]()
14. Great Stickle (Dunnerdale Fells)
305m (1,001ft)
Great Stickle (Dunnerdale Fells) is on interactive maps:
A downloadable go4awalk.com PDF Peak Bagging Map featuring Great Stickle (Dunnerdale Fells) will be available soon. |
![]()
15. Great Worm Crag
427m (1,401ft)
Great Worm Crag is on interactive maps:
A downloadable go4awalk.com PDF Peak Bagging Map featuring Great Worm Crag will be available soon. |
![]()
16. Green Pikes (Caw)
420m (1,378ft)
Green Pikes (Caw) is on interactive maps:
A downloadable go4awalk.com PDF Peak Bagging Map featuring Green Pikes (Caw) will be available soon. |
![]()
17. Gummer's How
321m (1,054ft)
Gummer's How is on interactive maps:
A downloadable go4awalk.com PDF Peak Bagging Map featuring Gummer's How will be available soon. |
![]()
18. Hampsfell
221m (725ft)
Hampsfell is on interactive maps:
A downloadable go4awalk.com PDF Peak Bagging Map featuring Hampsfell will be available soon. |
![]()
19. High Light Haw (Top o' Selside)
259m (850ft)
High Light Haw (Top o' Selside) is on interactive maps:
A downloadable go4awalk.com PDF Peak Bagging Map featuring High Light Haw (Top o' Selside) will be available soon. |
![]()
20. Humphrey Head
53m (173ft)
Humphrey Head is on interactive maps:
A downloadable go4awalk.com PDF Peak Bagging Map featuring Humphrey Head will be available soon. |
![]()
21. Latterbarrow
244m (801ft)
Latterbarrow is on interactive maps:
A downloadable go4awalk.com PDF Peak Bagging Map featuring Latterbarrow will be available soon. |

![]()
22. Low Light Haw (Top o' Selside)
245m (804ft)
Low Light Haw (Top o' Selside) is on interactive maps:
A downloadable go4awalk.com PDF Peak Bagging Map featuring Low Light Haw (Top o' Selside) will be available soon. |
![]()
23. Pikes (Caw)
469m (1,539ft)
Pikes (Caw) is on interactive maps:
A downloadable go4awalk.com PDF Peak Bagging Map featuring Pikes (Caw) will be available soon. |
![]()
24. Raven's Crag (Stickle Pike)
361m (1,185ft)
Raven's Crag (Stickle Pike) is on interactive maps:
A downloadable go4awalk.com PDF Peak Bagging Map featuring Raven's Crag (Stickle Pike) will be available soon. |
![]()
25. School Knott
232m (761ft)
School Knott is on interactive maps:
A downloadable go4awalk.com PDF Peak Bagging Map featuring School Knott will be available soon. |
![]()
26. Staveley Fell
265m (870ft)
Staveley Fell is on interactive maps:
A downloadable go4awalk.com PDF Peak Bagging Map featuring Staveley Fell will be available soon. |
![]()
27. Stickle Pike (Dunnerdale Fells)
375m (1,230ft)
Stickle Pike (Dunnerdale Fells) is on interactive maps:
A downloadable go4awalk.com PDF Peak Bagging Map featuring Stickle Pike (Dunnerdale Fells) will be available soon. |
![]()
28. Tarn Hill (Dunnerdale Fells)
311m (1,020ft)
Tarn Hill (Dunnerdale Fells) is on interactive maps:
A downloadable go4awalk.com PDF Peak Bagging Map featuring Tarn Hill (Dunnerdale Fells) will be available soon. |
![]()
29. The Knott (Dunnerdale Fells)
284m (932ft)
The Knott (Dunnerdale Fells) is on interactive maps:
A downloadable go4awalk.com PDF Peak Bagging Map featuring The Knott (Dunnerdale Fells) will be available soon. |
![]()
30. Top o' Selside
335m (1,099ft)
Top o' Selside is on interactive maps:
A downloadable go4awalk.com PDF Peak Bagging Map featuring Top o' Selside will be available soon. |
![]()
31. Tottlebank Height
229m (752ft)
Tottlebank Height is on interactive maps:
A downloadable go4awalk.com PDF Peak Bagging Map featuring Tottlebank Height will be available soon. |
![]()
32. Walna Scar
621m (2,038ft)
Walna Scar is on interactive maps:
A downloadable go4awalk.com PDF Peak Bagging Map featuring Walna Scar will be available soon. |
![]()
33. Wool Knott (Woodland Fell)
213m (699ft)
Wool Knott (Woodland Fell) is on interactive maps:
A downloadable go4awalk.com PDF Peak Bagging Map featuring Wool Knott (Woodland Fell) will be available soon. |
![]()
34. Yew Bank (Blawith Fells)
207m (679ft)
Yew Bank (Blawith Fells) is on interactive maps:
A downloadable go4awalk.com PDF Peak Bagging Map featuring Yew Bank (Blawith Fells) will be available soon. |
View these 34 Mountains, Peaks, Tops and Hills:
- On an Interactive Google Map with a list of tops below it.
(makes it easier to locate a particular top) - On a Detailed List in:
Alphabetical Order | Height Order - On one page with 'yet-to-be-bagged' listed 1st
& then 'already-bagged' tops listed 2nd in:
Alphabetical Order | Height Order - On one page with 'already-bagged' tops listed 1st
& then 'yet-to-be-bagged' tops listed 2nd in:
Alphabetical Order | Height Order
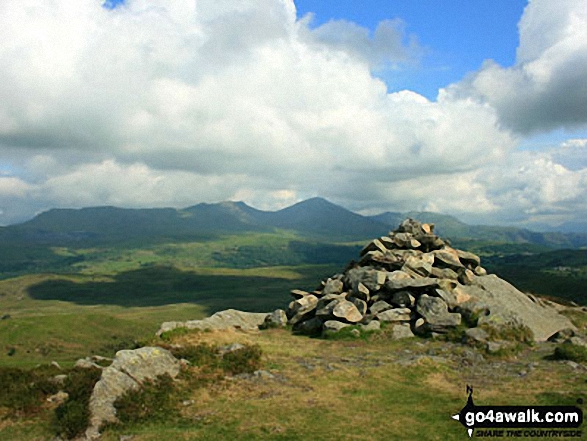
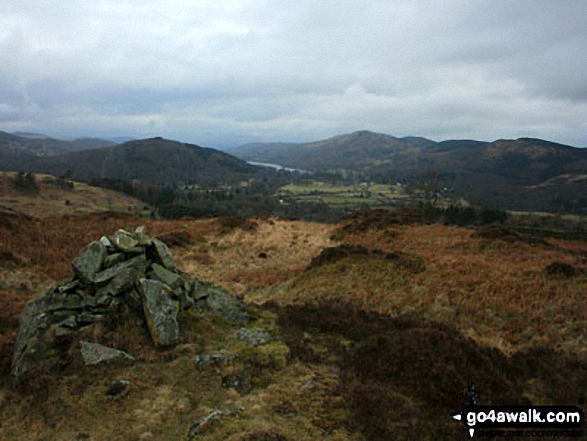
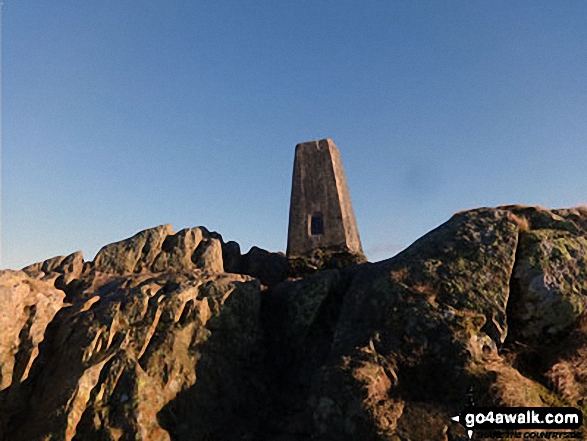
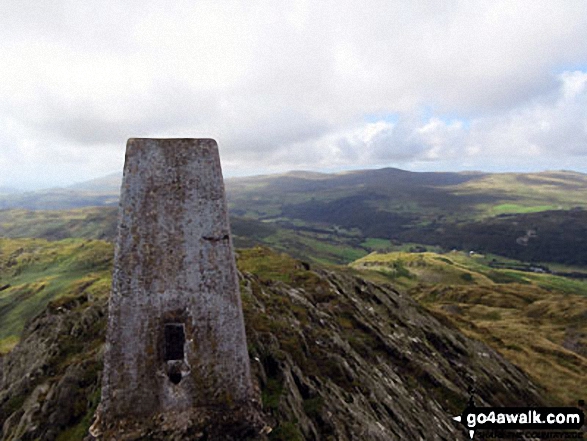
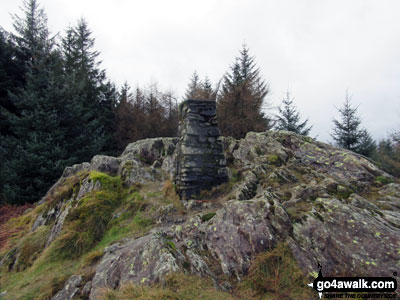
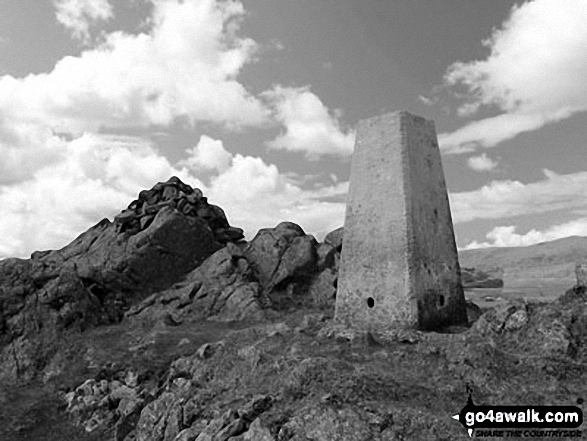
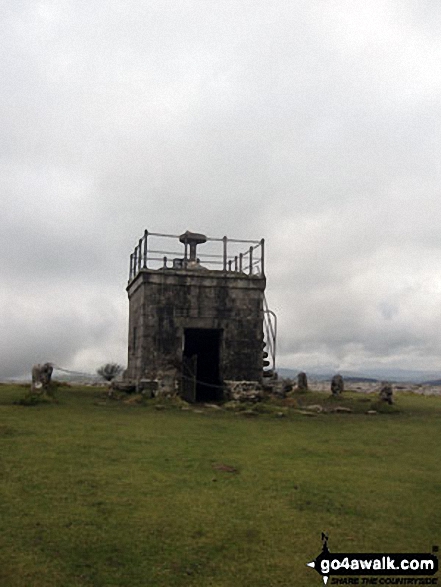
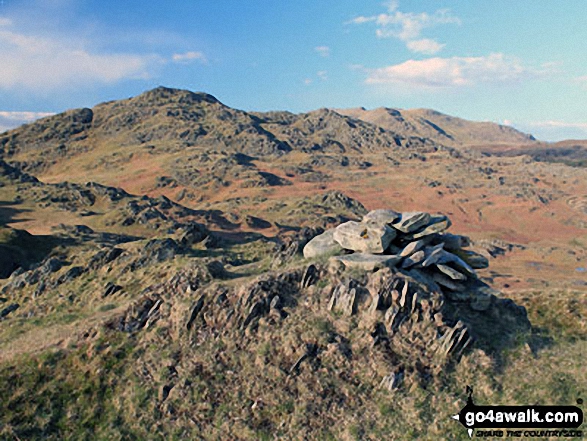
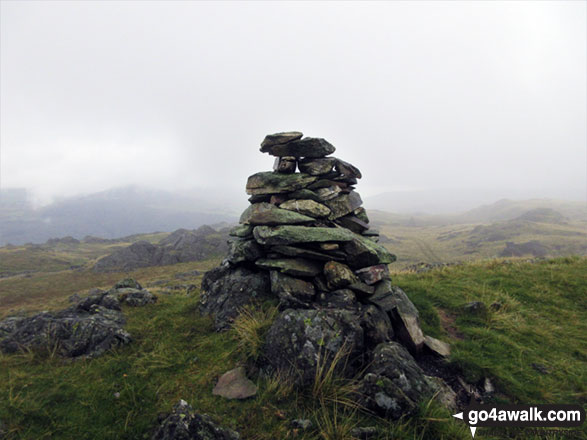
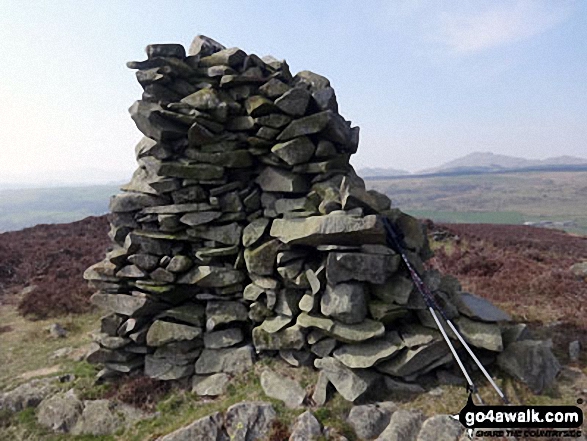
 The summit of Walna Scar in The Southern Marches area of The Lake District
Photo: Christine Shepherd
Is there a Mountain, Peak, Top or Hill missing from the above google map or list?
Let us know an we will add it to our database.

To contribute to go4awalk.com or to contact us about anything at all - see Talk To Us.
For help see Help.
go4awalk.com and go4awalk.co.uk are registered trademarks of TMDH Limited.
Copyright © 2000-2026 TMDH Limited. All rights reserved.
Copyright Terms & Conditions Privacy Statement
A - Z Walks Home Log On/Accounts Photo Gallery Walk Ideas and Collections Fell Facts Hill Skills Walking Questions and Answers Your Stories News Competitions Product Reviews/Gear Tests Walking Gear Guides Peaks and Mountains Peak Bagging Find New Walking Friends Camping GPS Waypoints for Walking Contents Walk Search Talk To Us go4awalk.com Help Free Example Walks Newsletter