![]()
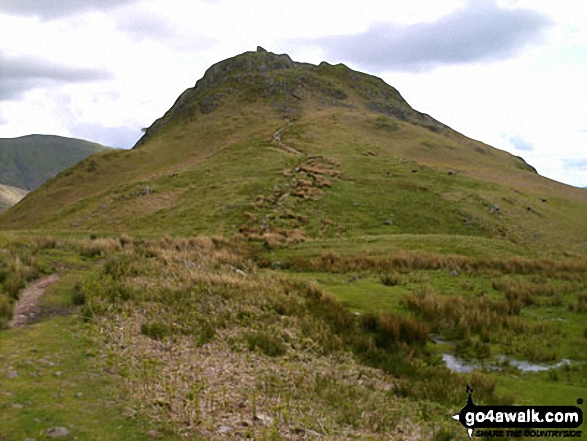
Helm Crag
396m (1300ft)
The Central Fells, The Lake District, Cumbria, England
Tap/mouse over a coloured circle (1-3 easy walks, 4-6 moderate walks, 7-9 hard walks) and click to select.

Not familiar with this top?
   |
|---|
Vital Statistics:
| Length: | 3.75ml (6km) |
|---|---|
| Ascent: | 1,201ft (366m) |
| Time: | 3 hrs |
| Grade: |  (Easy) (Easy) |
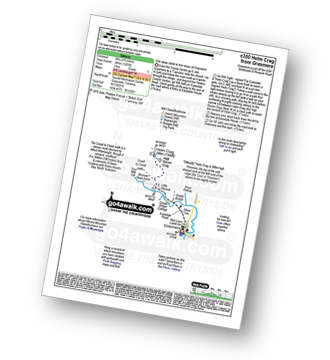
Route Summary:
Grasmere - Goody Bridge - Wainwright's Coast to Coast Walk - Easedale House - High Raven Crag - Helm Crag - The Lion and The Lamb - The Howitzer - Goody Bridge - Grasmere
|
|---|
Vital Statistics:
| Length: | 8.5ml (13.5km) |
|---|---|
| Ascent: | 2,435ft (742m) |
| Time: | 5½ hrs |
| Grade: |  (Moderate) (Moderate) |
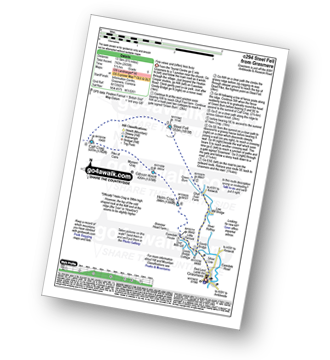
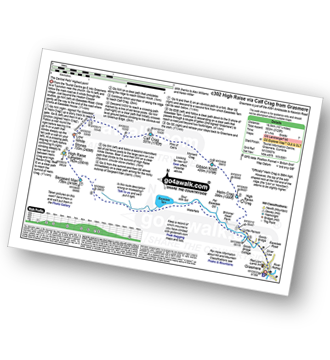
Route Summary:
Grasmere - Goody Bridge - Ghyll Foot Farm - Green Burn - Greenburn Bottom - Contra Breast - Dead Pike - Steel Fell (Dead Pike) - Brownrigg Moss - Calf Crag - Gibson Knott - Helm Crag - The Lion and The Lamb - The Howitzer - High Raven Crag - Grasmere
|
|---|
Vital Statistics:
| Length: | 8.75ml (14km) |
|---|---|
| Ascent: | 2,212ft (674m) |
| Time: | 5½ hrs |
| Grade: | (Moderate) |
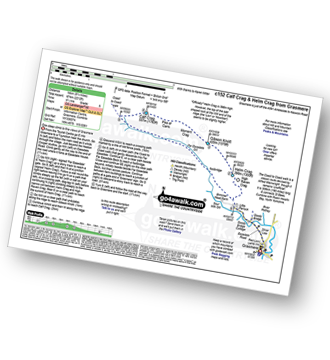
Route Summary:
Grasmere - Goody Bridge - High Raven Crag - Helm Crag - The Lion and The Lamb - The Howitzer - Gibson Knott - Calf Crag - Wainwright's Coast to Coast Walk - Brownrigg Moss - Moor Moss - Far Easdale Gill - Goody Bridge - Grasmere
|
|---|
Vital Statistics:
| Length: | 10.25ml (16.5km) |
|---|---|
| Ascent: | 3,128ft (953m) |
| Time: | 6.75hrs |
| Grade: |  (Hard) (Hard) |
Route Summary:
Grasmere - Goody Bridge - High Raven Crag - Helm Crag - The Lion and The Lamb - The Howitzer - Gibson Knott - Calf Crag - Brownrigg Moss - Greenup Edge - High Raise (Langdale) - Sergeant Man - Belles Knott - Coledale Tarn - Easedale Tarn - Sour Milk Gill - Easedale - Grasmere
See Helm Crag and the surrounding tops on our free-to-access 'Google Style' Peak Bagging Maps:
The Central Fells of The Lake District National Park
Less data - quicker to download
The Whole of The Lake District National Park
More data - might take a little longer to download
See Helm Crag and the surrounding tops on our downloadable Peak Bagging Maps in PDF format:

NB: Whether you print off a copy or download it to your phone, these PDF Peak Baggers' Maps might prove incredibly useful when your are up there on the tops and you cannot get a phone signal.
*This version is marked with the walk routes you need to follow to Walk all 214 Wainwrights in just 59 walks.
You can find Helm Crag & all the walks that climb it on these unique free-to-access Interactive Walk Planning Maps:
1:25,000 scale OS Explorer Maps (orange/yellow covers):
1:50,000 scale OS Landranger Map (pink/magenta covers):
 Fellow go4awalkers who have already walked, climbed, summited & bagged Helm Crag
Nick Tippins walked up Helm Crag on July 3rd, 2025 [from/via/route] c294: Steel Fell from Grasmere [with] Fran
Christine Shepherd climbed Helm Crag during August, 1972 [from/via/route] Walked from Grasmere [with] A group from Forest Side CHA [weather] Hot & sunny - This is the first Wainwright that I remember bagging aged 12. I have climbed it many times since; October 93, March 04, & 5.4.07. My next visit was coming down off my final Wainwright a walk that I chose especially because it ended with my 'first' fell. Climbed again in February 2019 while Peter was at Allen Banks. On 19.6.25 I chose Helm Crag as the first fell after having a hip replacement. Repeated walk c294 solo on 14.07.2022
Julian Parry bagged Helm Crag on February 12th, 2020 [from/via/route] c294 [with] Nuno
Sarah Gunn hiked Helm Crag on April 15th, 2025 [with] Martin Gunn
David Higginbottom summited Helm Crag on October 2nd, 2024 [from/via/route] C294 [with] Carolyn [weather] Clear - A little boggy
James Hughes conquered Helm Crag on March 17th, 2024 [from/via/route] c294 Steel Fell from Grasmere [weather] Misty climb cleared towards end - Parked at Swan Inn. Misty climb up Steel Fell, some indecision across to Calf Crag.
Martyn Atherton scaled Helm Crag on January 22nd, 2023 [from/via/route] From Grasmere to Steel Fell, Calf Crag, Gibson Knot, Helm Crag [with] Martyn [weather] Overcast, cold & snow
Claire Kirk walked up Helm Crag on April 21st, 2024 [from/via/route] Grasmere [with] Gareth [weather] Fine
Pete George climbed Helm Crag on May 20th, 2023 [from/via/route] Grasmere [with] Roco [weather] Warm but misty - Roco injured on this fell.
Kevin Whelan has bagged Helm Crag [with] Charlie & Sam
To add (or remove) your name and experiences on this page - Log On and edit your Personal Mountain Bagging Record
. . . [see more walk reports]
More Photographs & Pictures of views from, on or of Helm Crag
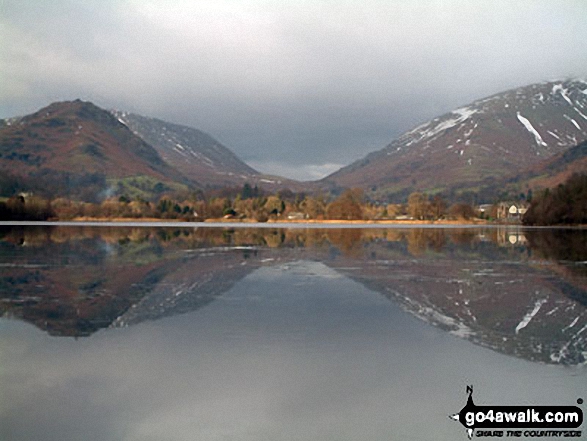
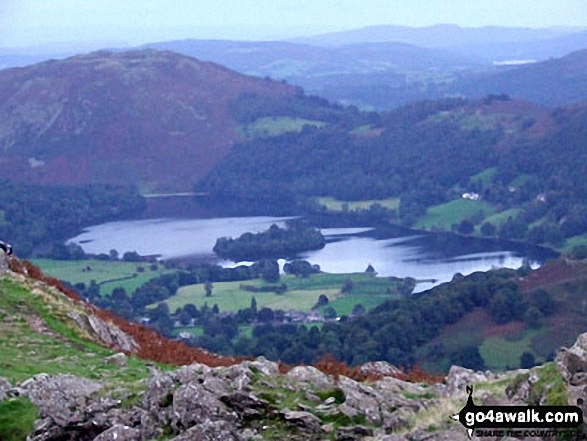
Helm Crag & Steel Fell (left), Grasmere Village & Dunmail Raise (centre) and Seat Sandal (right) beautifully reflected in Grasmere
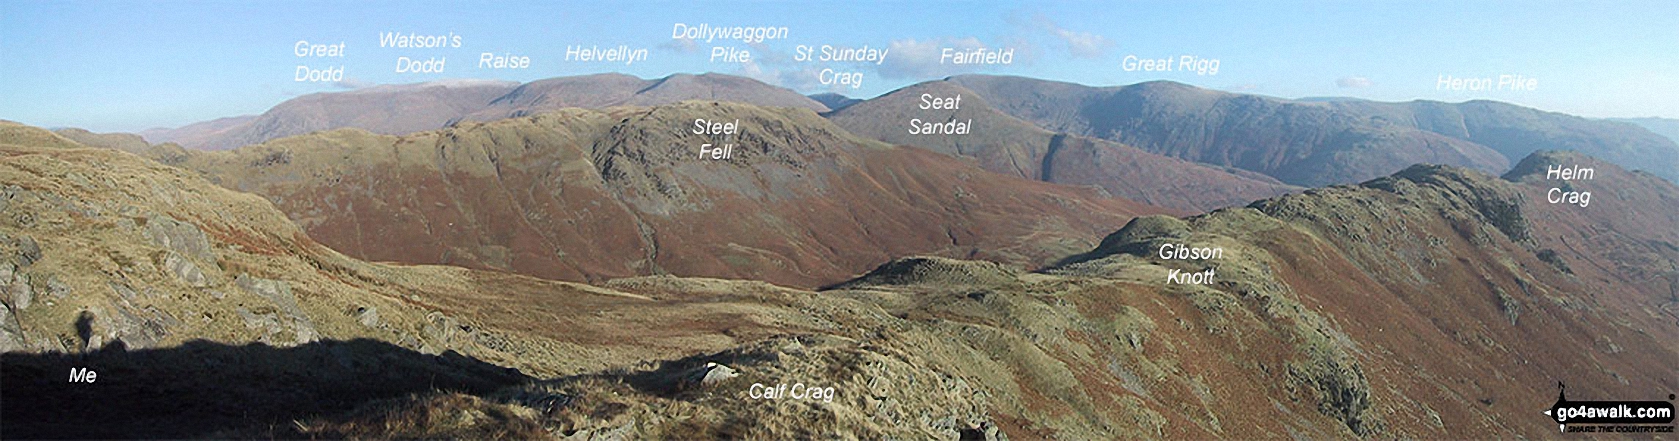
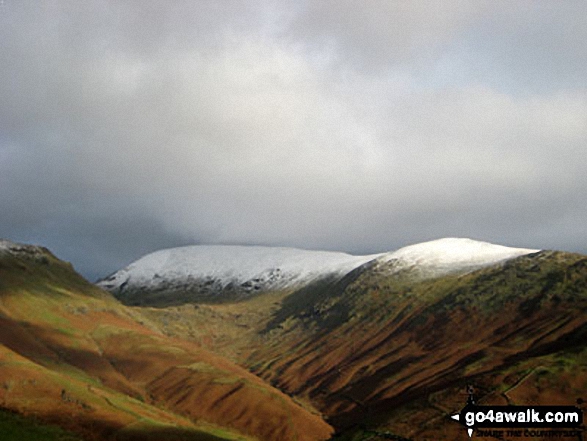
The Helvellyn Ridge featuring: Great Dodd, Watson's Dodd, Stybarrow Dodd, Raise (Helvellyn), White Side, Helvellyn, Nethermost Pike, Dollywaggon Pike, St Sunday Crag, Fairfield, Great Rigg and Heron Pike with Steel Fell (mid distance) and Calf Crag, Gibson Knott and Helm Crag (foreground) from Brownrigg Moss
Steel Fell, Gibson Knott and Helm Crag below Seat Sandal (with Helvellyn and Fairfield in mist beyond) from Tarn Crag summit cairn
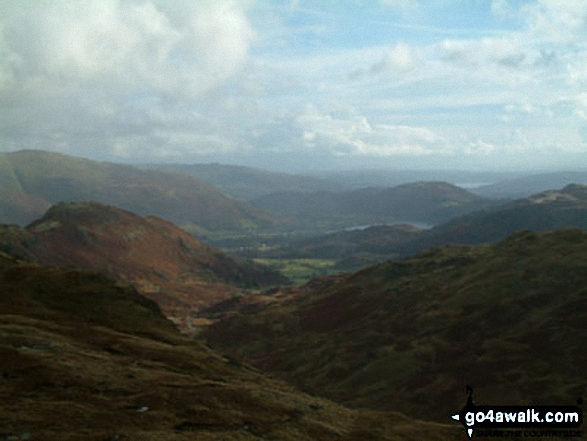
Looking down to Alcock Tarn from near Heron Pike with Helm Crag, Gibson Knott and Steel Fell beyond
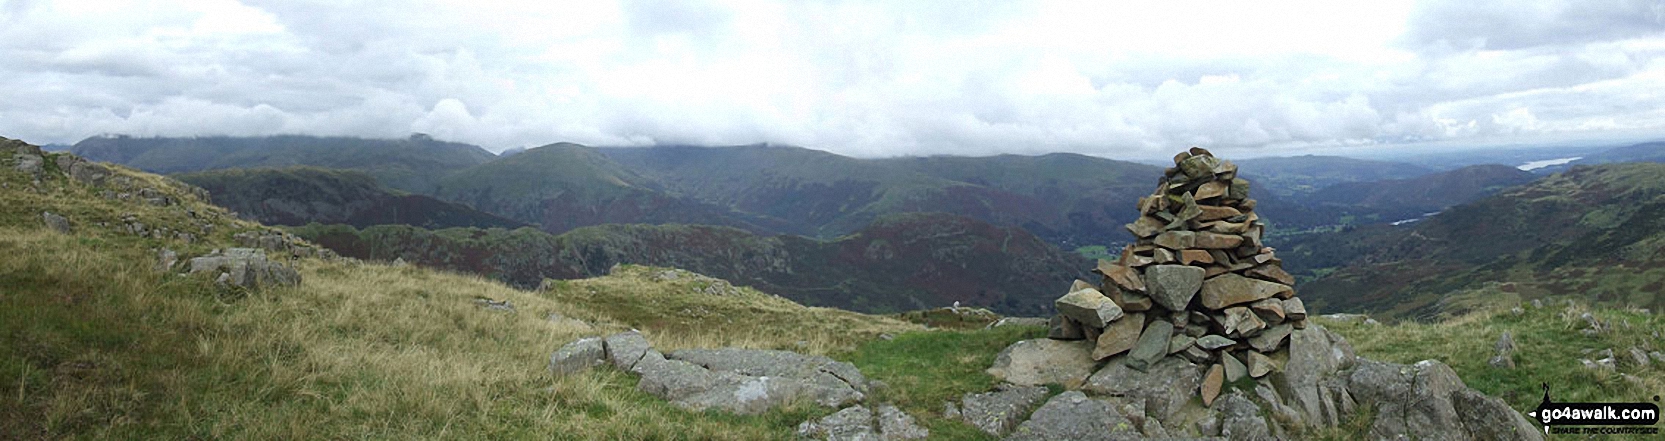
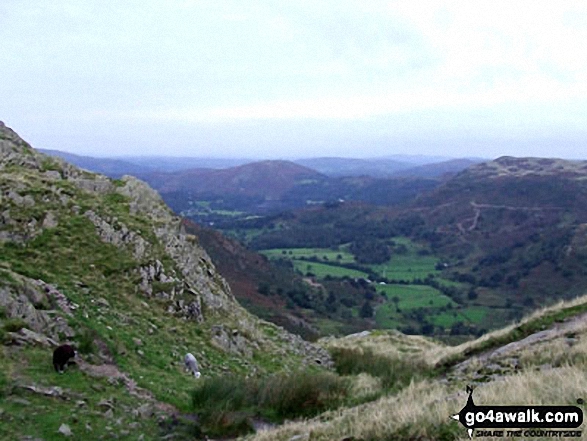
High Raise (Langdale) (centre), Coledale Head, Calf Crag and Gibson Knott (far right) above Grasmere Common from Helm Crag
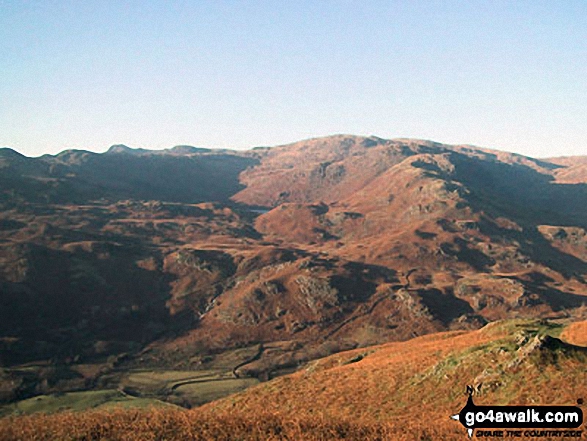
High Raise (Langdale) and Coledale Head beyond Grasmere Common from Helm Crag

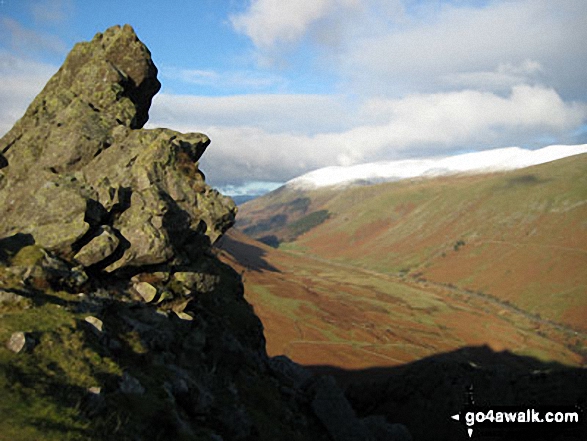
Helvellyn (centre left) and Seat Sandal (right) above The Pass of Dunmail Raise from Helm Crag

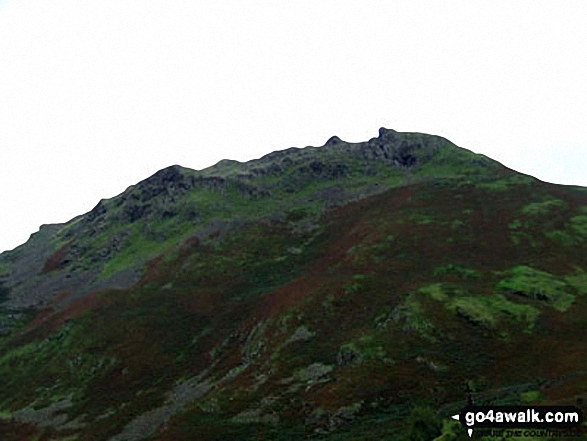
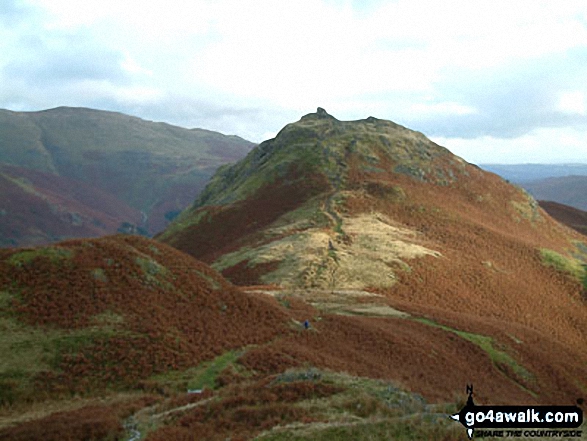
Looking down the ridge from Steel Fell (Dead Pike) with Helm Crag to the right
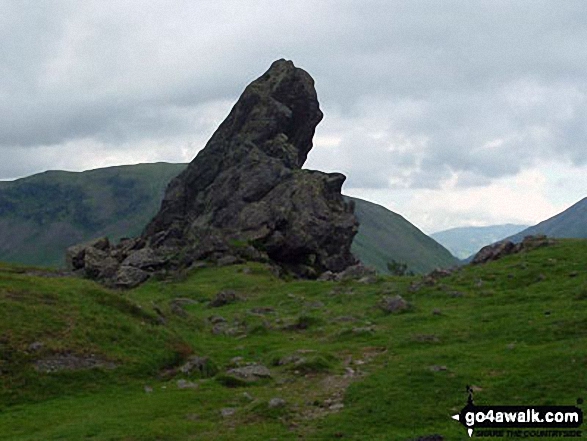


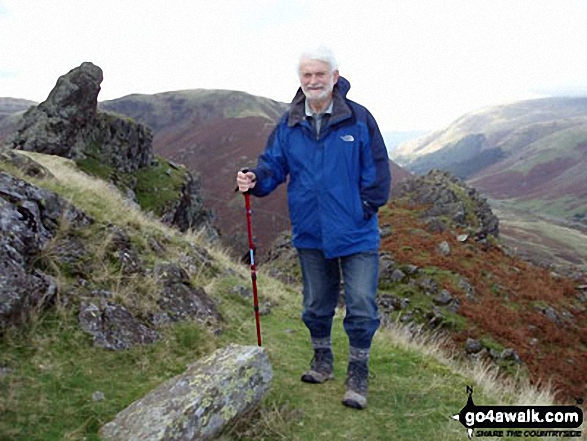
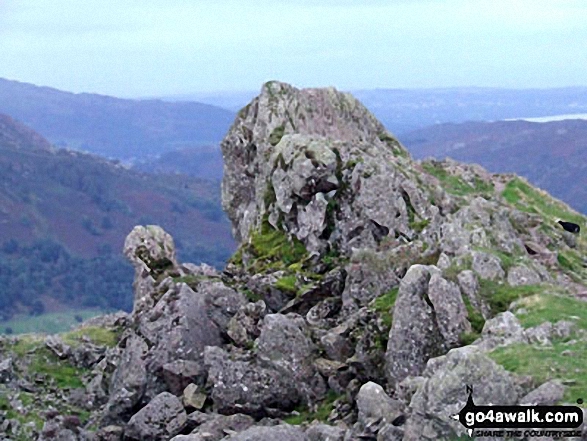
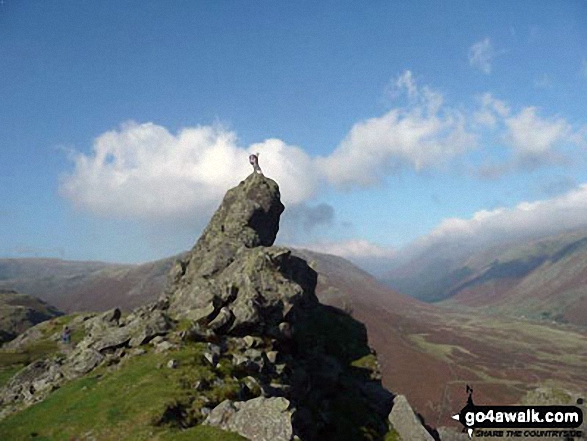
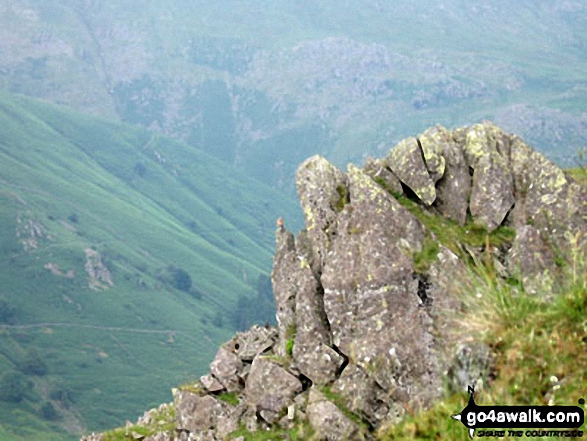
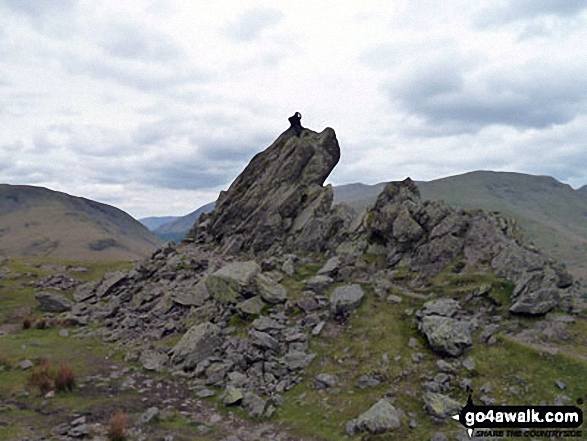
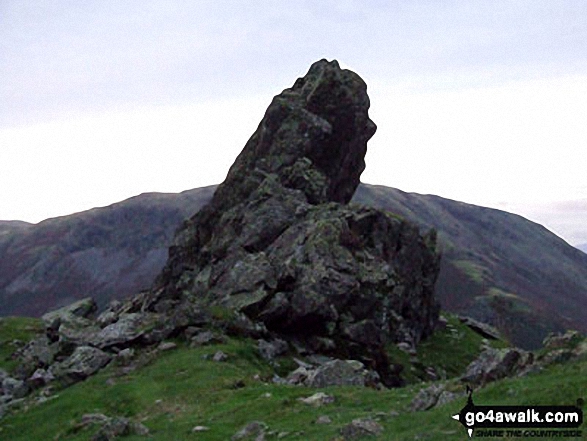
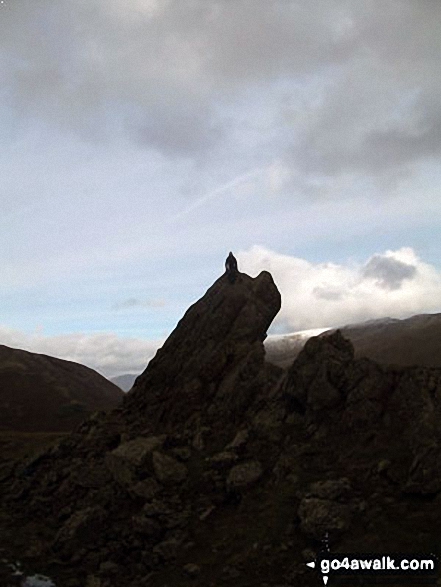
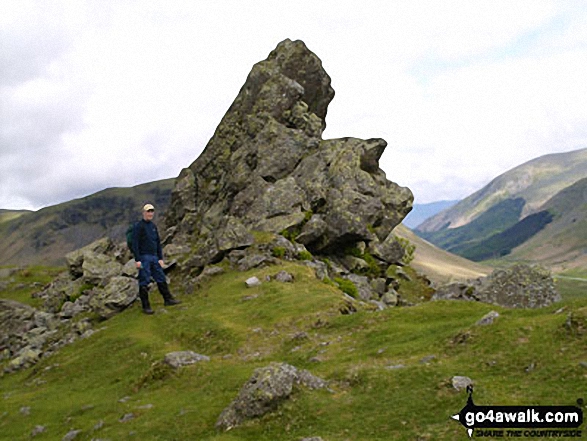
The Howitzer on Helm Crag with Helvellyn and The Pass of Dunmail Raise beyond
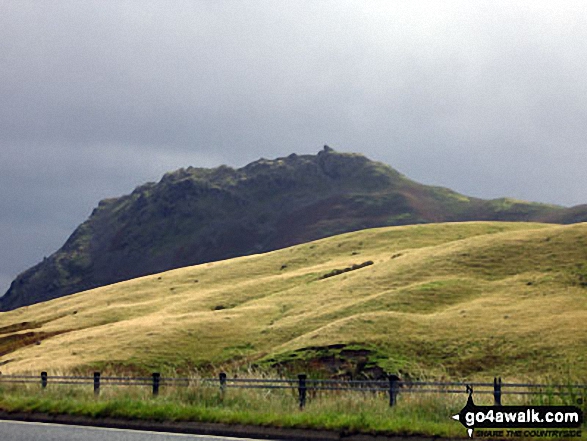
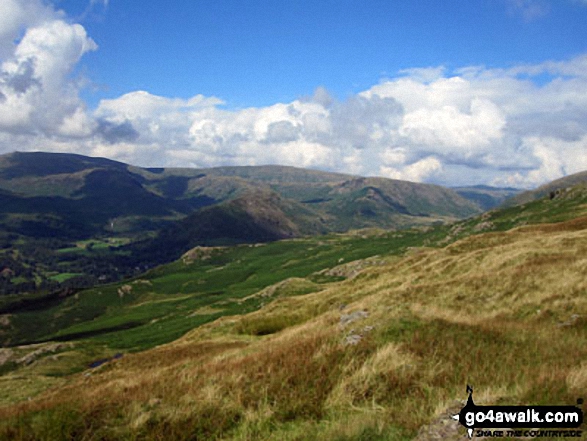
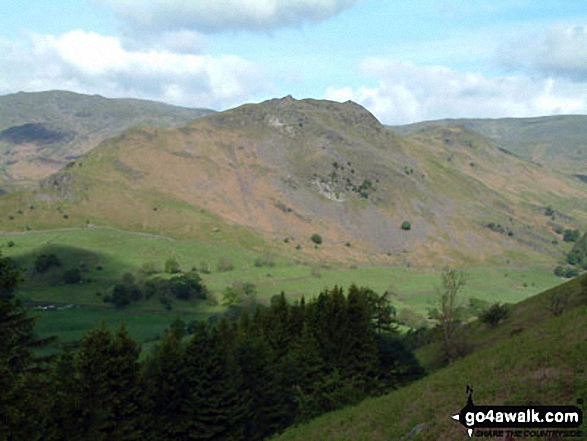
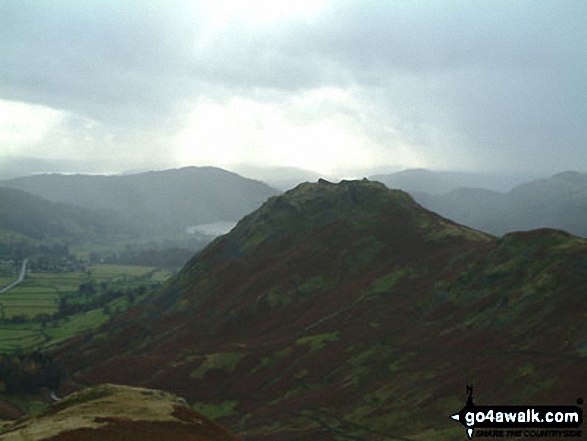
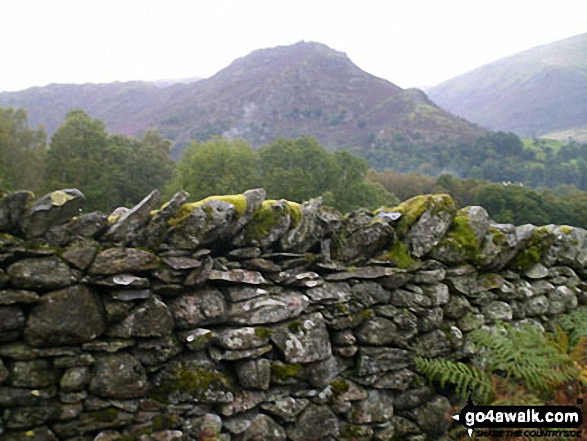
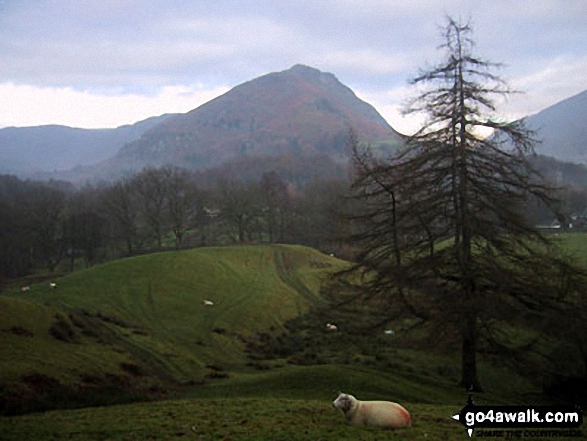
Looking across Greenburn Bottom to Helm Crag from Steel Fell (Dead Pike)

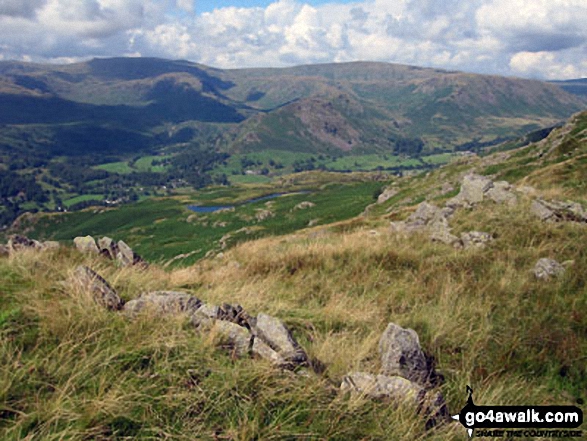
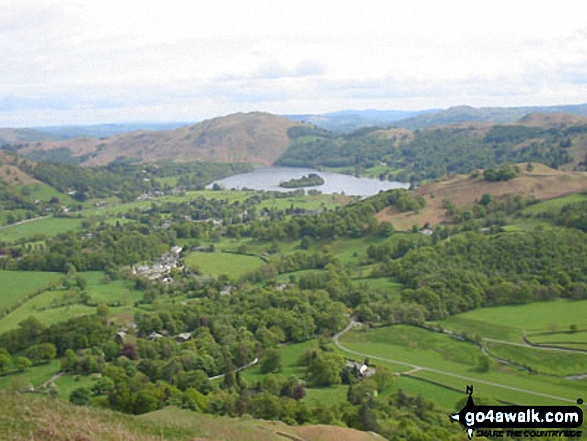
Grasmere from the summit of Steel Fell (Dead Pike) with Helm Crag right of centre
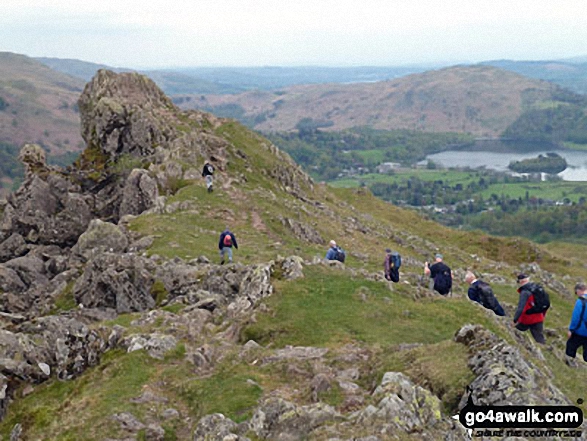
Runaway Ramblers from Bury approach 'The Lion and the Lamb' on Helm Crag

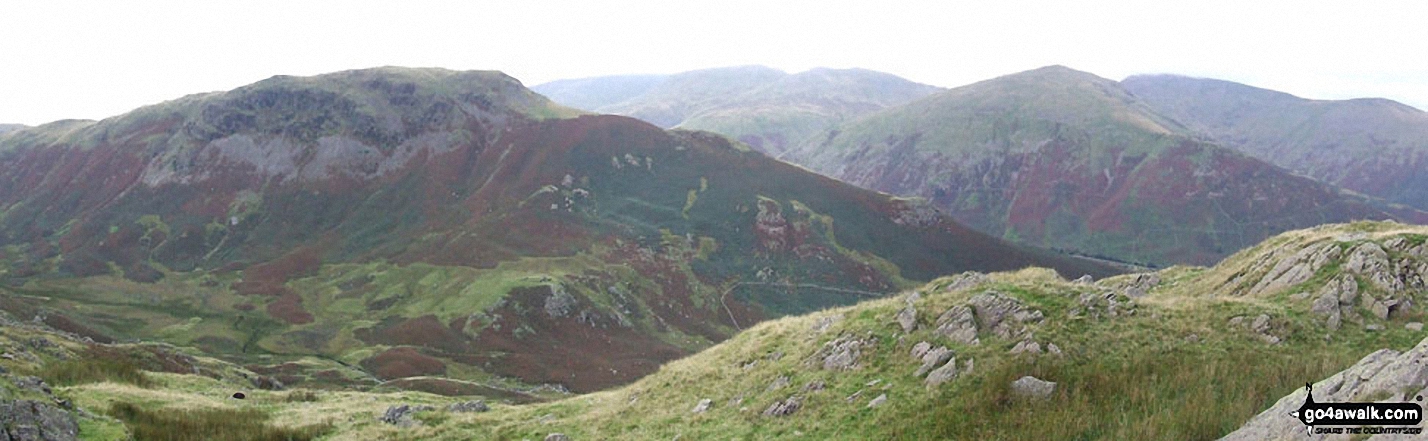
Helm Crag, Gibson Knott, Calf Crag, Greenup Edge and The Wythburn Fells from Steel Fell (Dead Pike) summit cairn
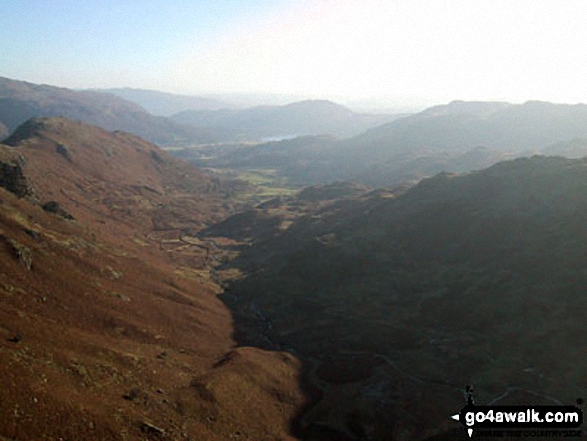
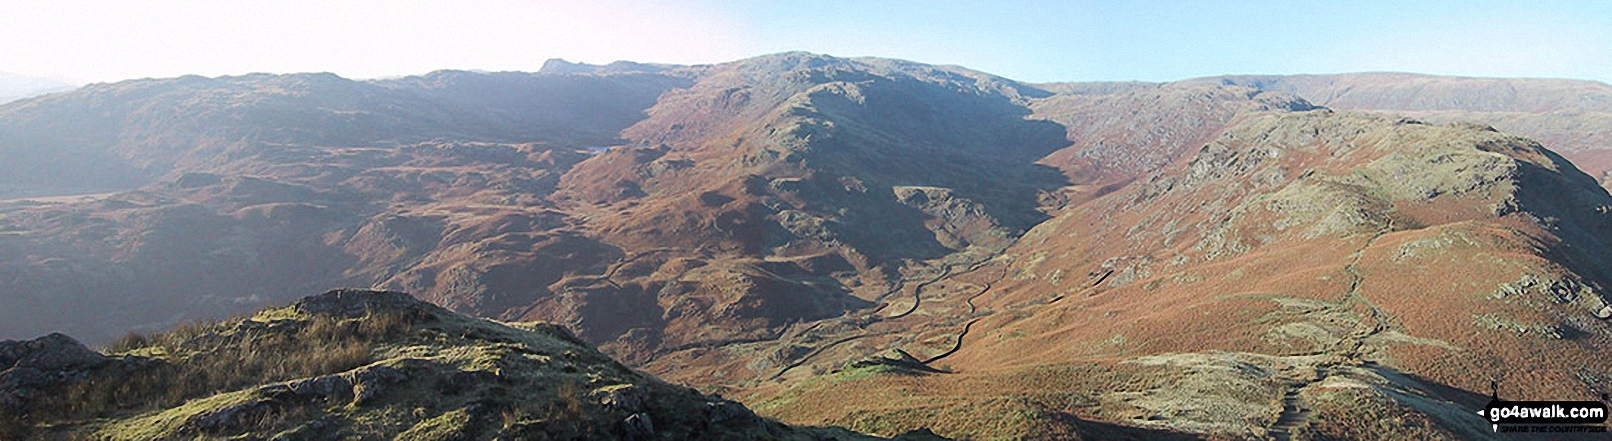
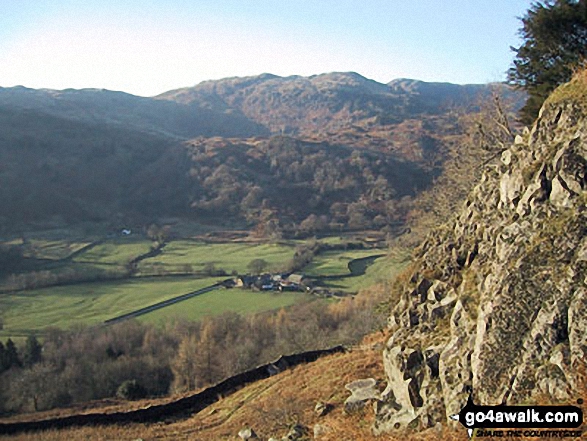
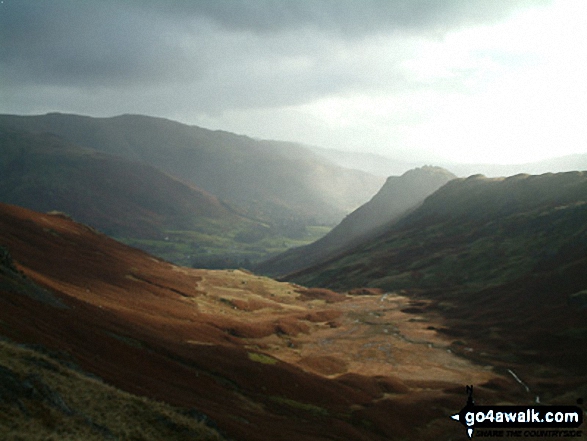
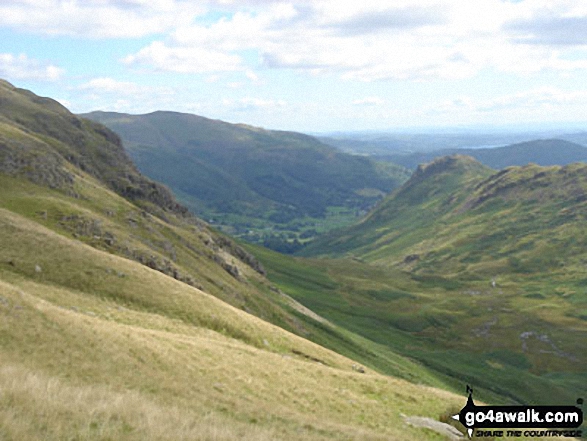
The Far Easdale Valley with Helm Crag (left) and Loughrigg (centre distance) from Brownrigg Moss
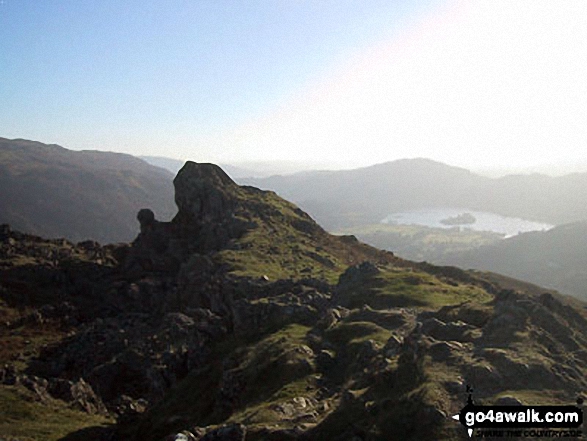
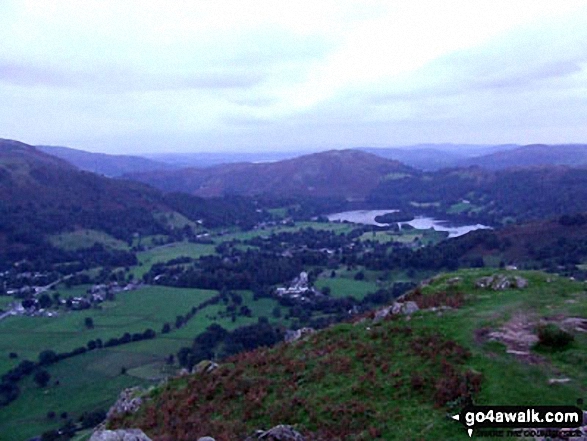
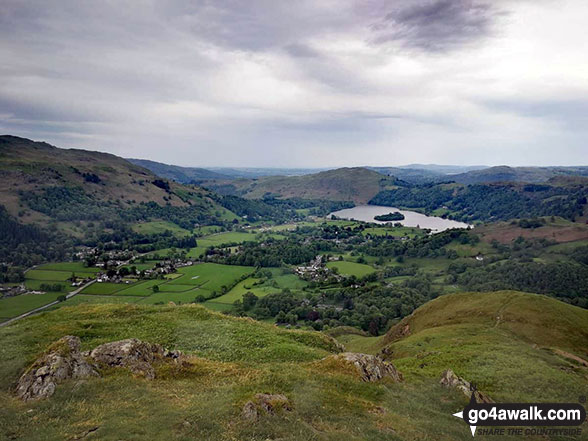
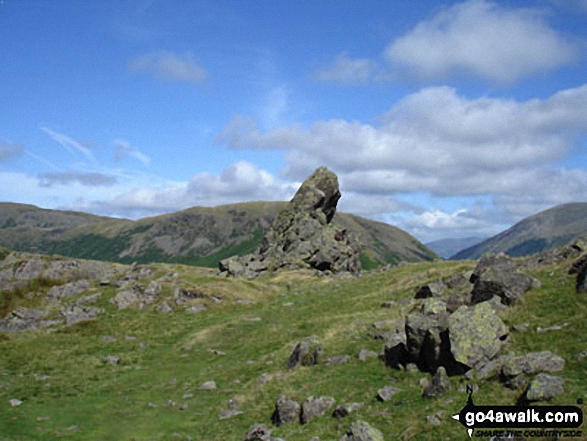
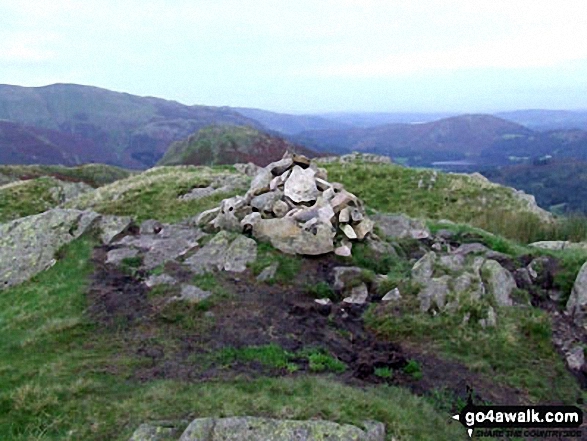
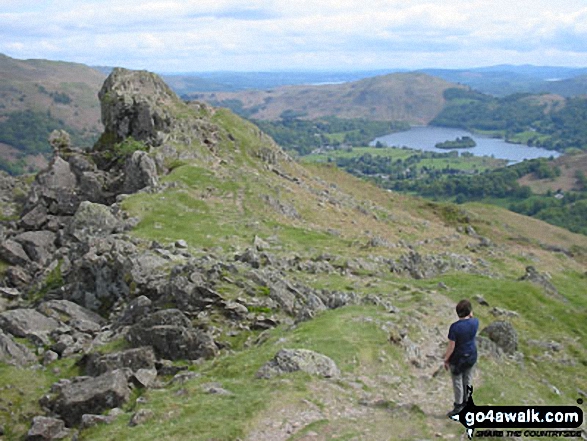
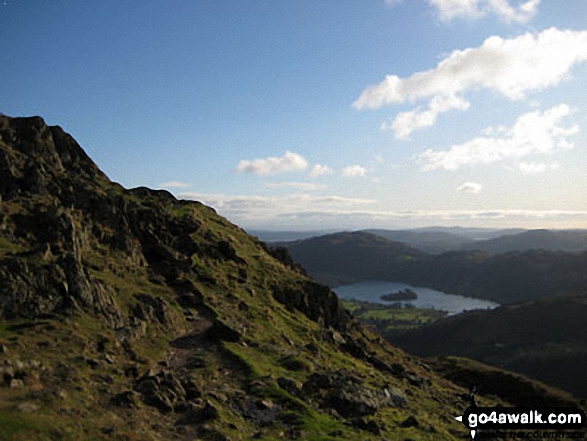
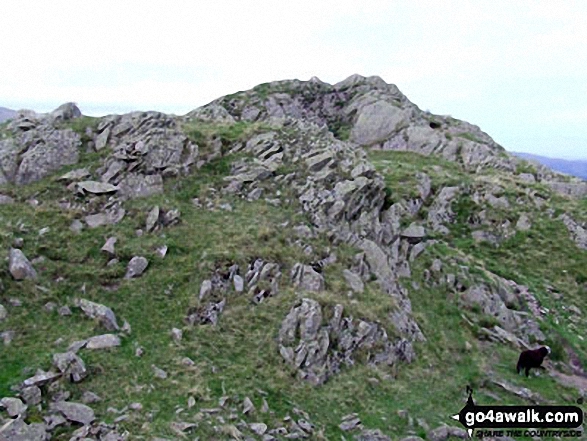
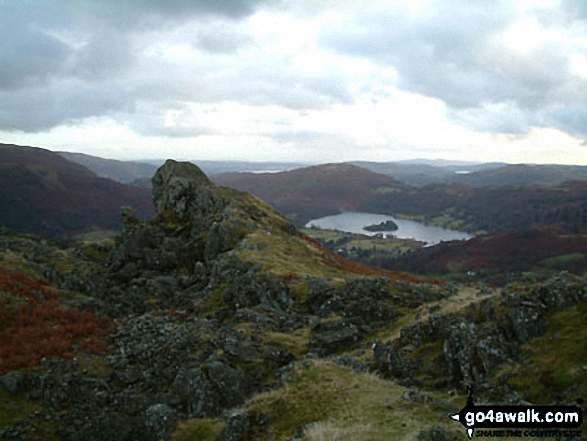
The Howitzer and the Lion and the Lamb on the summit of Helm Crag with Loughrigg and Grasmere in the background
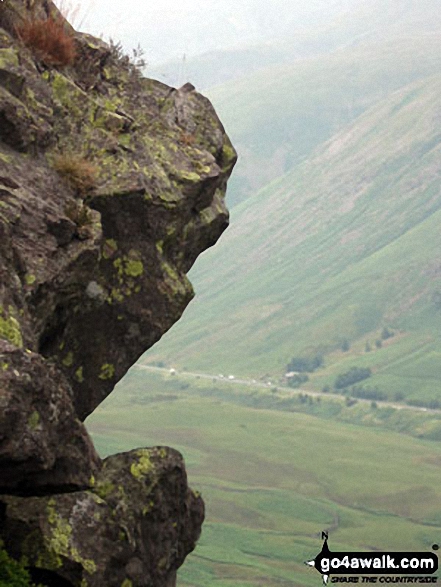
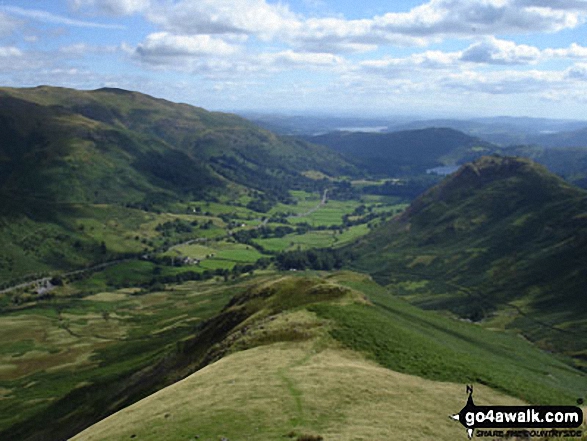
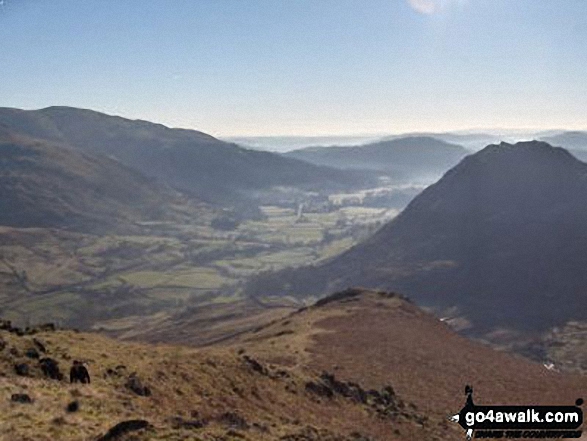
Looking down from Helm Crag past the Howitzer on to Dunmail Raise and the A591 Ambleside to Keswick Road

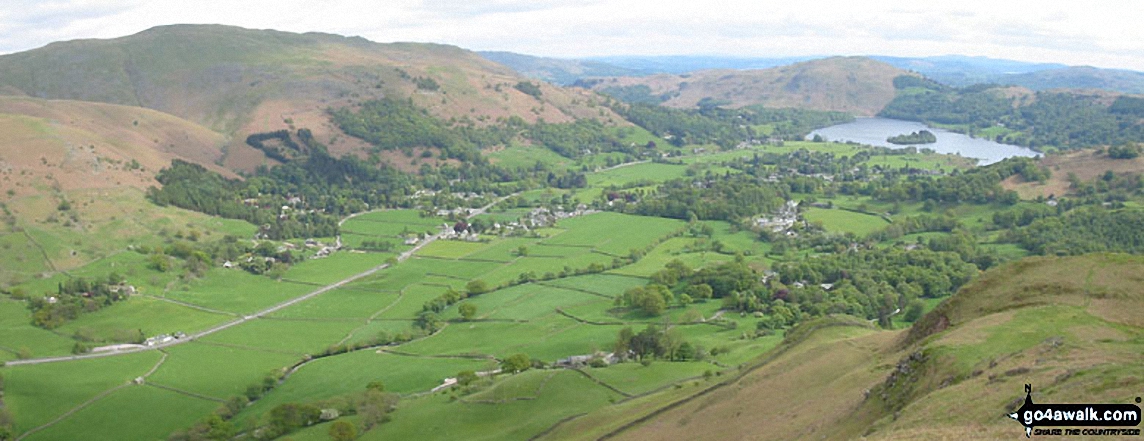
Helm Crag, Seat Sandal, Grisedale Hause, Fairfield, Great Rigg, Stone Arthur, Heron Crag, Nab Scar, Loughrigg and Grasmere above The Pass of Dunmail Raise from the top of High Raven Crag


Grasmere, Silver How, Lang How, Blea Rigg, Easedale Tarn, The LAngdale Pikes, Codale Head, Gibson Knott and Calf Crag from Helm Crag summit cairn
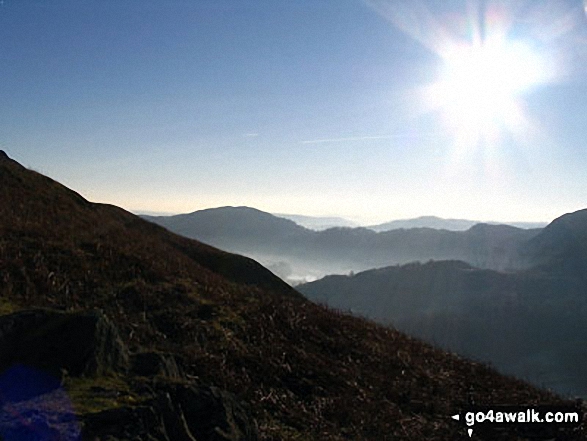
Early morning mist over Grasmere with Heron Pike (left) and Helm Crag (right) from Steel Fell (Dead Pike)
. . . see just 20 walk photographs & pictures of views from, on or of Helm Crag
Send us your photographs and pictures on, of, or from Helm Crag
If you would like to add your walk photographs and pictures featuring views from, on or of Helm Crag to this page, please send them as email attachments (configured for any computer) along with your name to:
and we shall do our best to publish them.
(Guide Resolution = 300dpi. At least = 660pixels (wide) x 440 pixels (high).)

You can also submit photos via our Facebook Page.
NB. Please indicate where each photo was taken and whether you wish us to credit your photos with a Username or your First Name/Last Name.
Not familiar with this top?