   |
Vital Statistics:
| Length: | 9½mls (15km) |
| Ascent: | 3,523ft (1,074m) |
| Time: | 7hrs |
| Grade: |  |
Route outline for walk c179:
Walna Scar Road (nr Seathwaite (Duddon Valley) - Long Houses - Brown Pike - Dow Crag - Goat's Hawse - The Old Man of Coniston - Brim Fell - Levers Hawse - Swirl Band - Swirl How - Great Carrs - Grey Friar - Seathwaite Tarn - Walna Scar Road.
Peaks, Summits and Tops reached on this walk:
 4 English Mountains |
 6 Wainwrights |
 6 English Nuttalls |
 0 English Deweys |
 0 Wainwright Outlying Fells |
 1 Marilyn |
 0 Bridgets |
Peak Bagging Statistics for this walk:
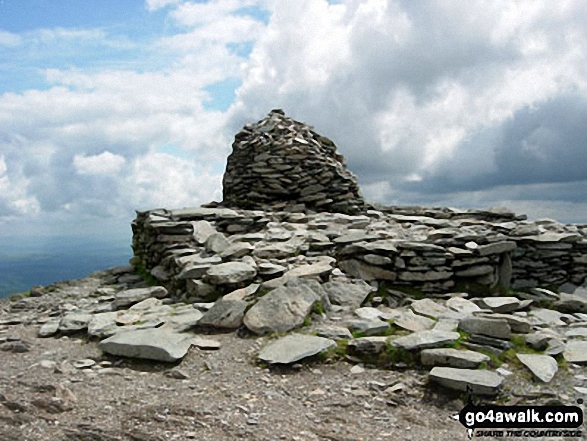
The highest point of this walk is The Old Man of Coniston at 802m (2633ft). The Old Man of Coniston is classified as an English Mountain (Hewitt) (41st highest in England, 75th highest in England & Wales) and a Wainwright (No. 30).
The Old Man of Coniston is also known as an English Nuttall (48th highest in England, 90th highest in England & Wales) and an English Marilyn (14th highest in England, 387th highest in the UK).
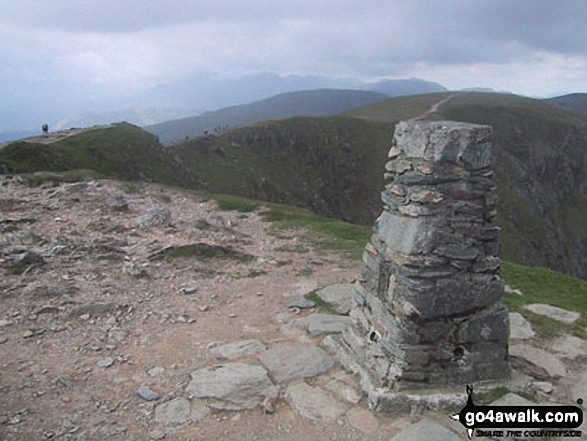
The summit of The Old Man of Coniston is marked by an Ordnance Survey Trig Point.
Completing this walk will also take you to the top of Swirl How at 802m (2633ft). Swirl How is classified as an English Mountain (Hewitt) (40th highest in England, 74th highest in England & Wales) and a Wainwright (No. 32).
Swirl How is also known as an English Nuttall (47th highest in England, 89th highest in England & Wales).
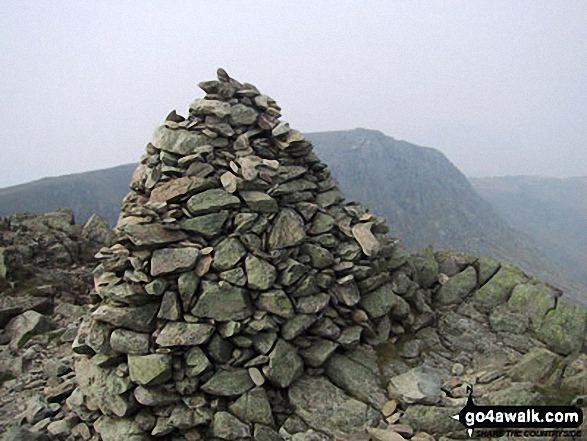
You will also reach the summit of Brim Fell at 796m (2612ft). Brim Fell is classified as an Wainwright (No. 37).
Brim Fell is also known as an English Nuttall (52nd highest in England, 98th highest in England & Wales).
Along the way you will also bag:
- Great Carrs at 785m (2576ft). Great Carrs is classified as a Wainwright (No. 43) and an English Nuttall (61st highest in England, 110th highest in England & Wales)
- Dow Crag at 778m (2553ft). Dow Crag is classified as an English Mountain (Hewitt) (55th highest in England, 97th highest in England & Wales), a Wainwright (No. 48) and an English Nuttall (67th highest in England, 119th highest in England & Wales).
- Grey Friar at 773m (2536ft). Grey Friar is classified as an English Mountain (Hewitt) (58th highest in England, 100th highest in England & Wales), a Wainwright (No. 53) and an English Nuttall (72nd highest in England, 124th highest in England & Wales).
You can find more walks near this one on these unique free-to-access Interactive Walk Planning Maps: (click/TAP to select)
1:25,000 scale OS Explorer Map (the ones with orange/yellow covers):
1:50,000 scale OS Landranger Maps (the ones with pink/magenta covers):
Some Photos and Pictures from Walk c179 The Seathwaite Round from Seathwaite (Duddon Valley)
In no particular order . . .
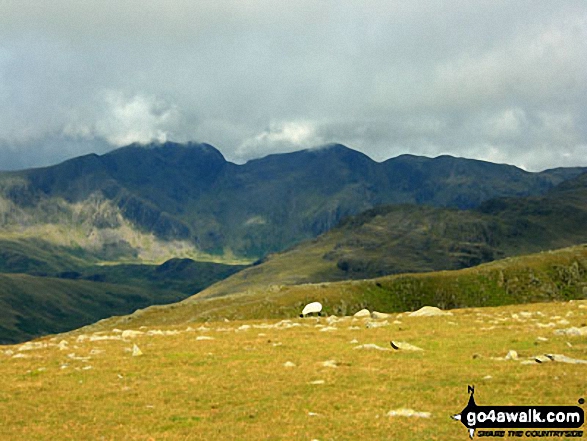
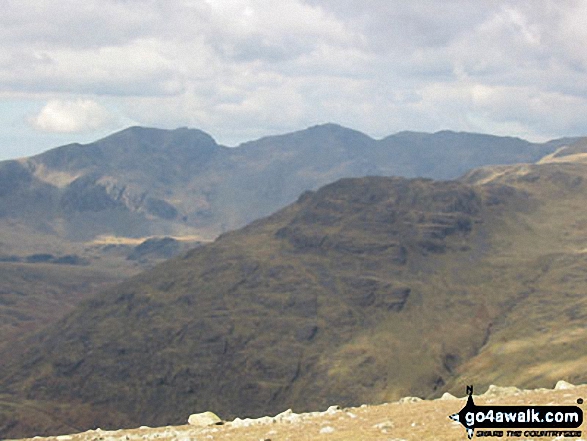
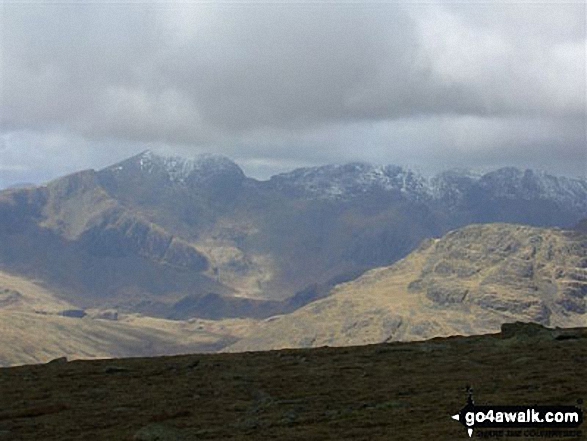
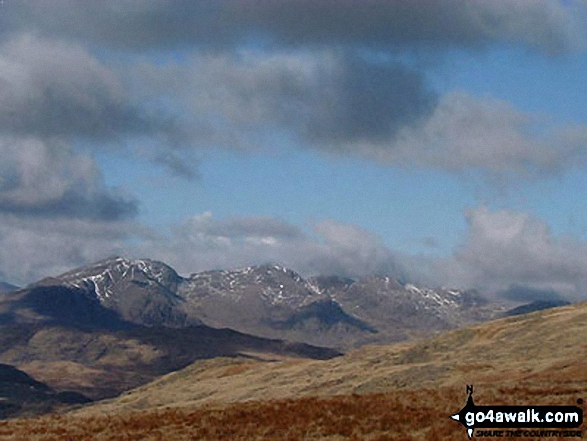
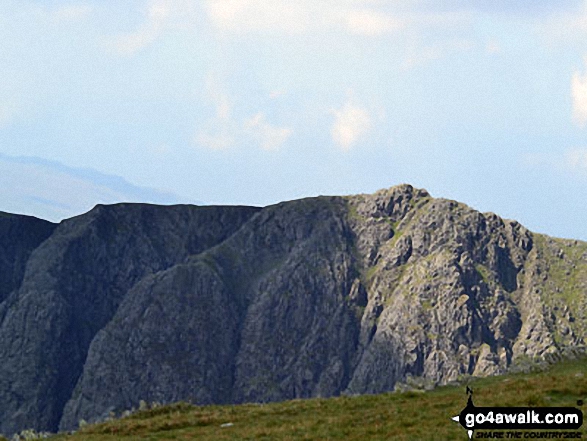
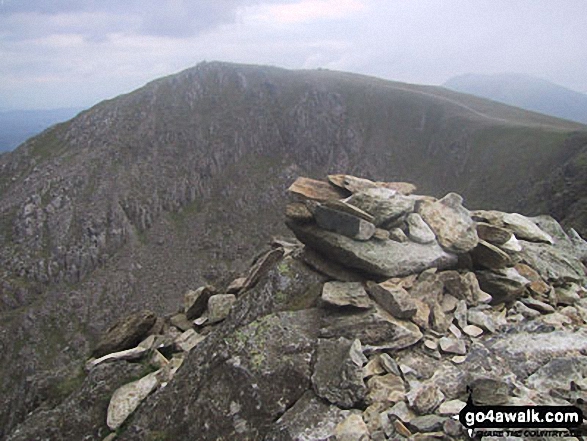
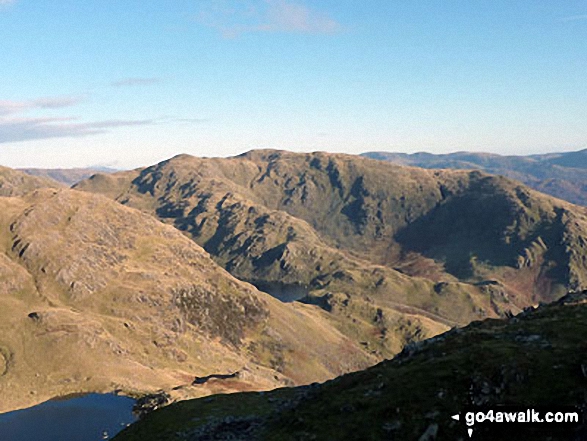
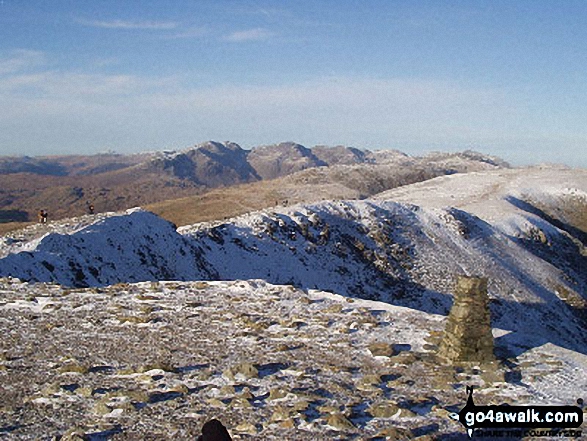
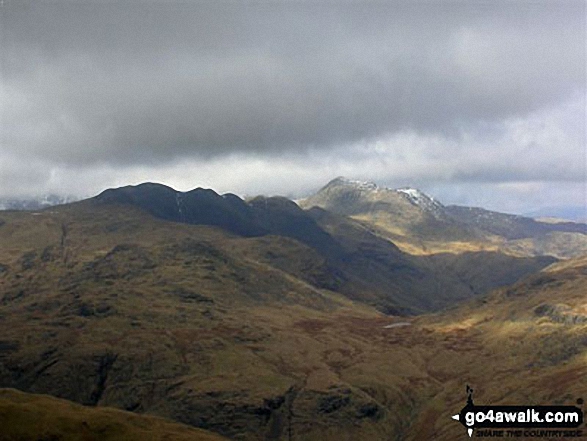
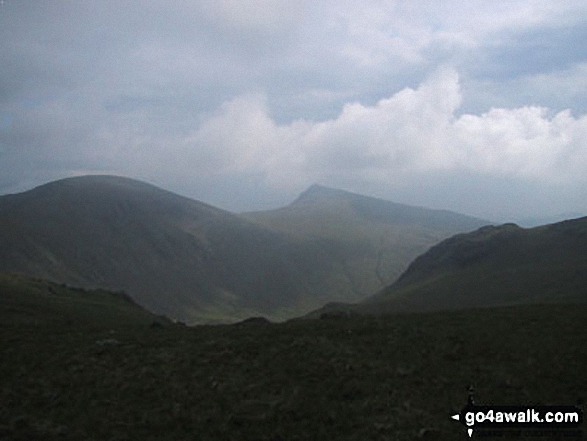
The Scafell Massif featuring Scafell Pike (centre) and Sca Fell (centre left) from Swirl Band between Swirl How and Levers Hawse

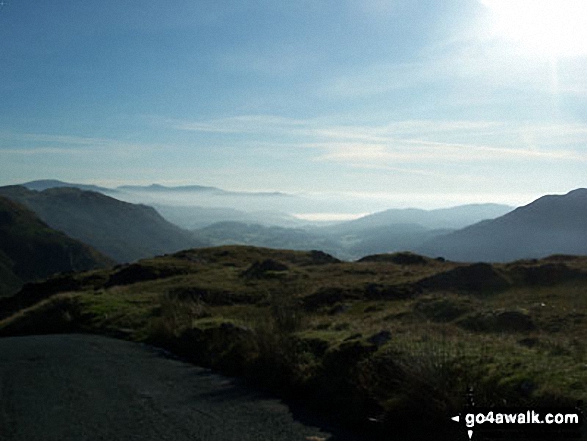

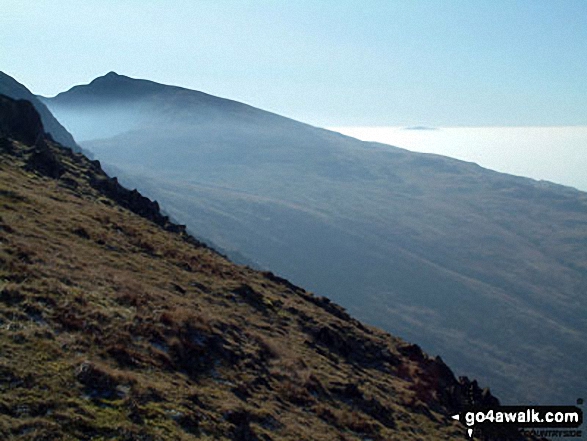
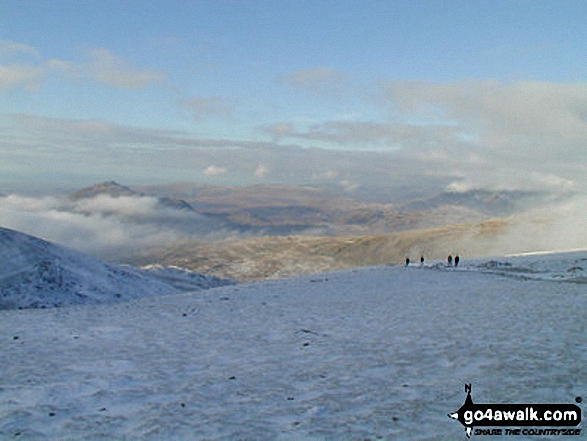

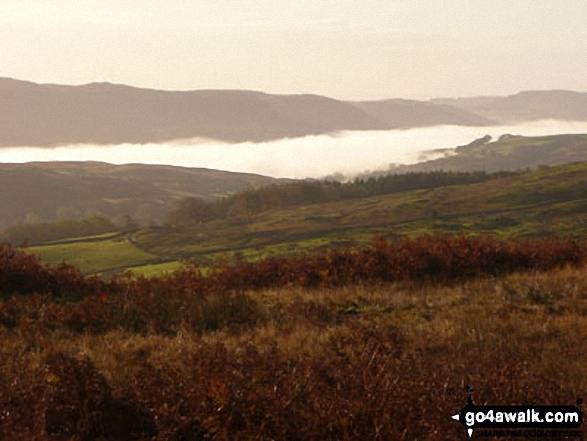
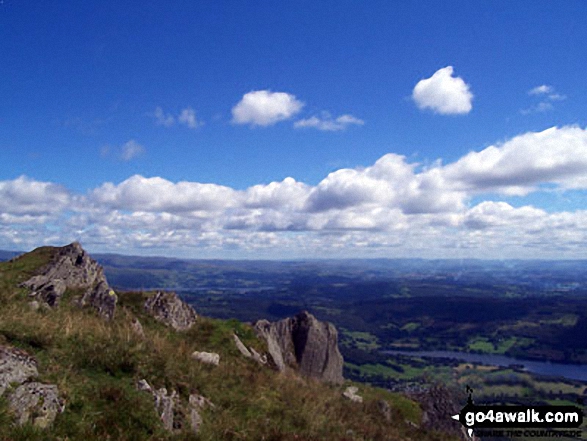
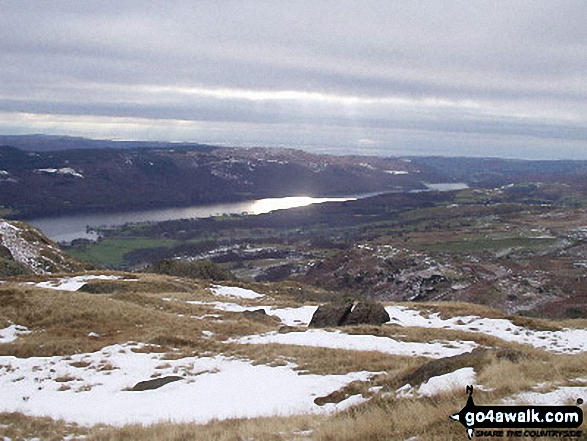
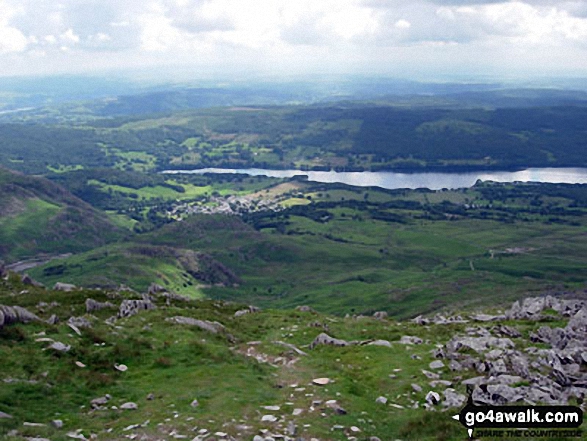
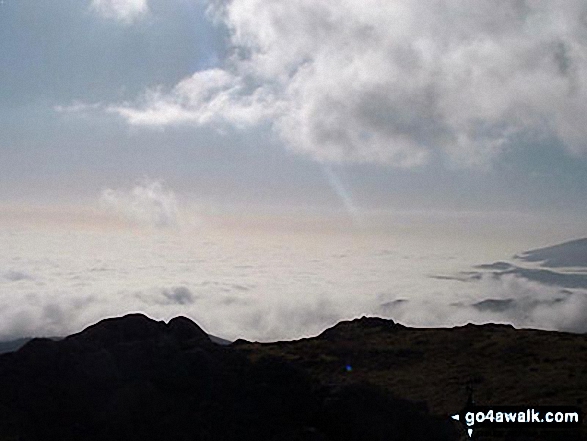
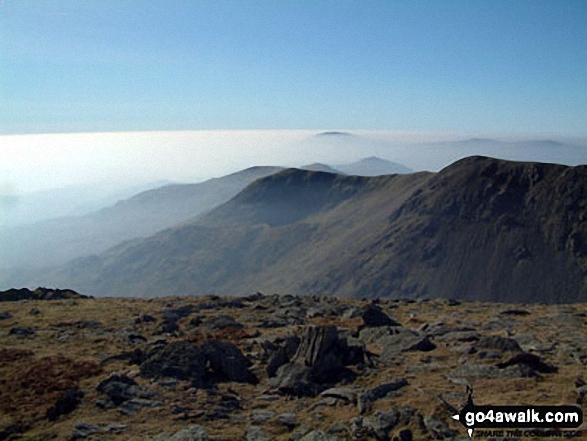
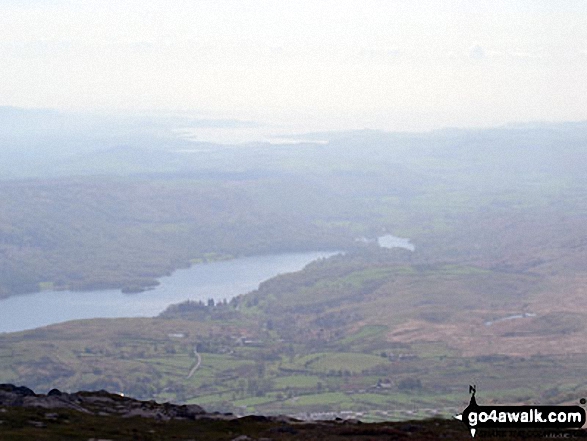
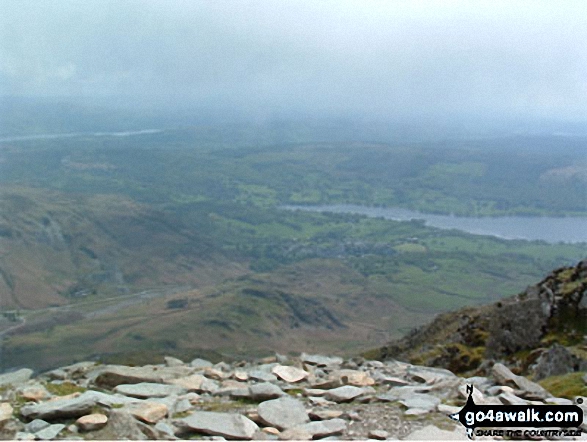
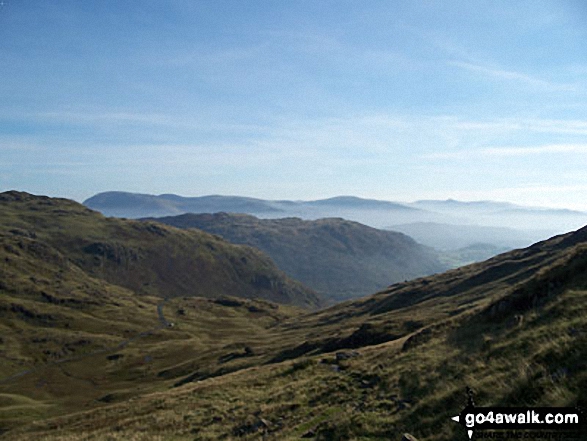
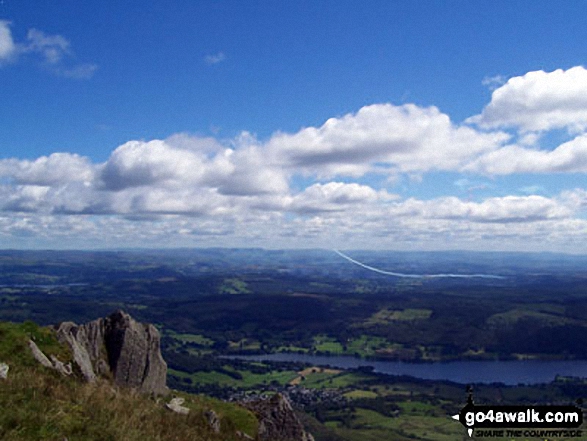
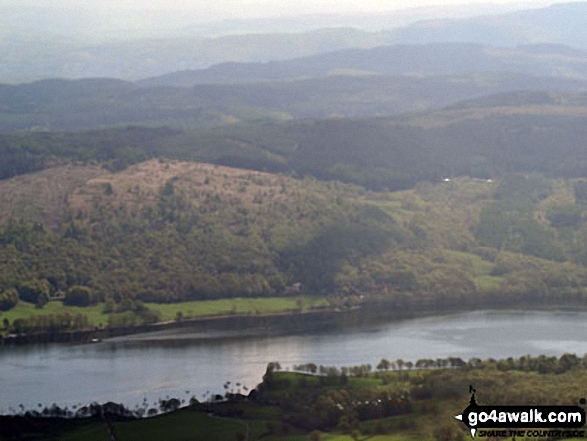
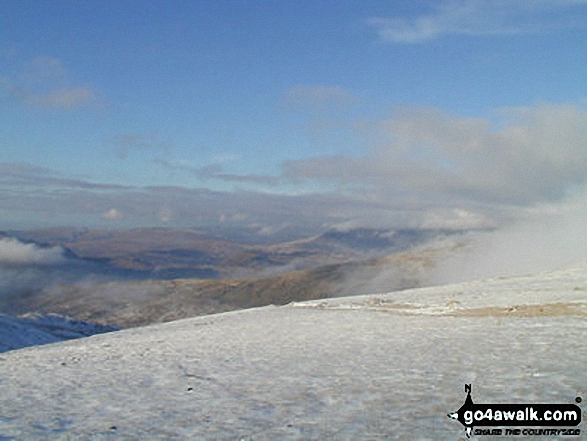
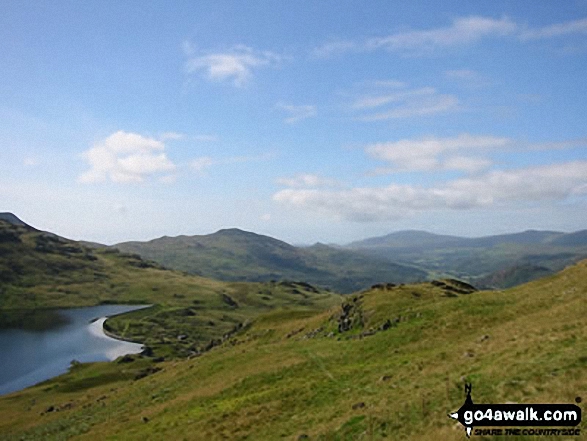
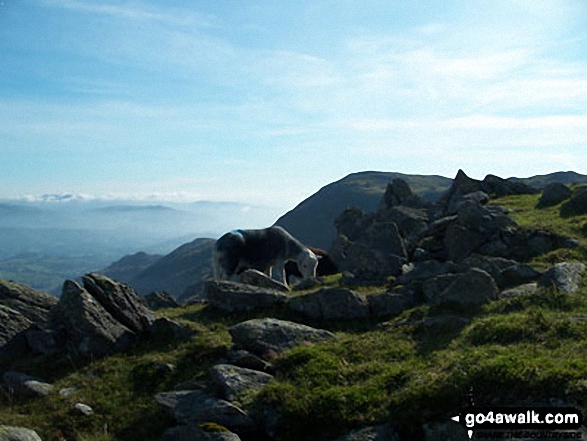
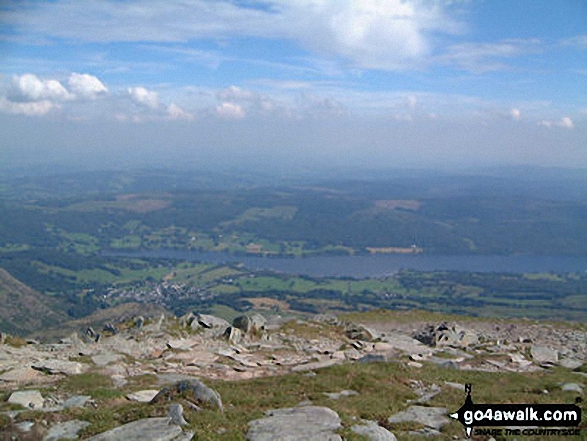
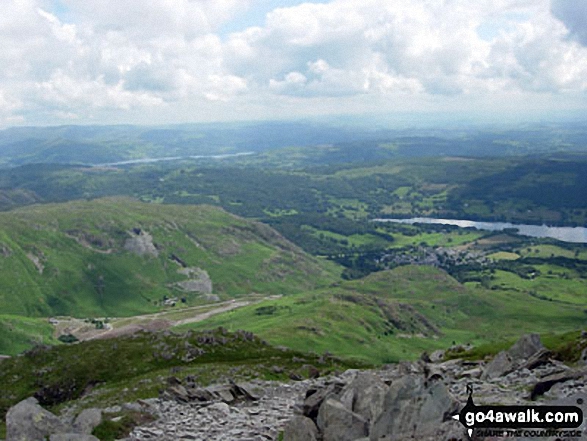
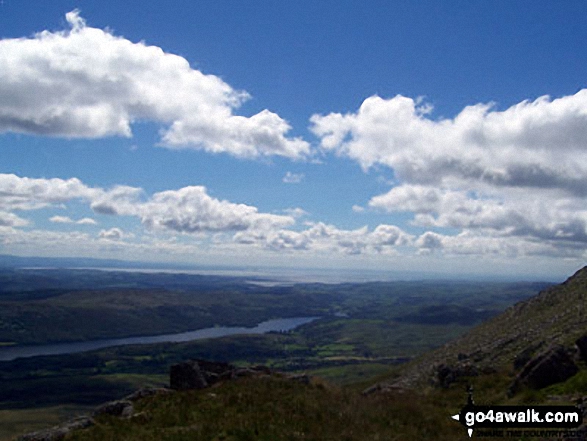
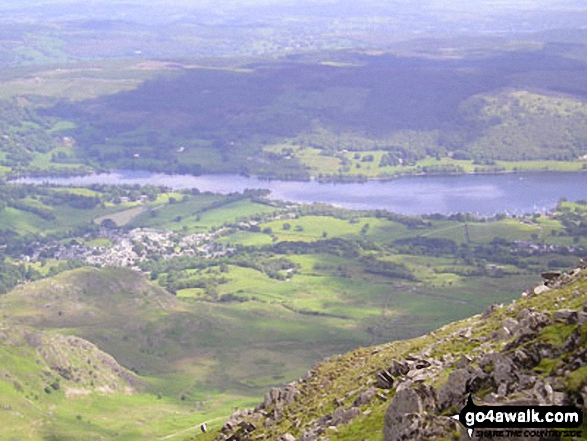
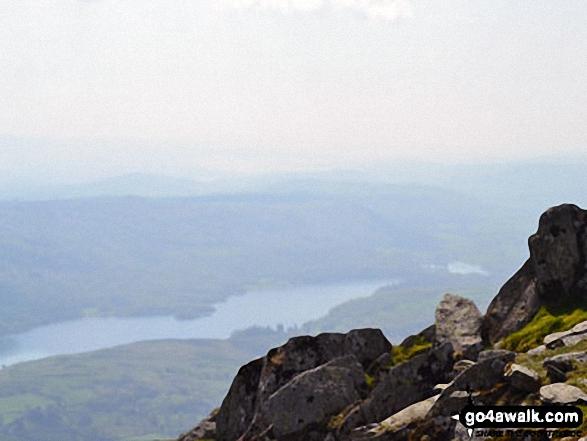
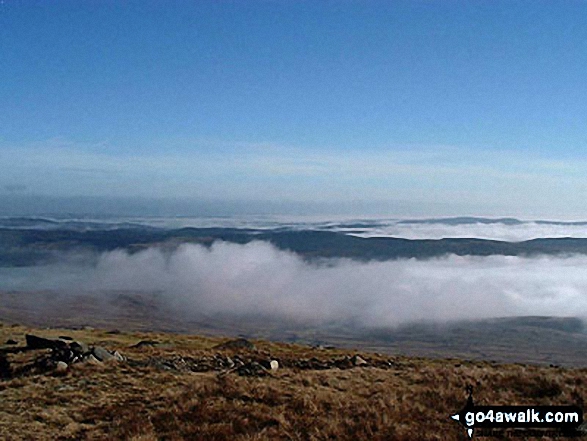
Lake Coniston under a temperature inversion from the car park at Walna Scar Road
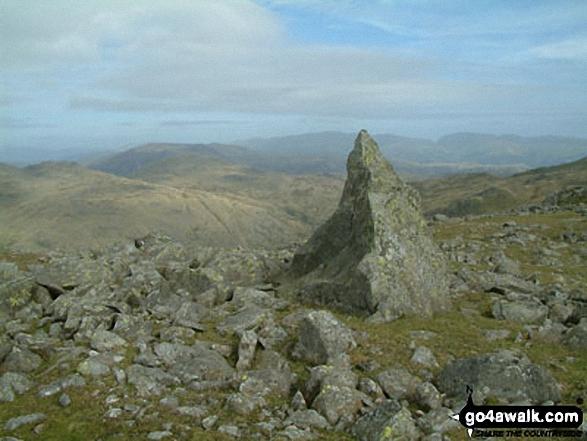
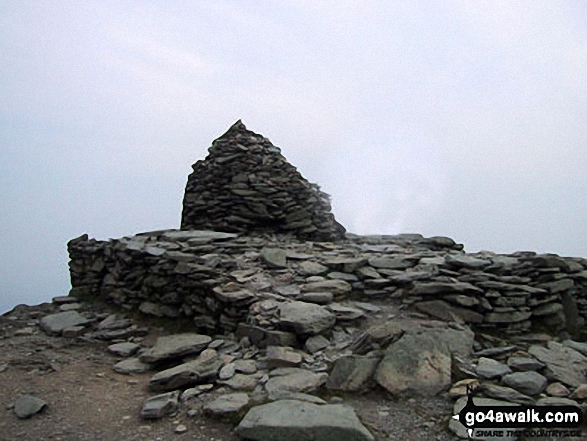

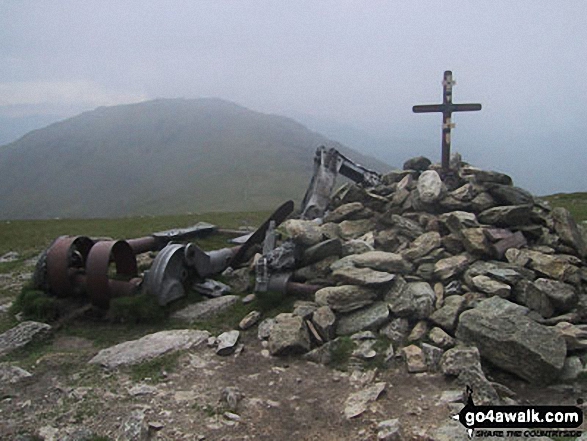
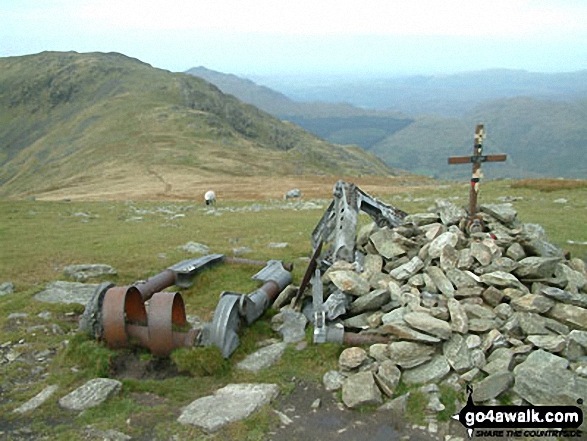
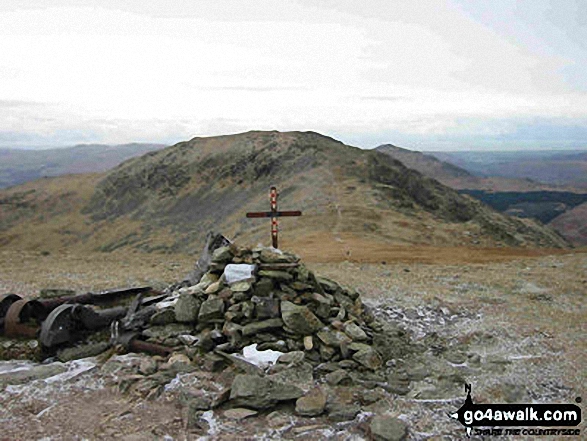
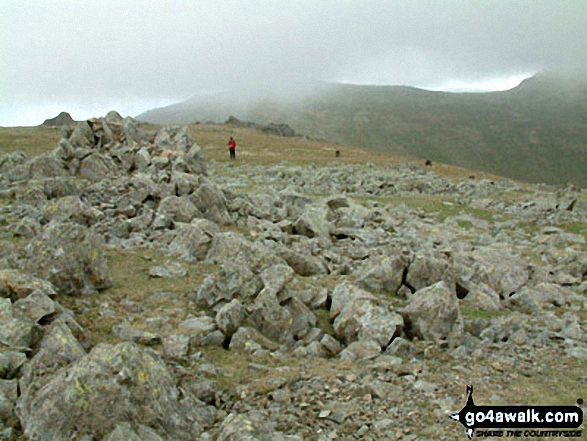
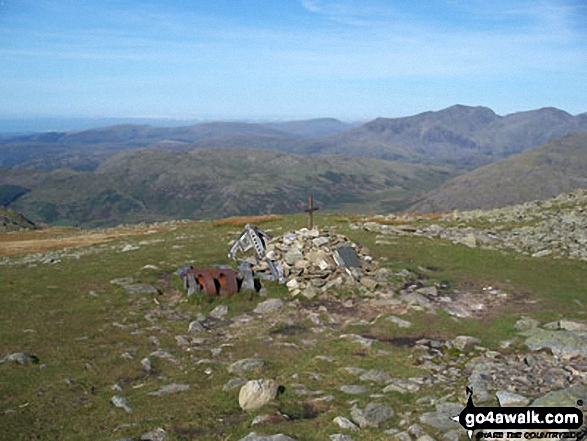
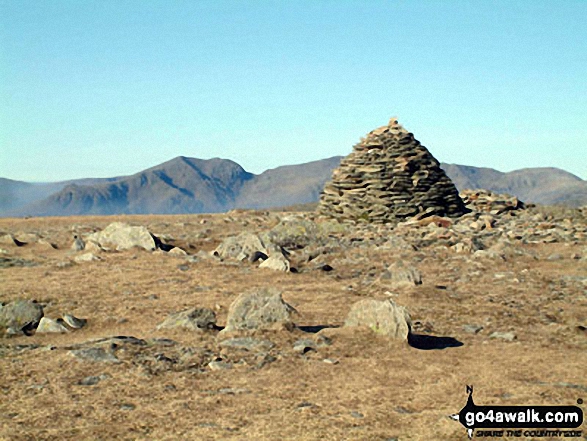
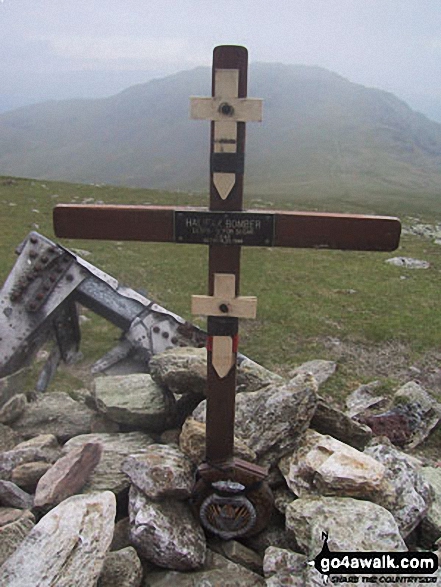
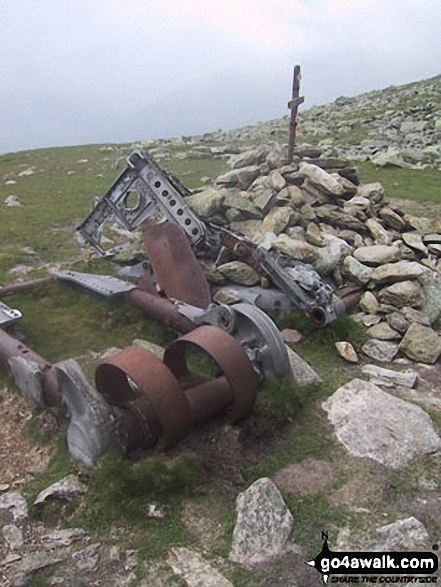
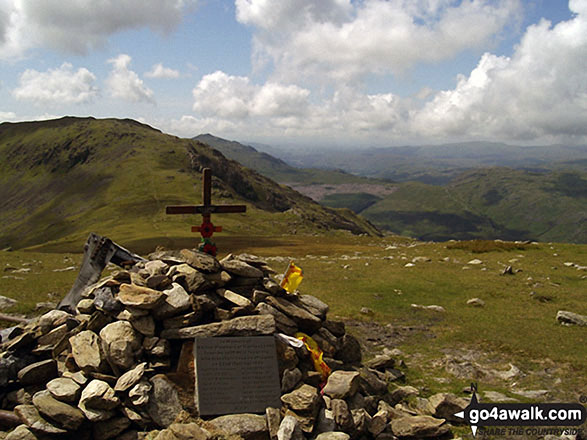
The S for Sugar Aircraft Crash Memorial between Swirl How, Great Carrs and Grey Friar
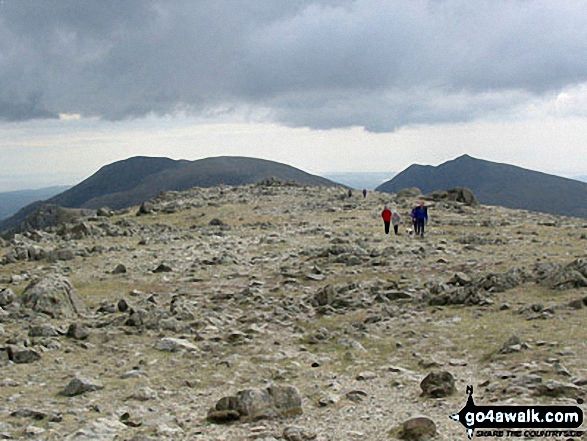

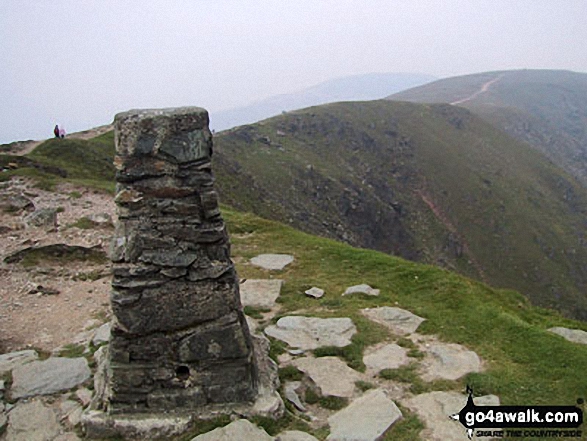
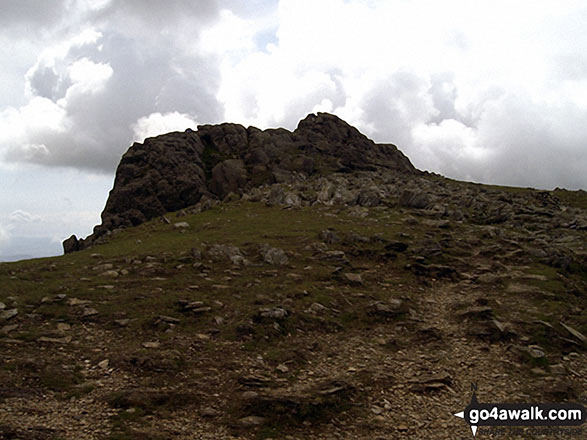
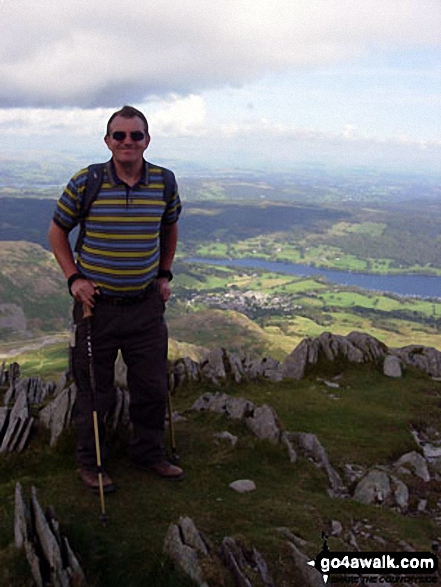
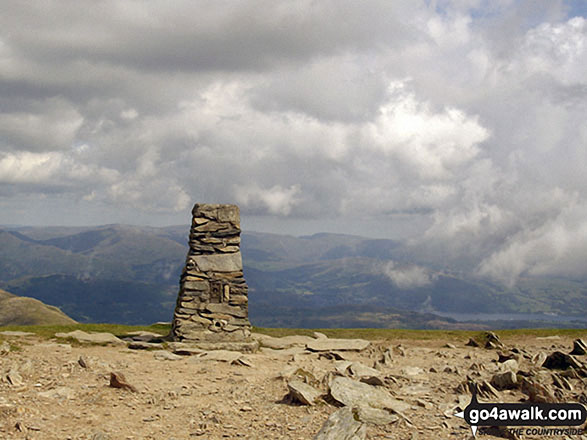
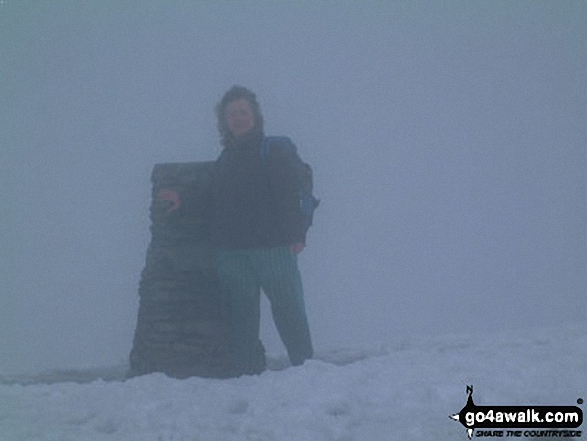
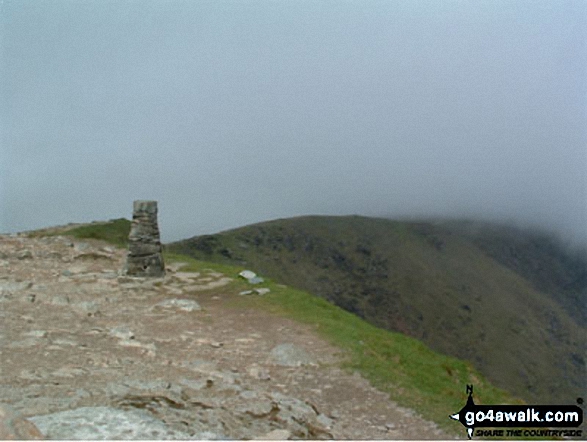
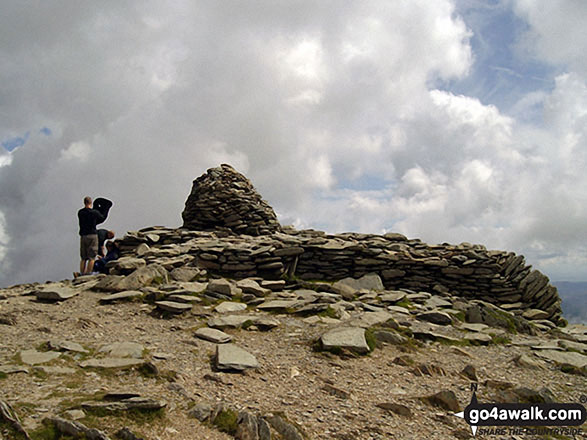
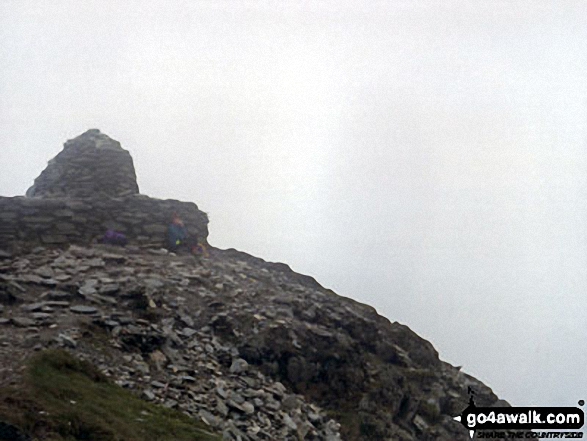
The Ordnance Survey Triangulation Piller on the summit of The Old Man of Coniston
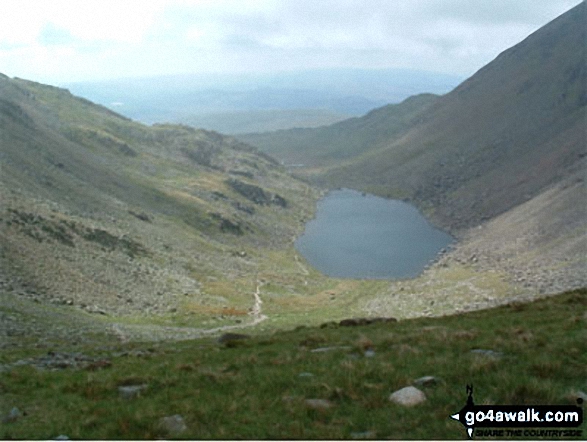
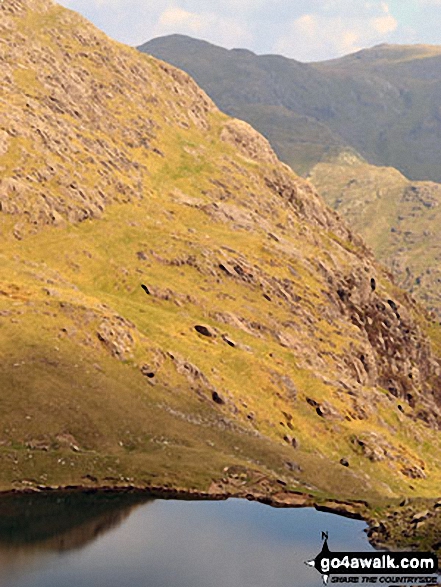
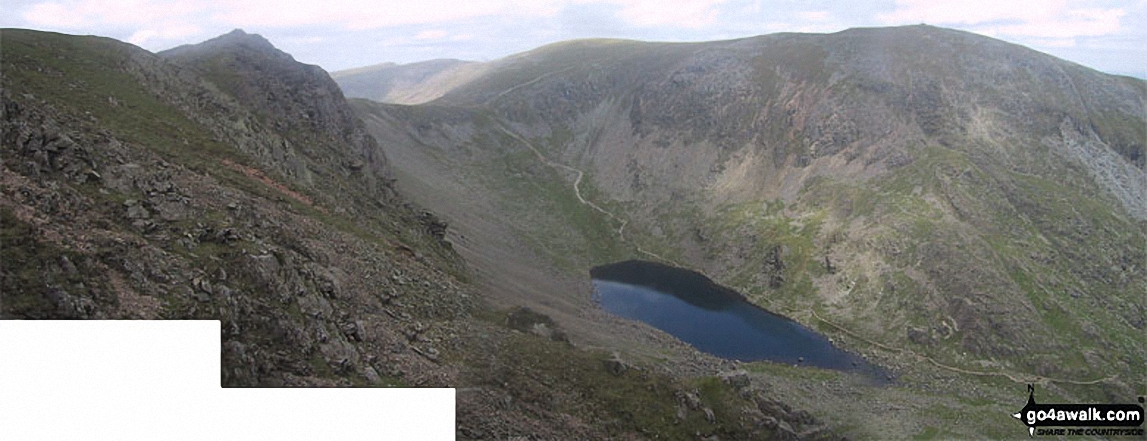
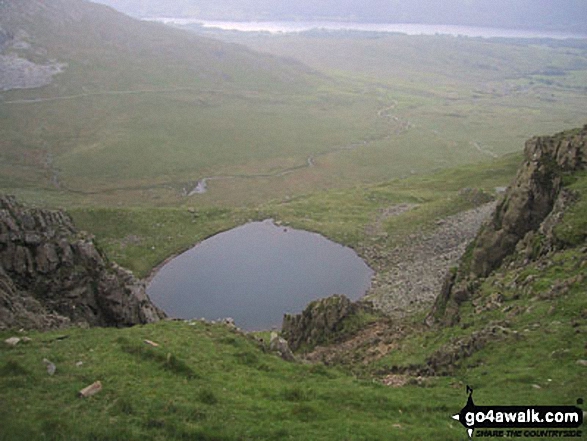
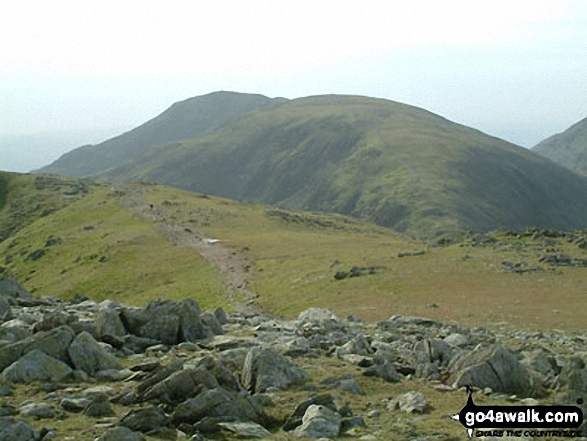
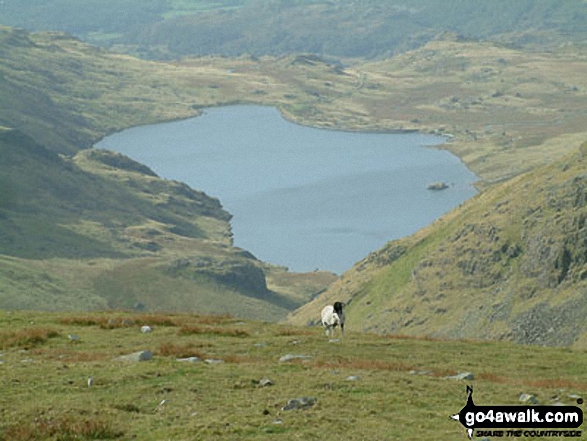
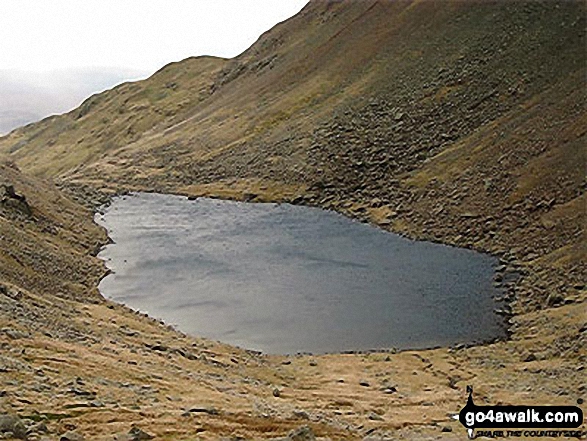
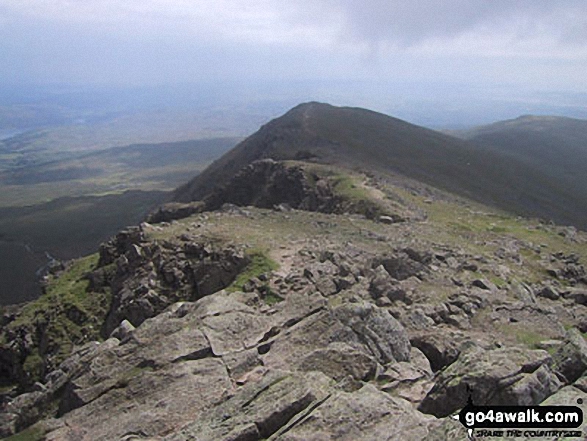
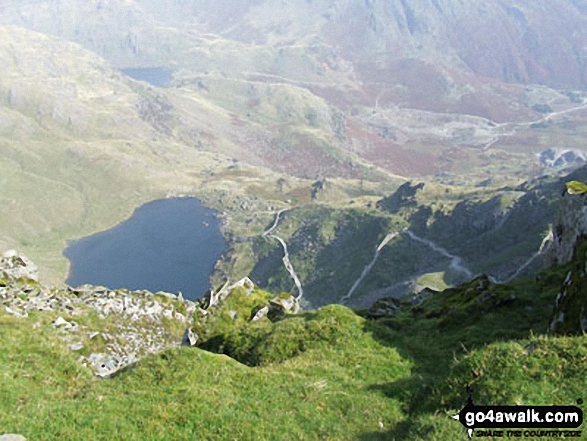
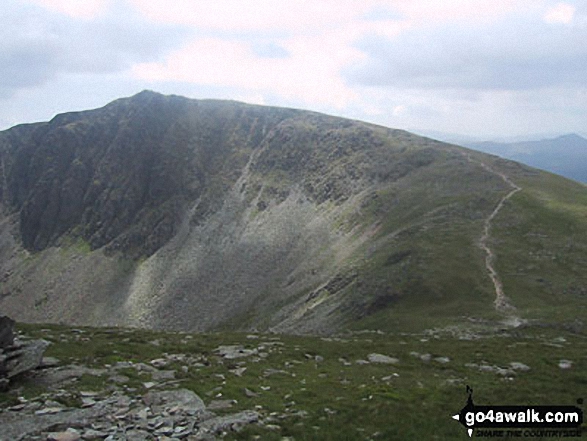
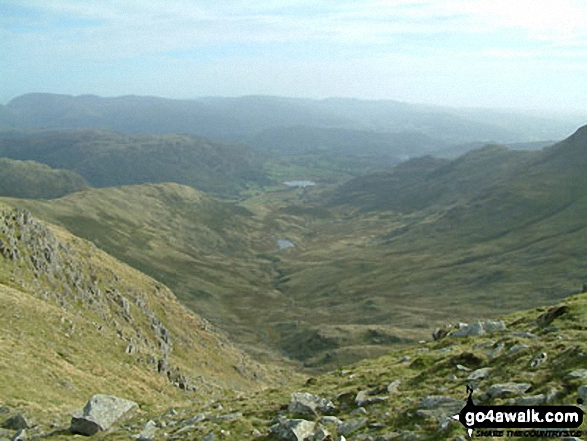
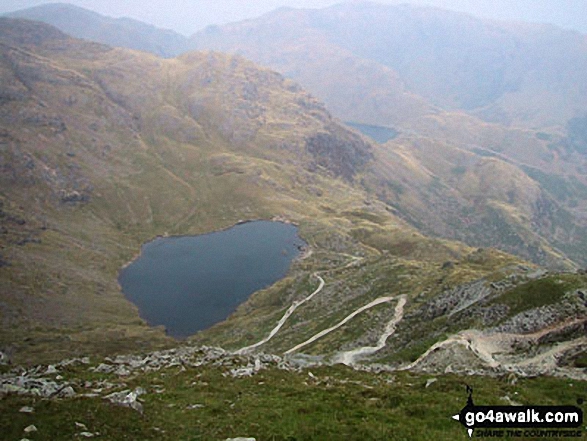
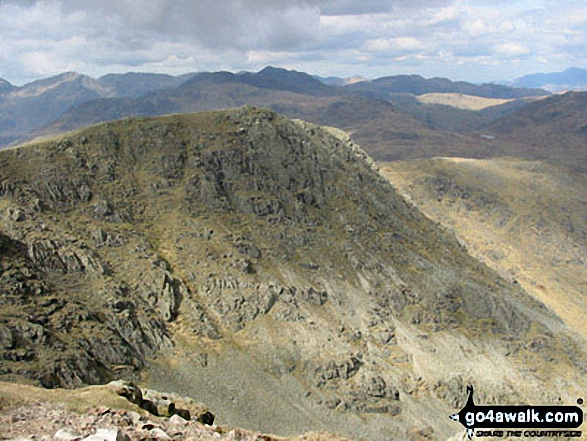
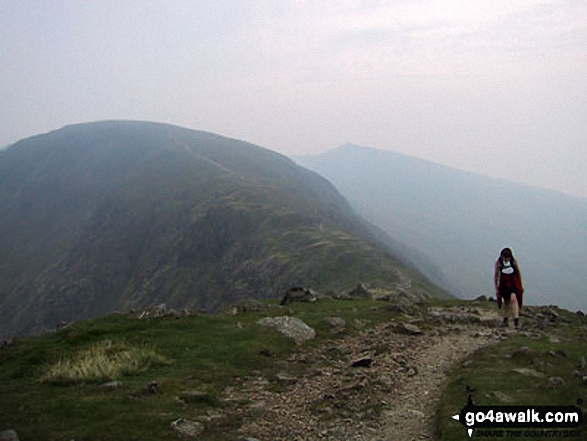
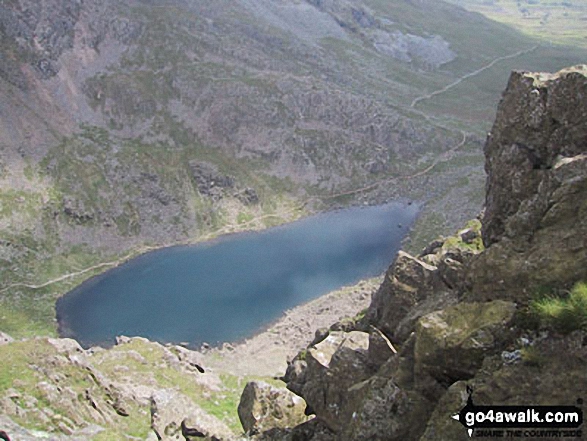
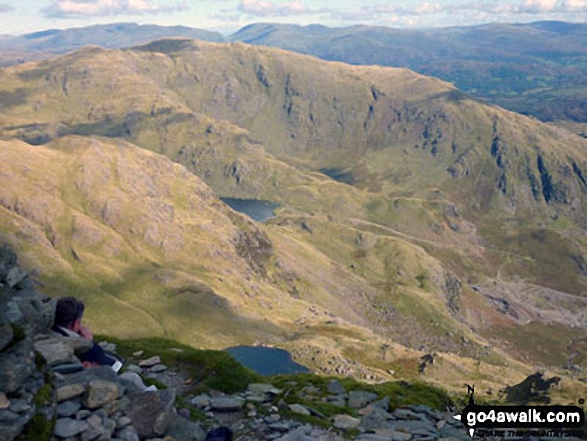
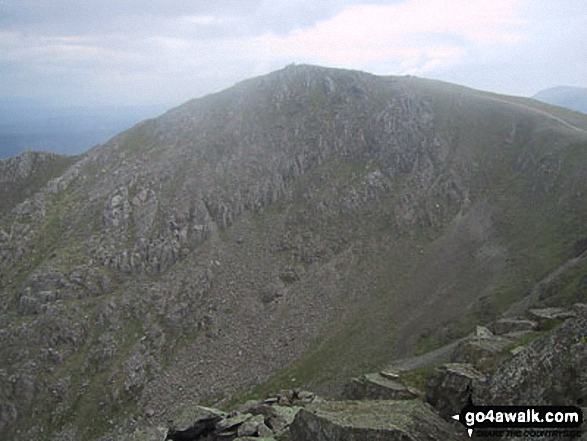
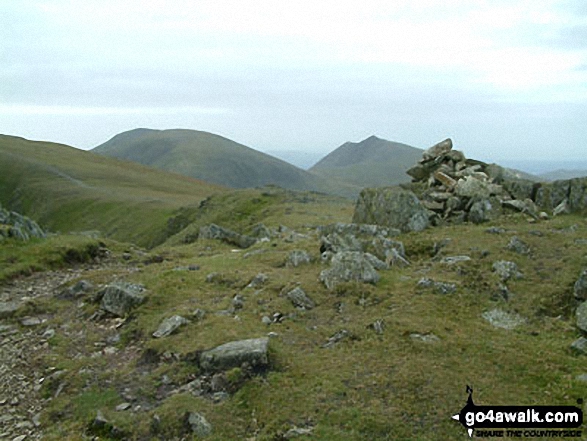
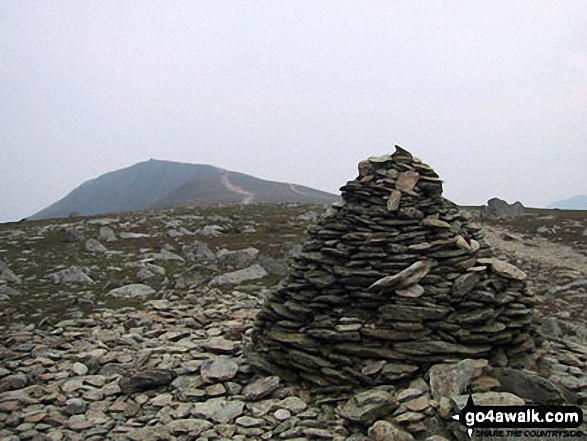
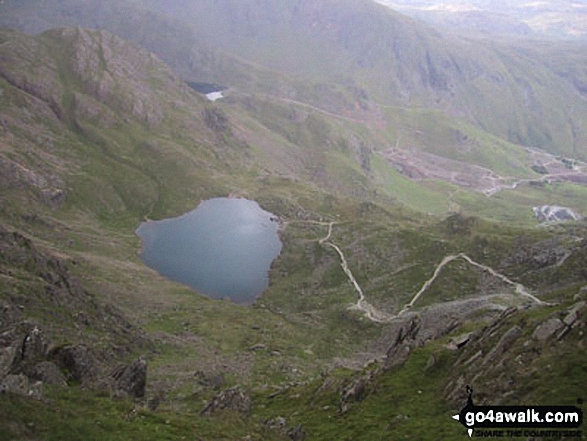
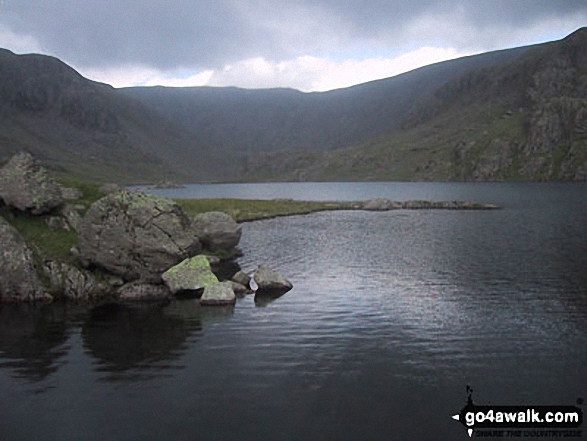
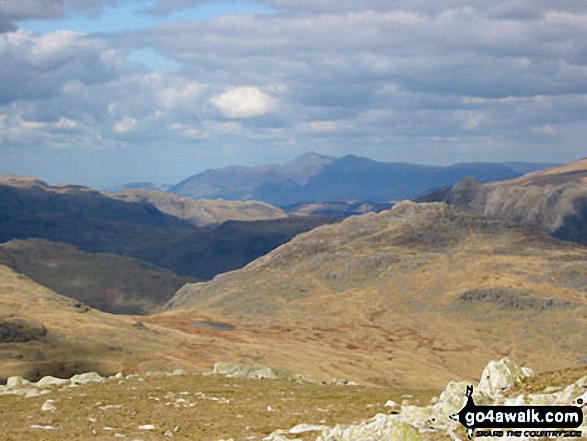
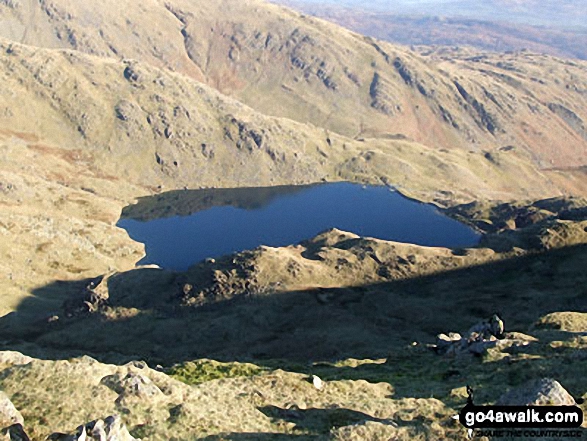
*Dow Crag, Goat's Hawse, Goast's Water and The Old Man of Coniston from Brown Pike
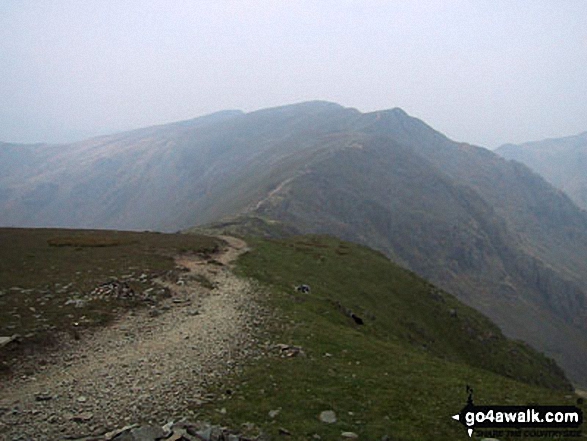
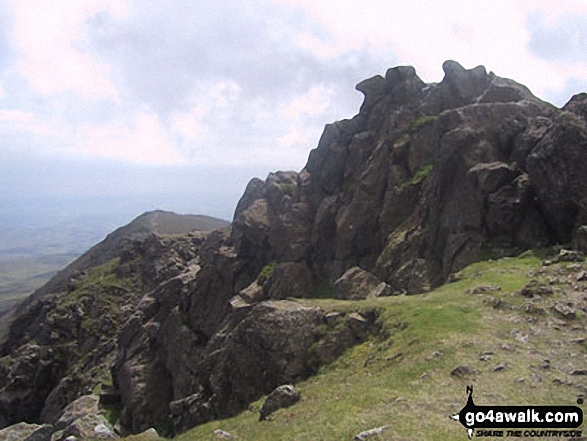
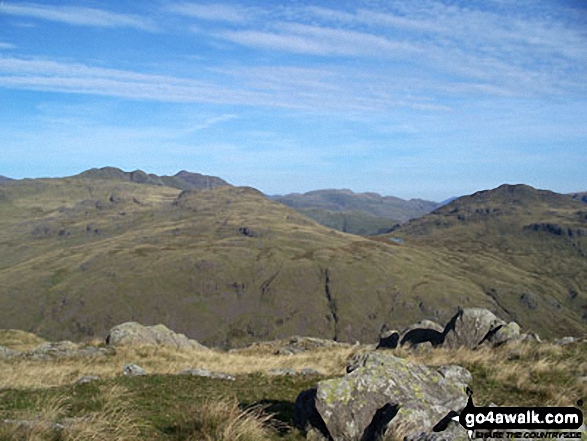
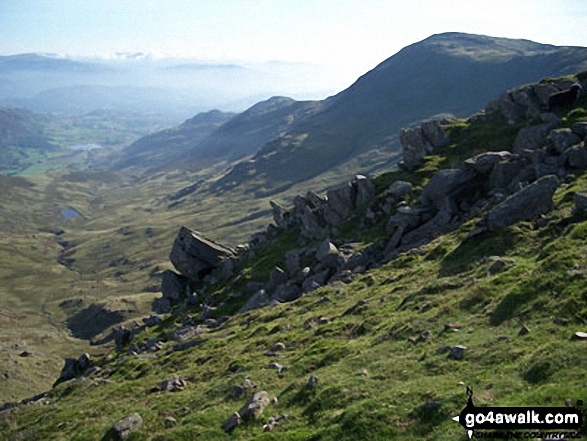
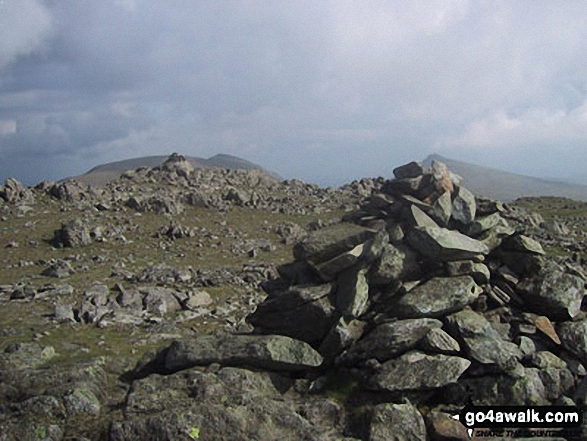
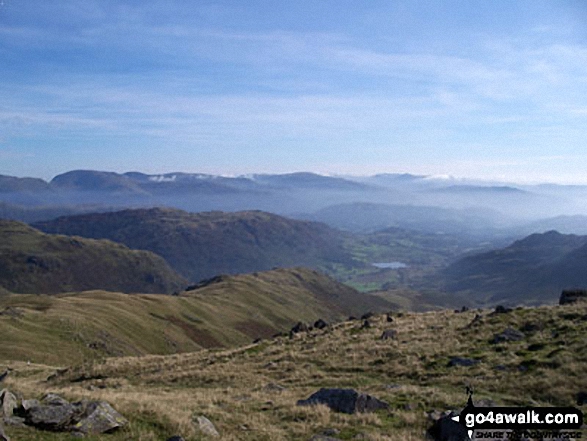
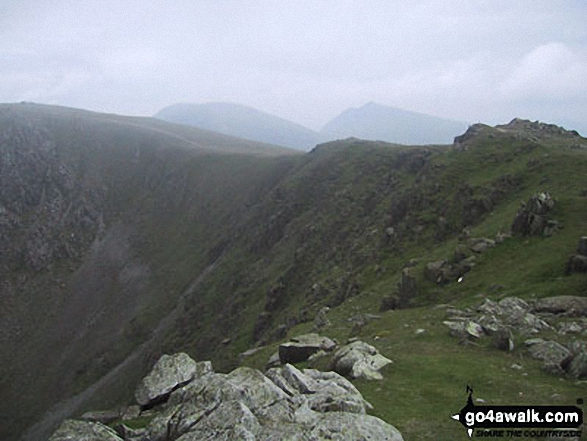
Crinkle Crags (centre left) with Bow Fell (Bowfell) beyond from near Prison Band below Swirl How

360 degree panorama featuring Great Gable, Green Gable, Little Scoat Fell & Pillar (distance), Brandreth, Dale Head (Newlands), High Spy, Glaramara, Esk Pike, Great End and Scafell Pike from Base Brown
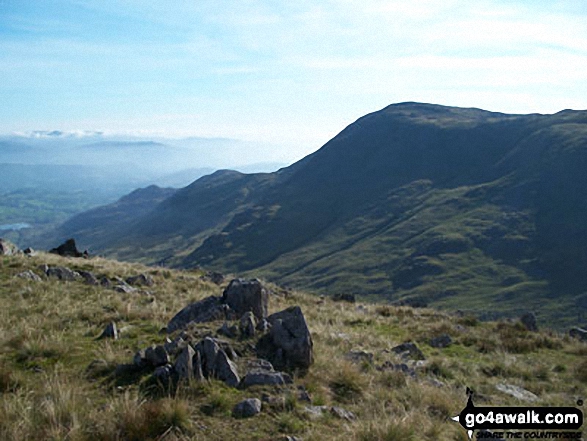
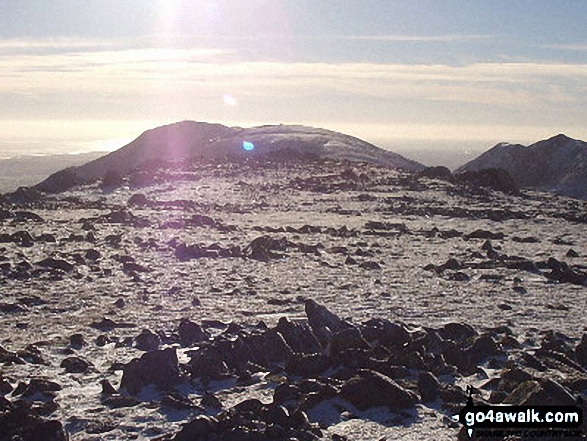
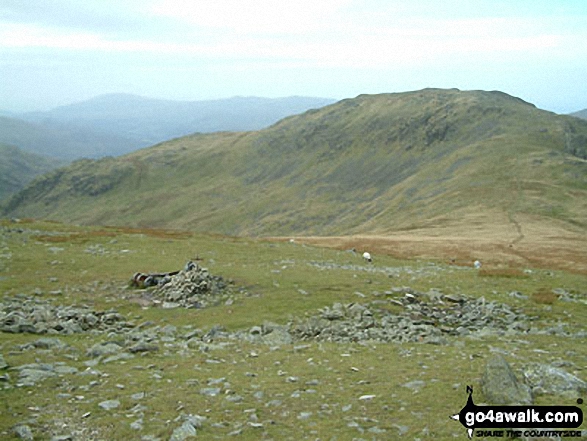
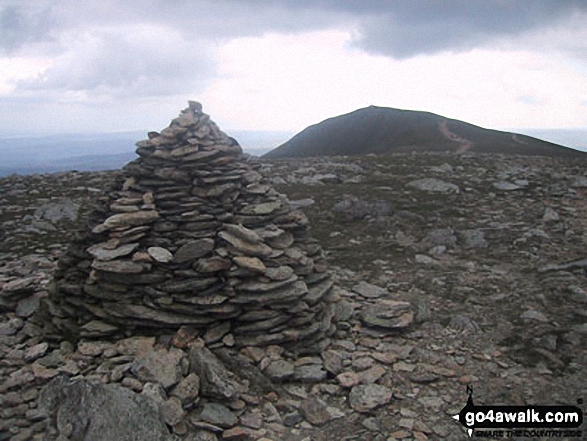
Cold Pike (left) and Pike of Blisco (Pike o' Blisco) from the summit of Great Carrs

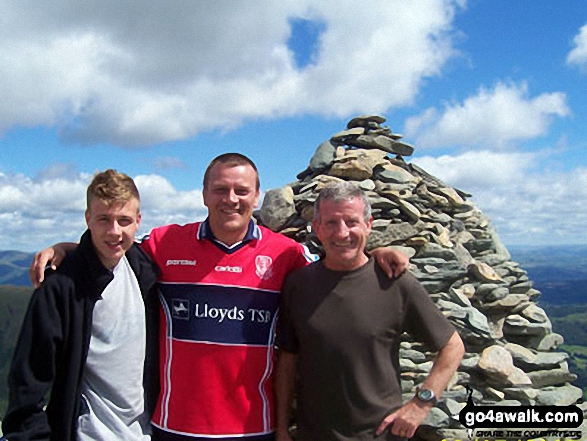
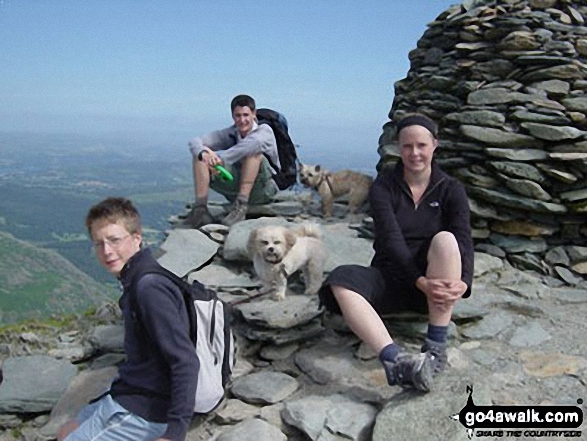
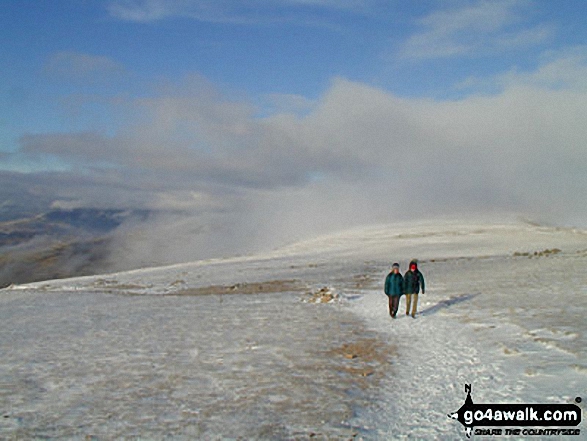
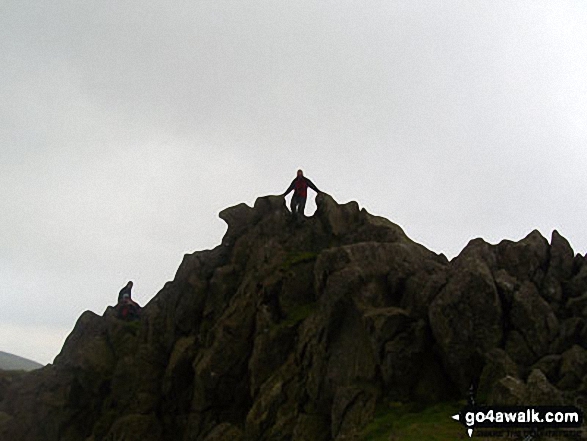
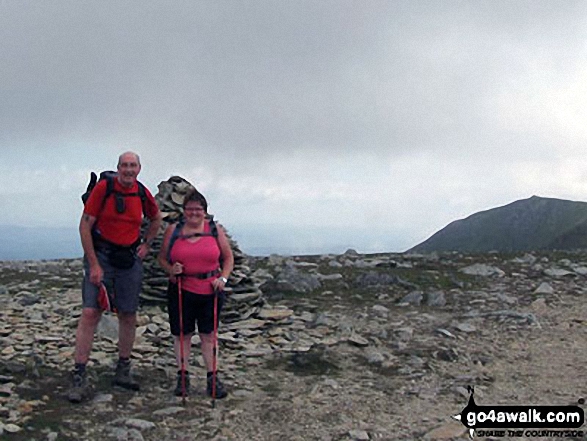
My wife Imogen, my two boys Jonathan and Matthew and me on Coniston Old Man

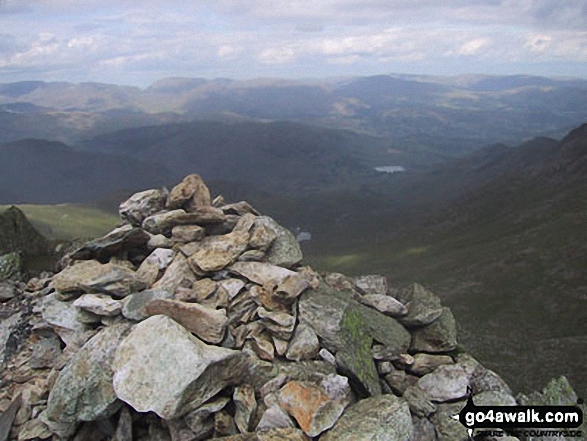
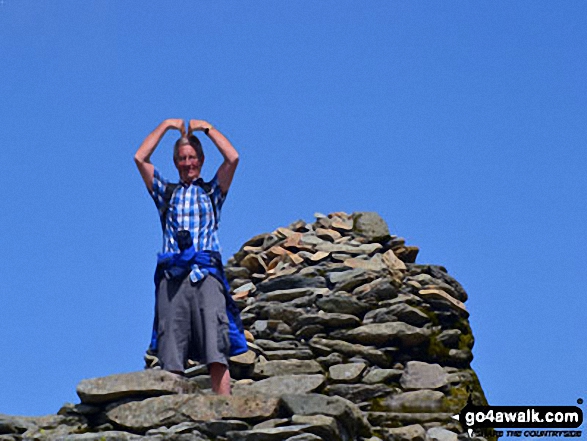
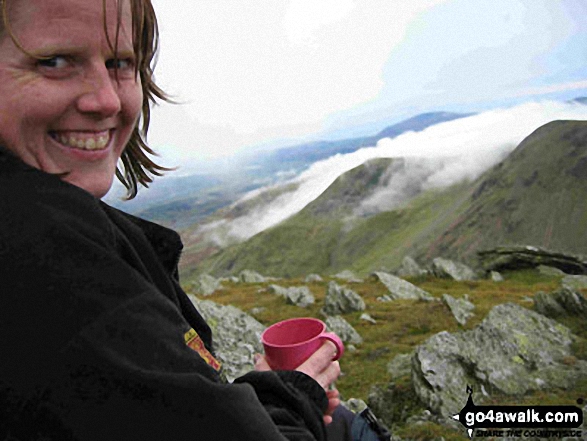
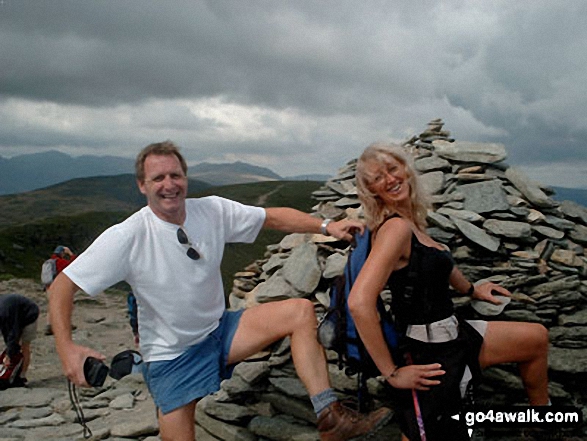
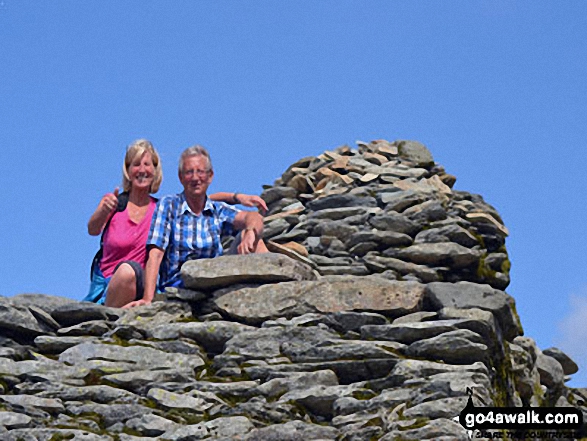
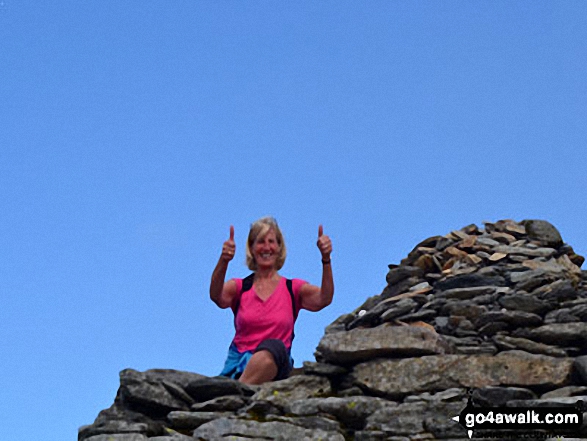
My wife and I on top of Brim Fell summit on a hazy hot July 7th 2013 with Coniston Old Man in the background
Send us your photographs and pictures from your walks and hikes
We would love to see your photographs and pictures from walk c179 The Seathwaite Round from Seathwaite (Duddon Valley). Send them in to us as email attachments (configured for any computer) along with your name and where the picture was taken to:
and we shall do our best to publish them.
(Guide Resolution = 300dpi. At least = 660 pixels (wide) x 440 pixels (high).)

You can also submit photos from walk c179 The Seathwaite Round from Seathwaite (Duddon Valley) via our Facebook Page.
NB. Please indicate where each photo was taken.

To contribute to go4awalk.com or to contact us about anything at all - see Talk To Us. For help see Help.
go4awalk.com and go4awalk.co.uk are registered trademarks of TMDH Limited.
Copyright © 2000-2025 TMDH Limited. All rights reserved.
Copyright Terms & Conditions Privacy Statement
A - Z Walks Home Log On/Accounts Photo Gallery Walk Ideas and Collections Fell Facts Hill Skills Walking Questions and Answers Your Stories News Competitions Product Reviews/Gear Tests Walking Gear Guides Peaks and Mountains Peak Bagging Find New Walking Friends Camping GPS Waypoints for Walking Contents Walk Search Talk To Us go4awalk.com Help Free Example Walks Newsletter