   |
Vital Statistics:
| Length: | 9¾mls (15.5km) |
| Ascent: | 2,734ft (833m) |
| Time: | 6¼hrs |
| Grade: |  |
Route outline for walk c411:
Buttermere - Buttermere Dubbs - Scale Bridge - Scale Force - Scale Beck - Blea Crag - Lingcomb Edge - Ling Comb - Little Dodd (Ennerdale) - Starling Dodd - Great Borne - Floutern Tarn - Black Beck (Mosedale) - Scale Force - Scale Beck (Crummock Water) - Crummock Water - Buttermere
Peaks, Summits and Tops reached on this walk:
 2 English Mountains |
 2 Wainwrights |
 2 English Nuttalls |
 0 English Deweys |
 0 Wainwright Outlying Fells |
 0 Marilyns |
 1 Bridget |
Peak Bagging Statistics for this walk:
The highest point of this walk is Starling Dodd at 633m (2077ft). Starling Dodd is classified as an English Mountain (Hewitt) (158th highest in England, 270th highest in England & Wales) and a Wainwright (No. 122).
Starling Dodd is also known as an English Nuttall (213th highest in England, 365th highest in England & Wales).
Completing this walk will also take you to the top of Great Borne at 616m (2021ft). Great Borne is classified as an English Mountain (Hewitt) (172nd highest in England, 300th highest in England & Wales) and a Wainwright (No. 127).
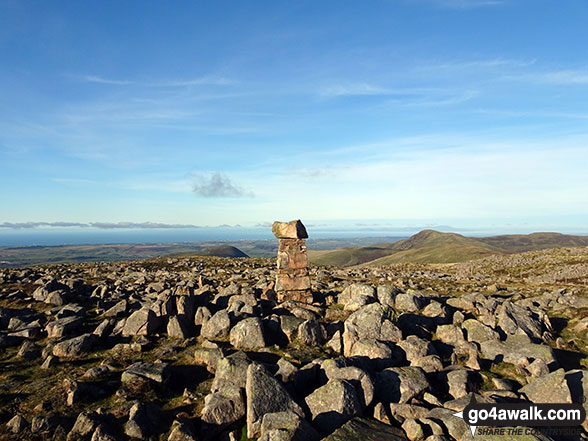
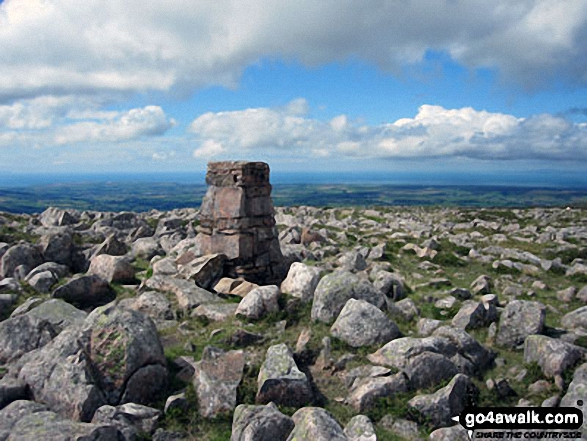
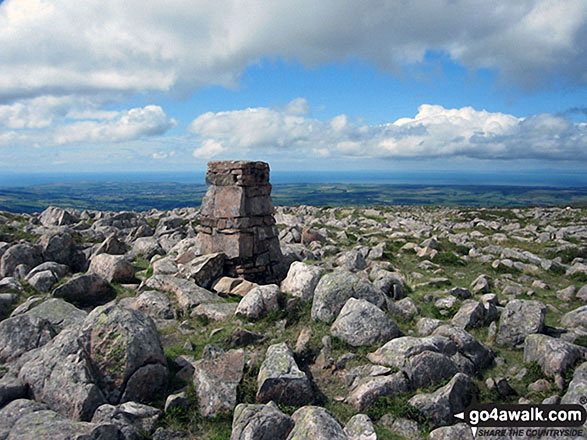
Great Borne is also known as an English Nuttall (241st highest in England, 417th highest in England & Wales). The summit of Great Borne is marked by an Ordnance Survey Trig Point.
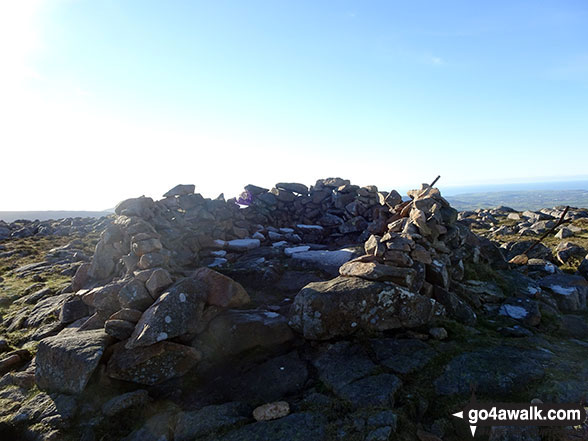
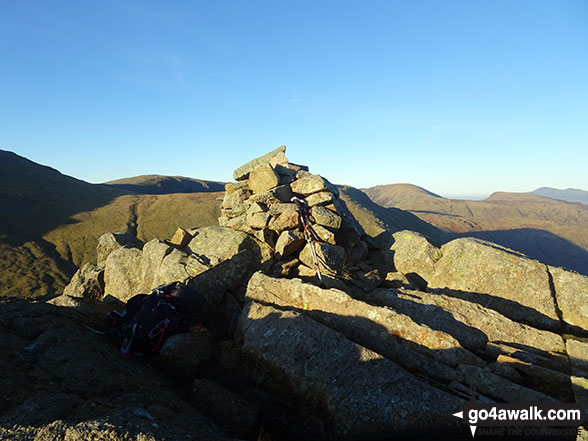
You will also reach the summit of Little Dodd (Ennerdale) at 590m (1936ft). Little Dodd (Ennerdale) is known as an English Bridget. The summit of Little Dodd (Ennerdale) is marked by a cairn and a tangle of old fence posts..
You can find more walks near this one on these unique free-to-access Interactive Walk Planning Maps: (click/TAP to select)
1:25,000 scale OS Explorer Map (the ones with orange/yellow covers):
1:50,000 scale OS Landranger Map (the ones with pink/magenta covers):
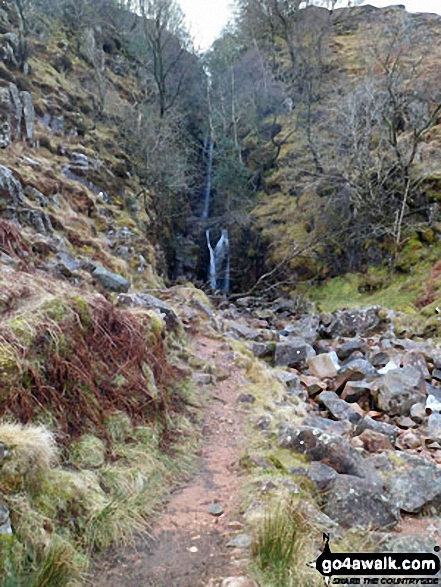
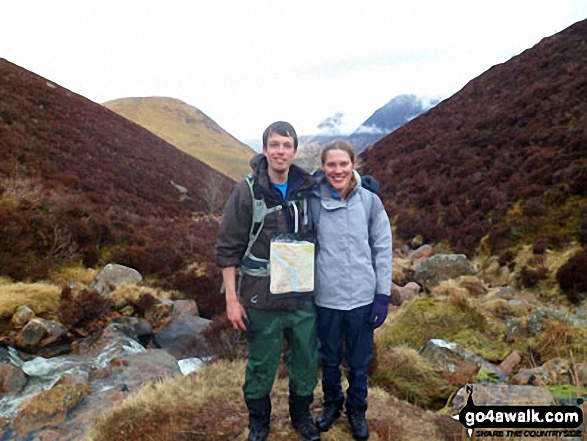
Some Photos and Pictures from Walk c411 Starling Dodd via Scale Beck from Buttermere
In no particular order . . .
Honister Pass (left), Fleetwith Pike, Hay Stacks (Haystacks) and High Crag (Buttermere) across Buttermere
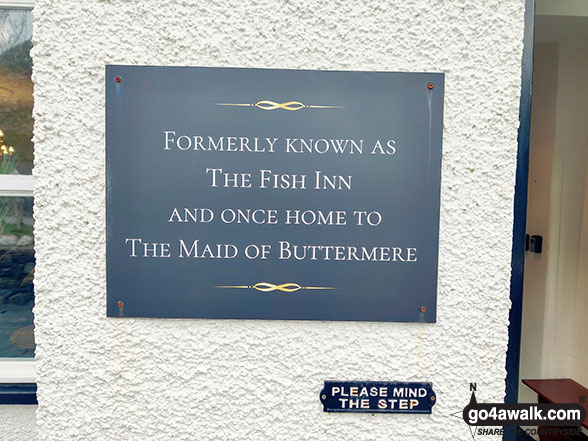
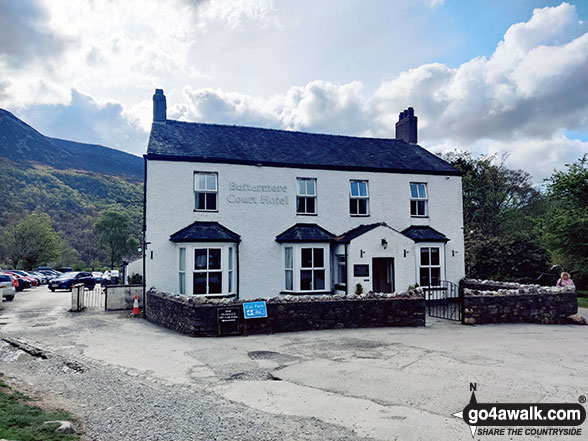
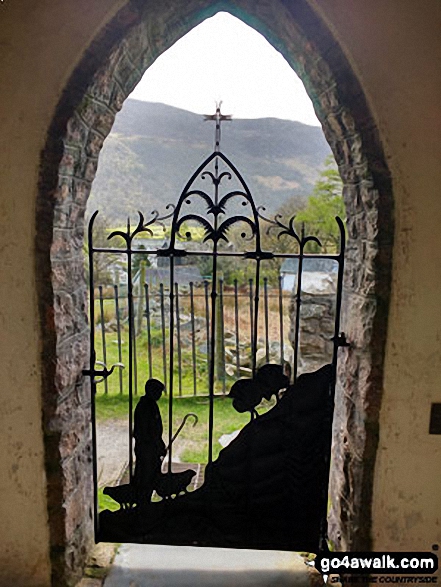
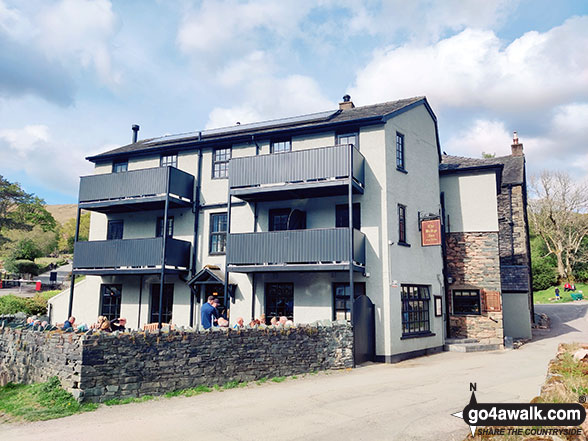
Plaque at the entrance to The Buttermere Court Hotel in Buttermere - formerly known as the Fish Inn
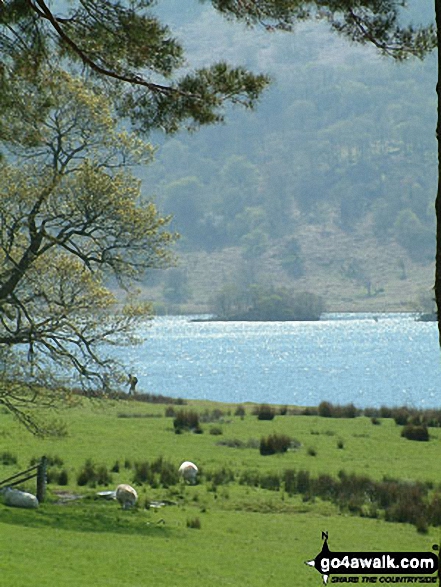
Looking across Buttermere Lake to a Cottage below Hay Stacks (Haystacks) from Hassness
Fleetwith Pike and The High Stile massif from the North shore of Crummock Water
Fleetwith Pike (left), Hay Stacks (Haystacks) and the shoulder of High Crag (Buttermere) (right) across Buttermere
Buttermere from the North West shore featuring Fleetwith Pike (just right of centre)
Crummock Water, Rannerdale Knotts (left) and The High Stile Ridge from Cinderdale Common

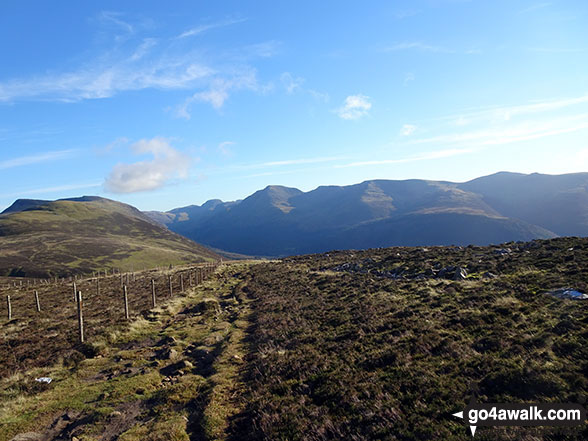
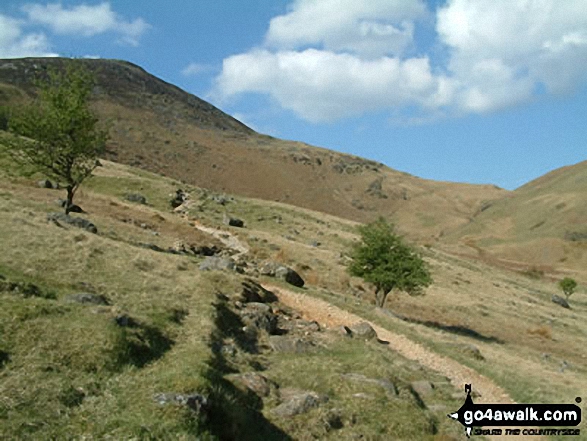
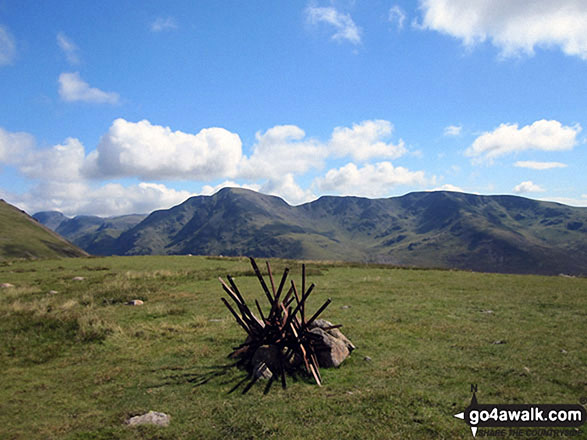
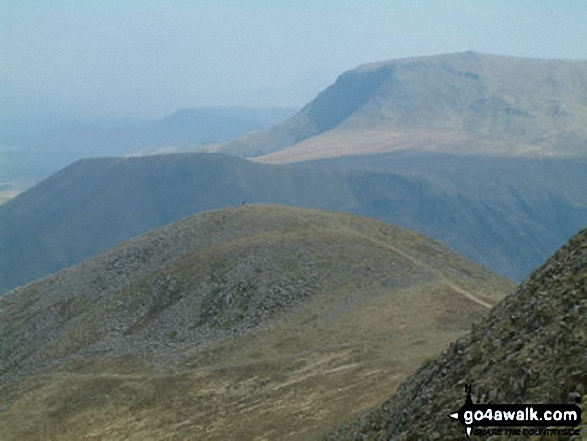
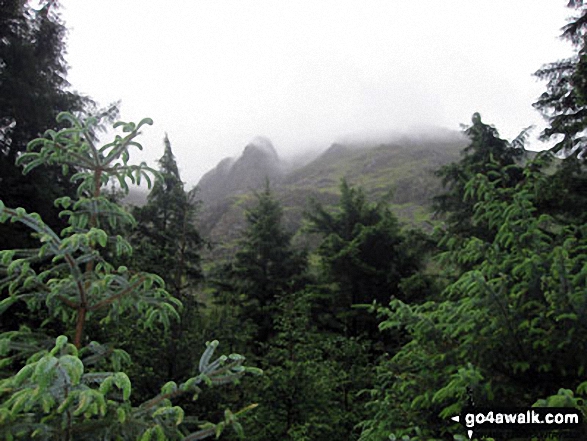
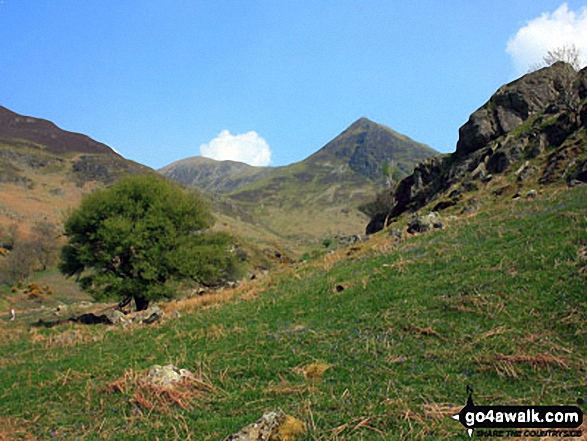
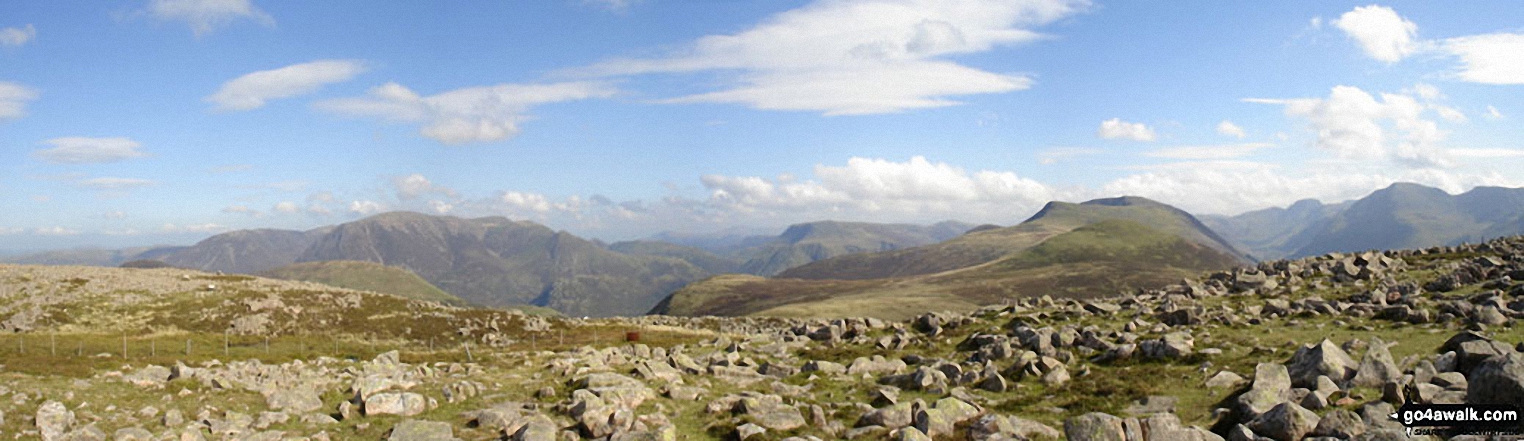
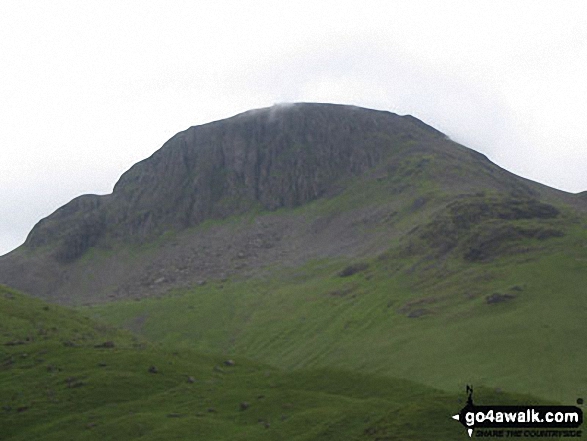
On the ridge between Great Borne and Starling Dodd with Great Gable and Kirk Fell in the distance
Autumn sunshine on Dale Head (left) and Fleetwith Pike (right) from Burtness Wood

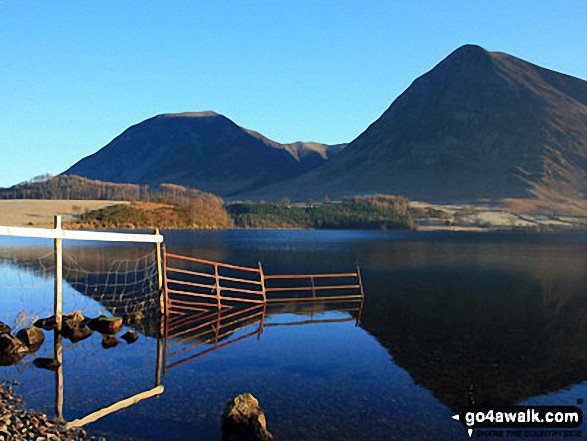
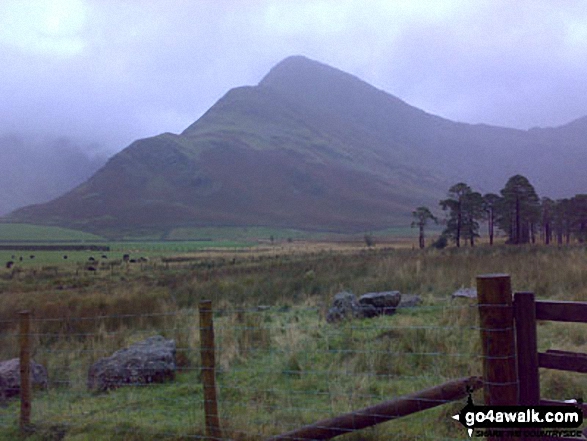
Whiteless Pike (left), High Snockrigg and Robinson (right) and Crummock Water from Black Beck (Mosedale)
Fleetwith Pike and Hay Stacks (Haystacks) from the campsite near Buttermere village
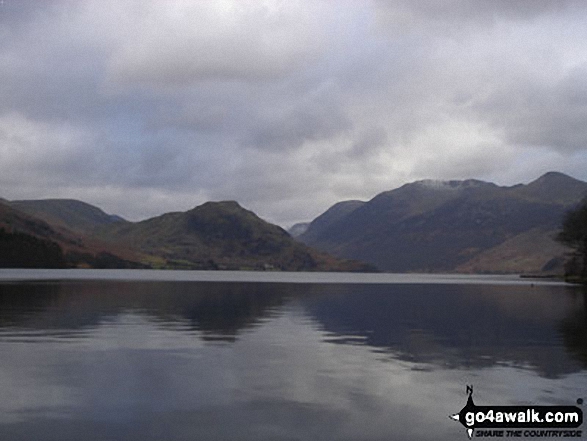
Crummock Water, Rannerdale Knotts (left) and The High Stile Ridge from nr Cinderdale Common
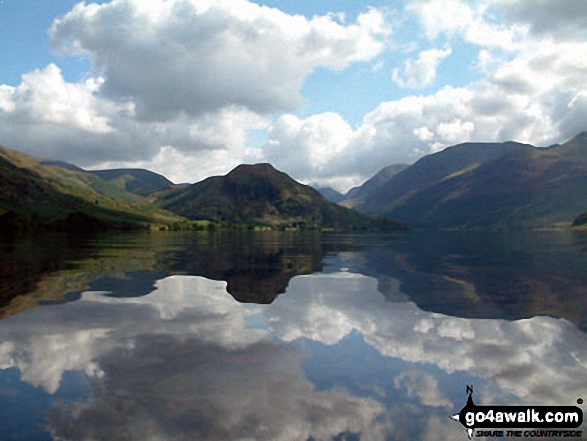
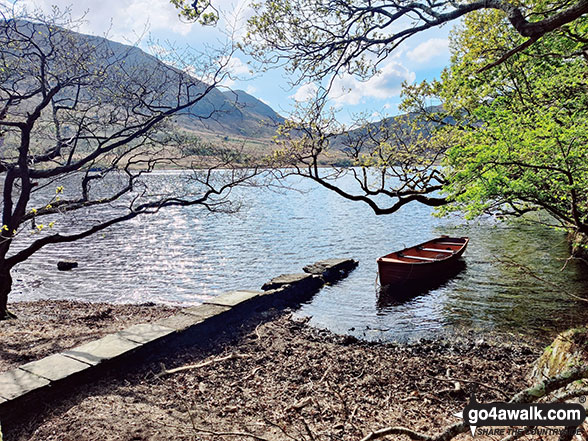
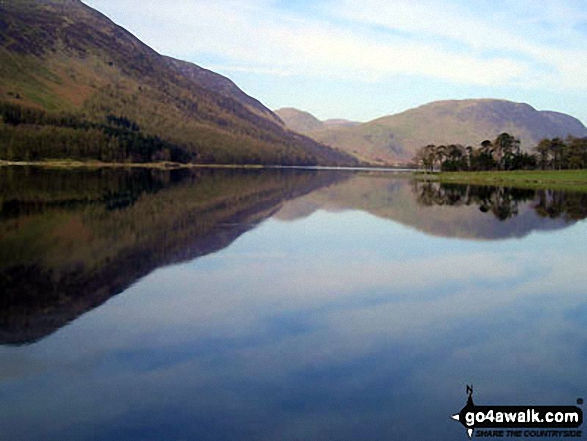
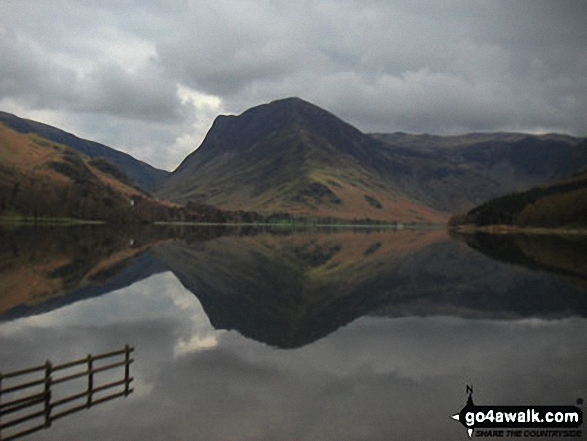
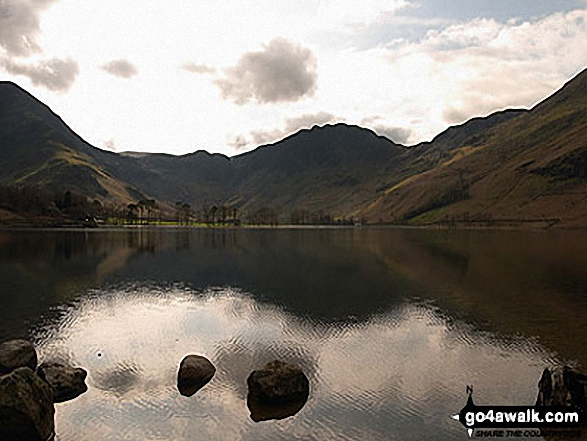
The shoulder of Grasmoor (left), Robinson, Rannerdale Knotts (centre) and the High Stile Ridge (High Crag, High Stile and Red Pike (Buttermere) reflected beautifully in a very still Crummock Water taken from the north west shore below Mellbreak
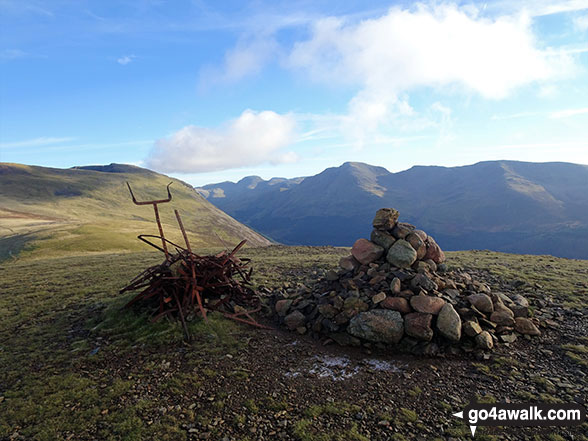
The cairn and tangle of old fence posts that mark the summit of Little Dodd (Ennerdale)
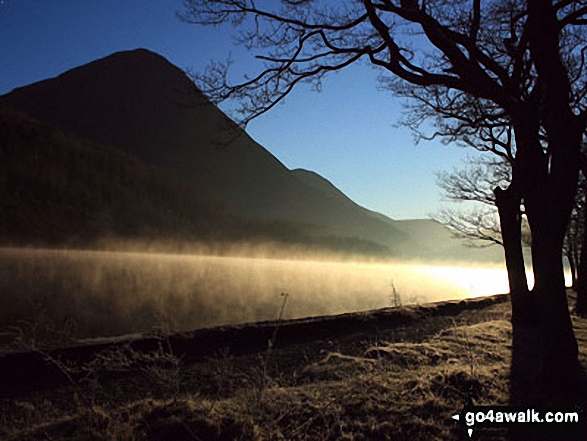
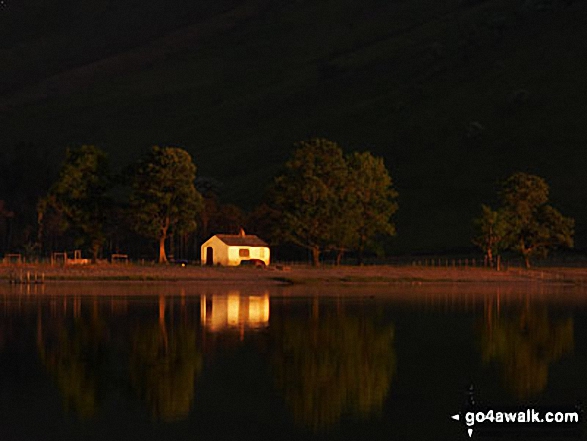
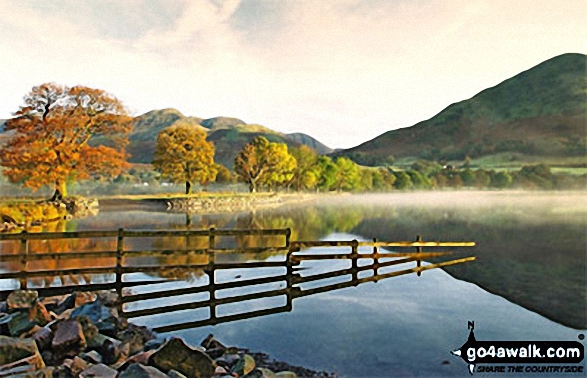
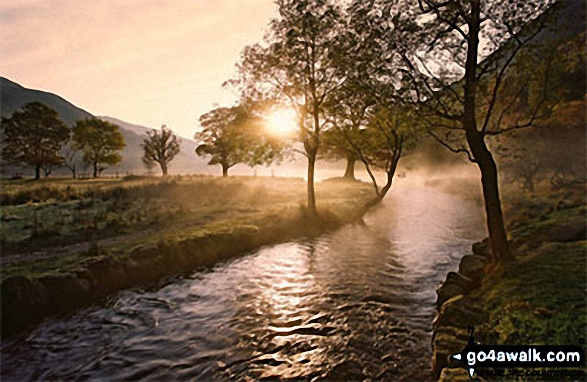
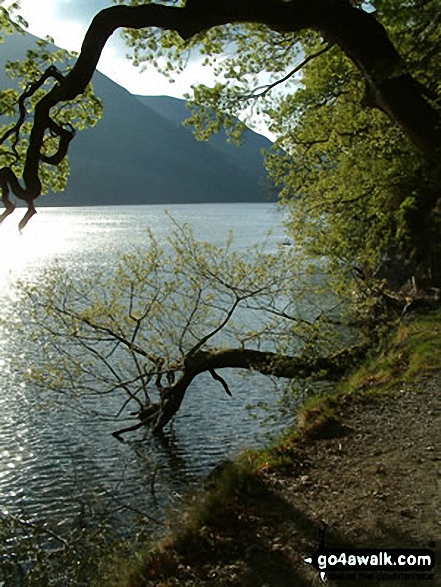
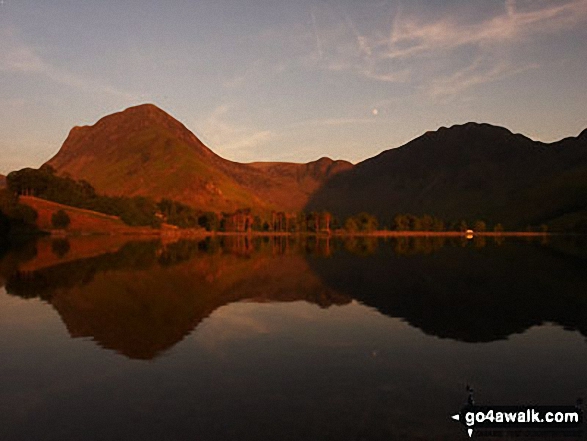
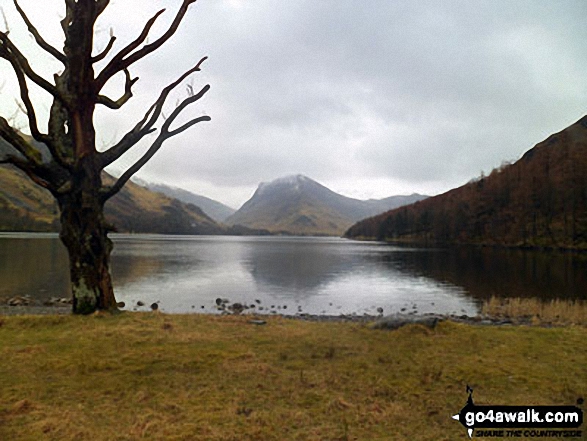
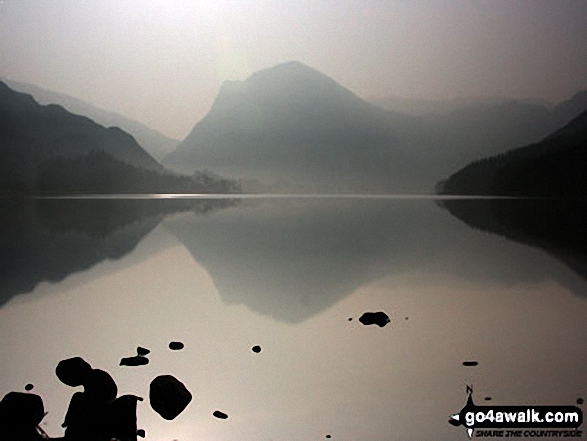
Early morning mist catches the low light on Crummock Water with the towering Grasmoor beyond
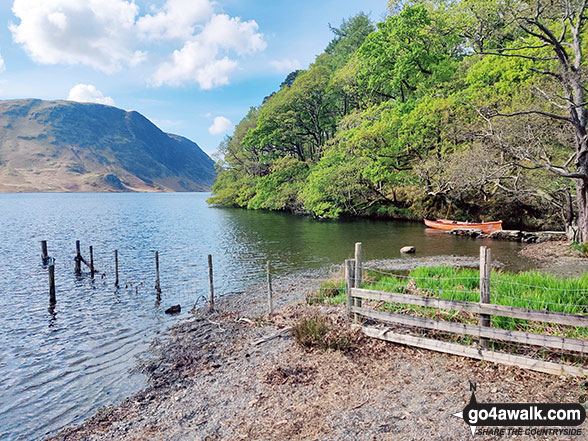
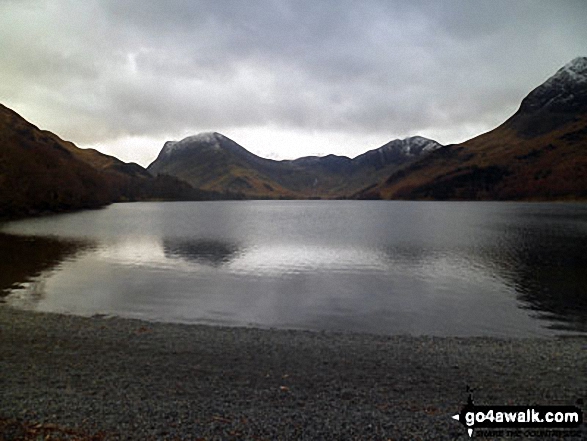
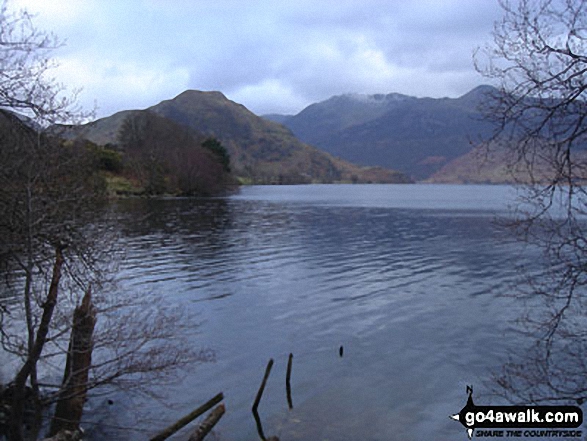
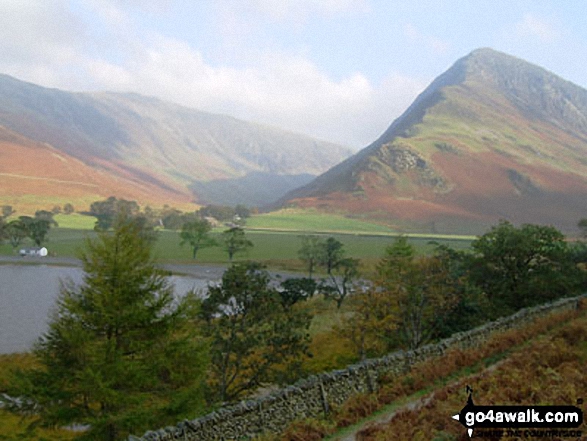
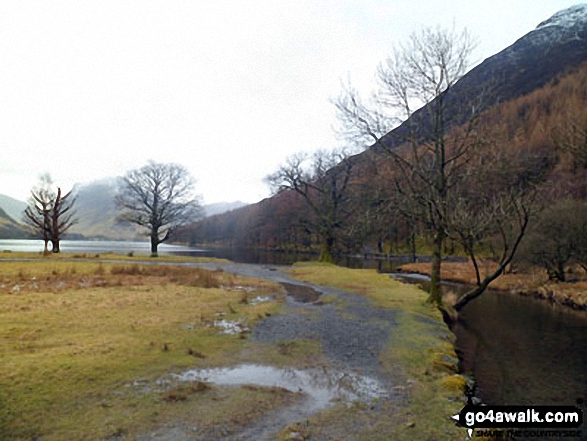
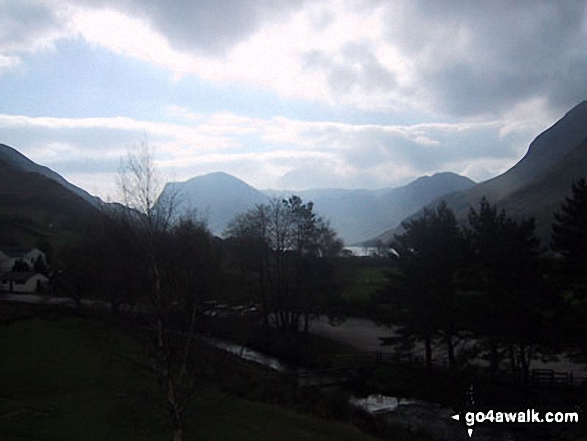
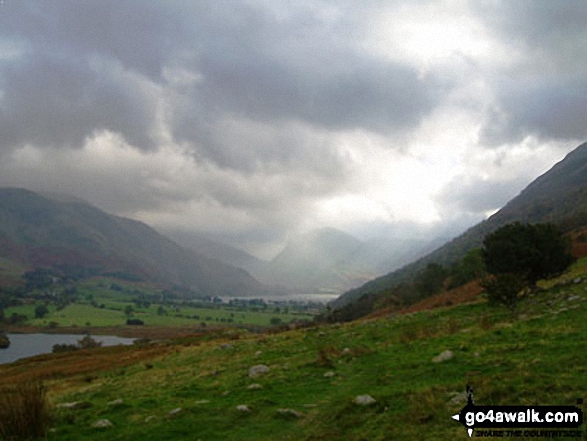
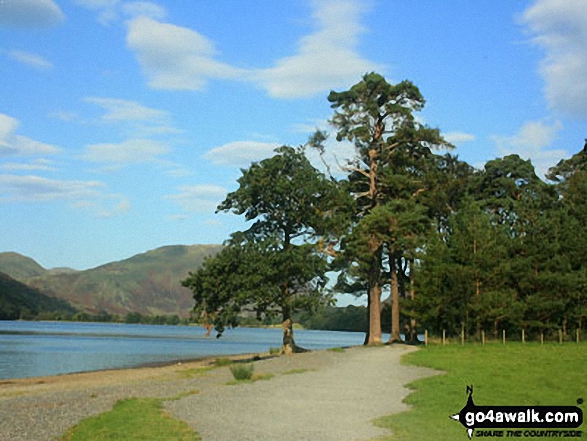
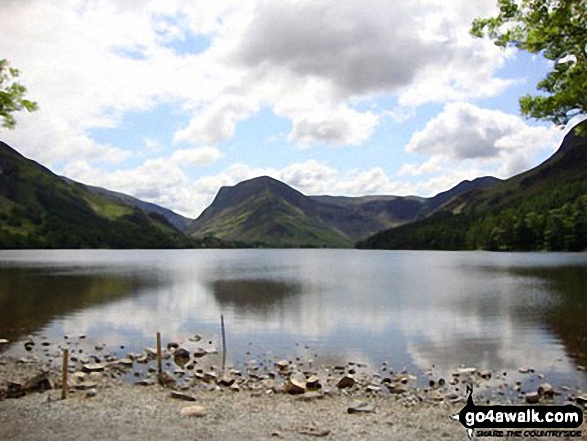
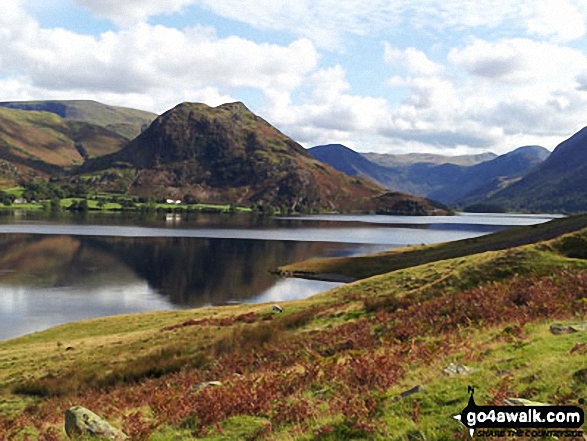
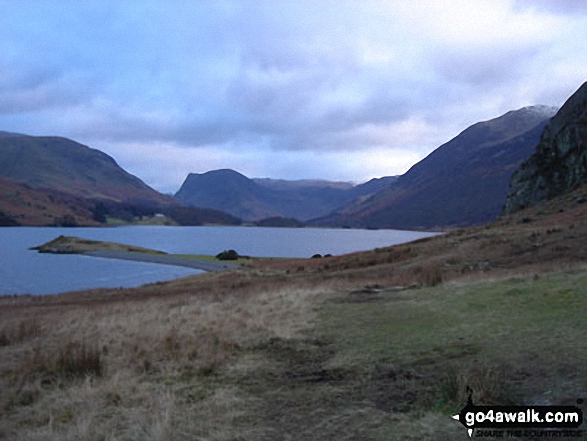
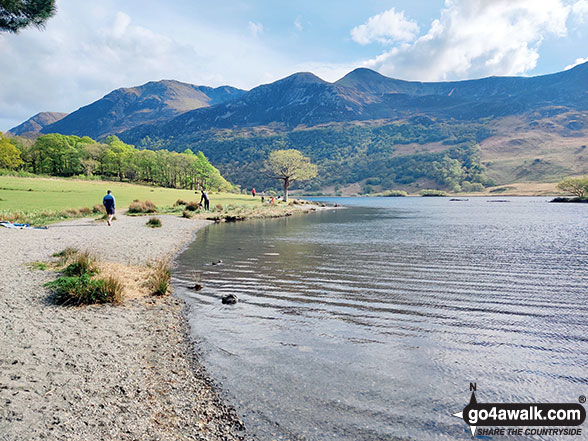
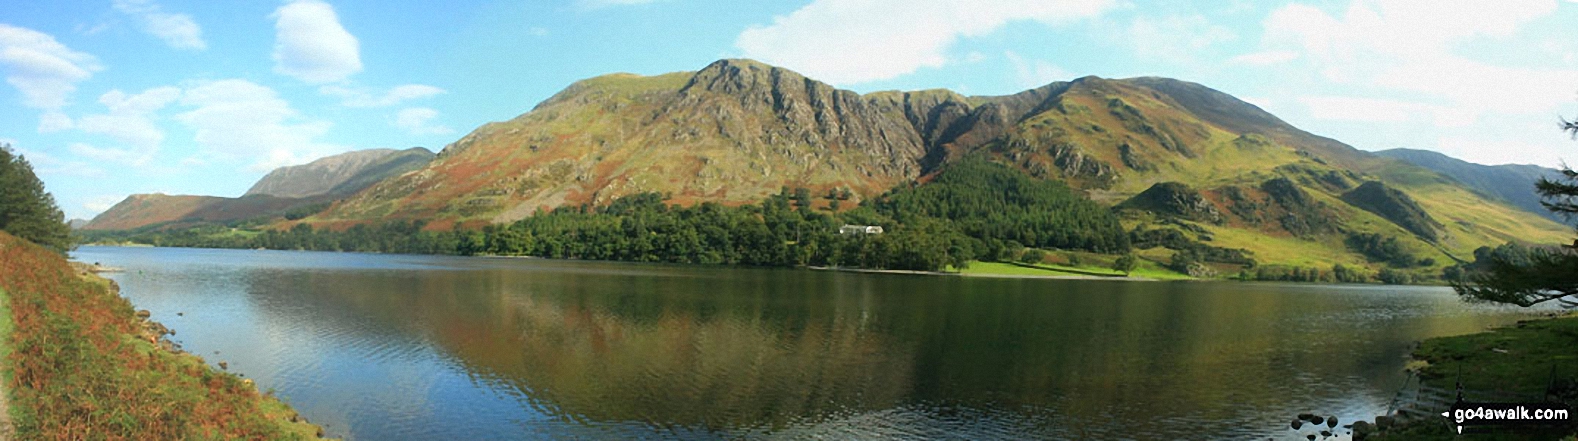
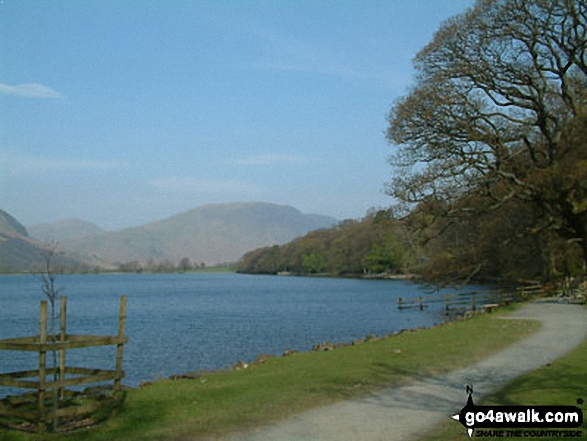
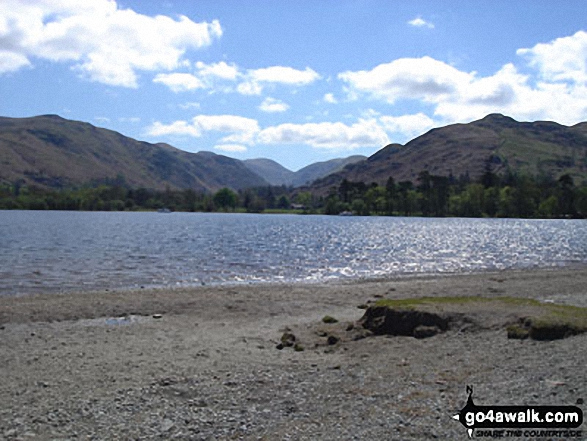
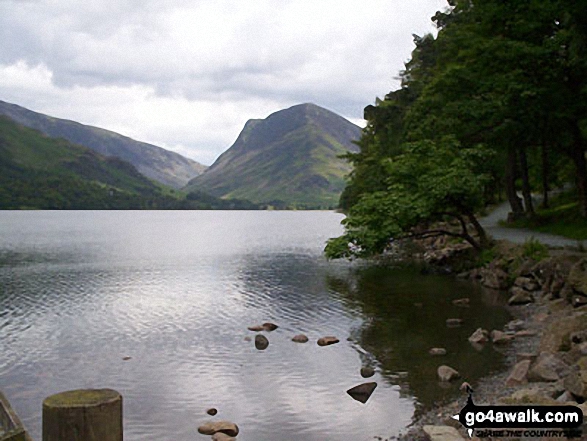
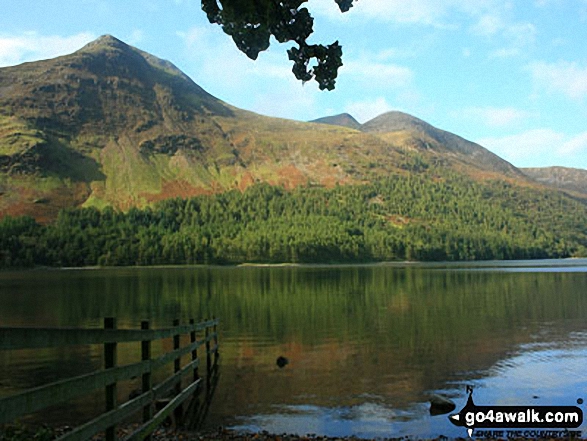
Buttermere Lake - with the lower slopes of High Stile (left), Hen Comb (centre) and Mellbreak (right)
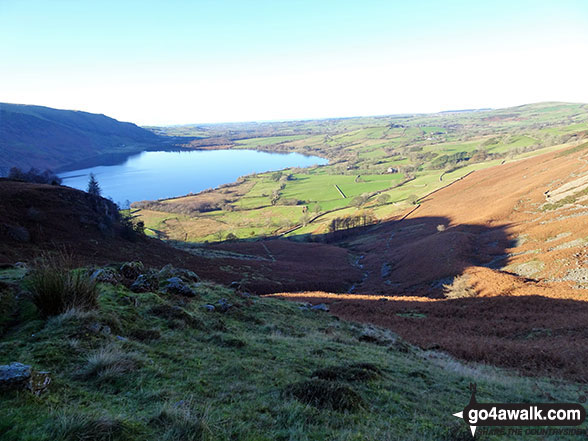
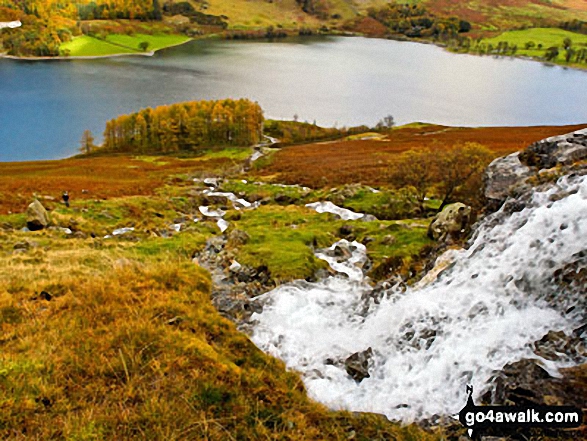
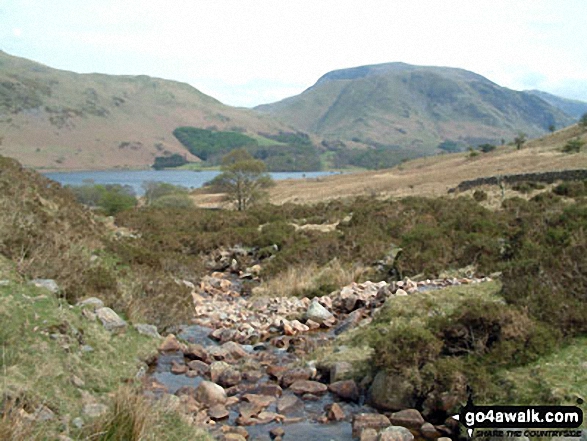
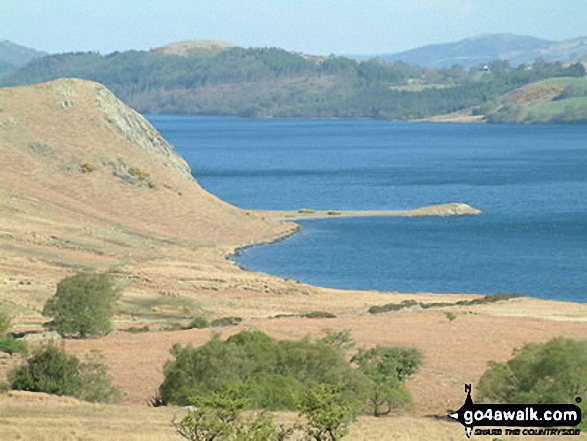
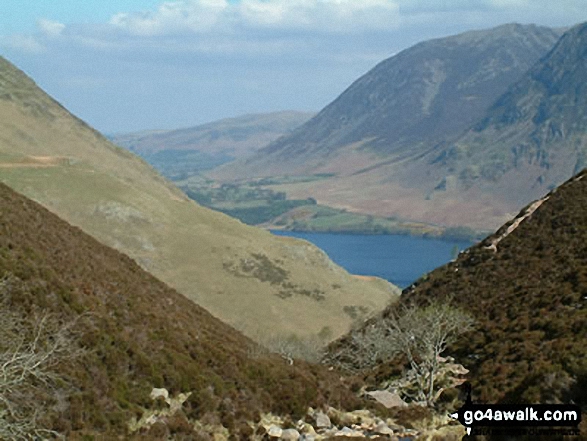
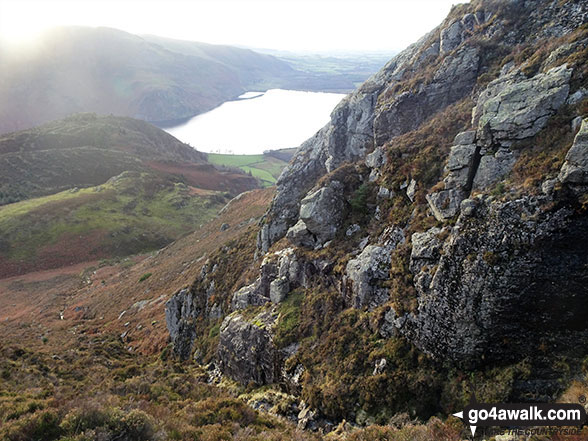
Ennerdale Water from halfway up Rake Beck on the lower SW slopes of Great Borne
Fleetwith Pike (left) and Hay Stacks (right) across Buttermere Lake from Hassness
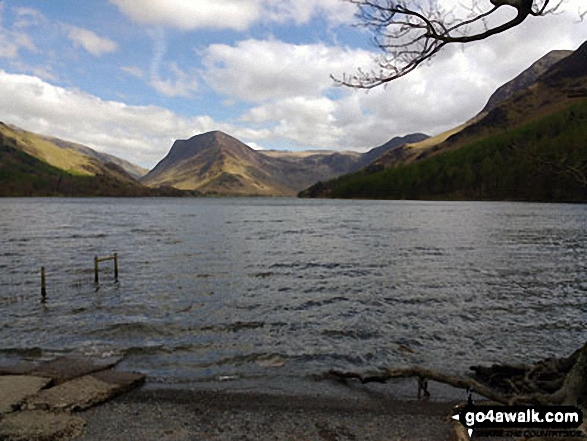
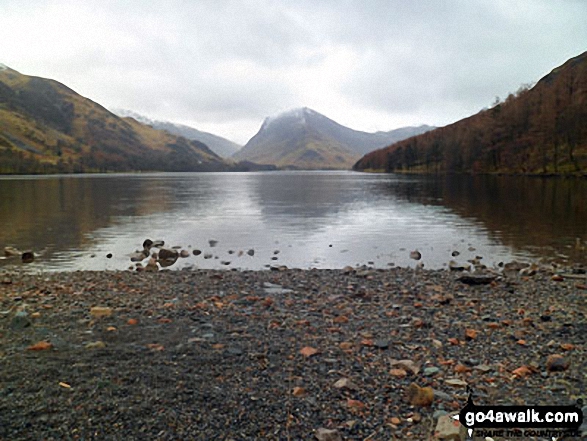
Buttermere, with Fleetwith Pike straight ahead and Hay Stacks (Haystacks) to the right
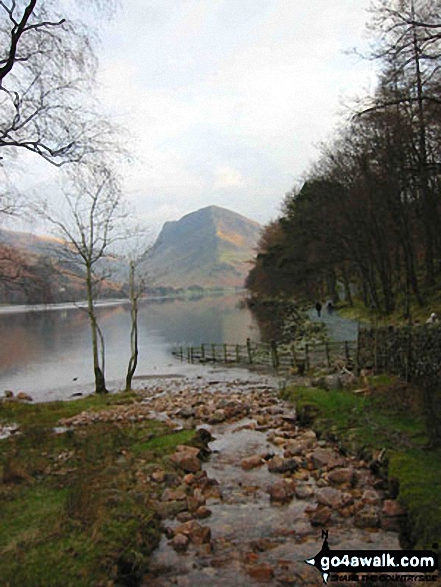
Crummock Water and Low Ling Crag - with Rannerdale Knotts (left), Fleetwith Pike (centre) and The High Stile Ridge (right)

Autumn sunshine on Dale Head (left) and Fleetwith Pike (right) from Burtness Wood
Wandope (left), Whiteless Pike and Rannerdale Knotts (right) from above Hause Point, Crummock Water

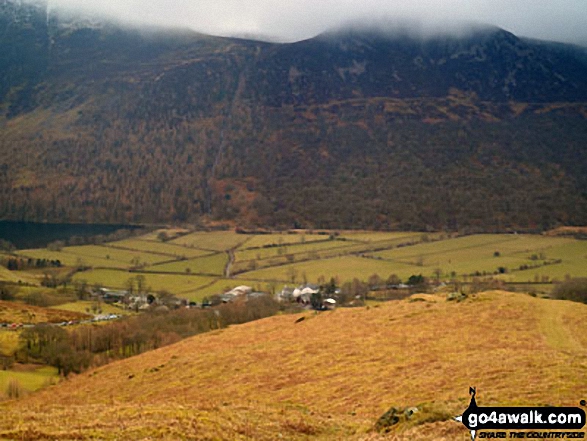
Descending back to Ennerdale and Bowness Knott Car Park on the SW slopes of Great Borne
Crummock Water and Low Ling Crag - with Rannerdale Knotts (left), Fleetwith Pike (centre) and The High Stile Ridge (right)
*Grasmoor (left of centre) and Red Pike (Buttermere) (right of centre) from Great Borne

Buttermere (below), Whitless Pike (left) and High Snockrigg (right) from Ling Comb
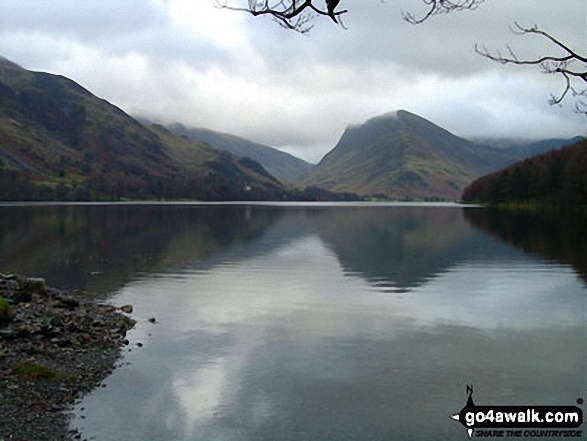
High Stile, Red Pike (Buttermere) and Dodd (Buttermere) from across Buttermere
Send us your photographs and pictures from your walks and hikes
We would love to see your photographs and pictures from walk c411 Starling Dodd via Scale Beck from Buttermere. Send them in to us as email attachments (configured for any computer) along with your name and where the picture was taken to:
and we shall do our best to publish them.
(Guide Resolution = 300dpi. At least = 660 pixels (wide) x 440 pixels (high).)

You can also submit photos from walk c411 Starling Dodd via Scale Beck from Buttermere via our Facebook Page.
NB. Please indicate where each photo was taken.

To contribute to go4awalk.com or to contact us about anything at all - see Talk To Us. For help see Help.
go4awalk.com and go4awalk.co.uk are registered trademarks of TMDH Limited.
Copyright © 2000-2025 TMDH Limited. All rights reserved.
Copyright Terms & Conditions Privacy Statement
A - Z Walks Home Log On/Accounts Photo Gallery Walk Ideas and Collections Fell Facts Hill Skills Walking Questions and Answers Your Stories News Competitions Product Reviews/Gear Tests Walking Gear Guides Peaks and Mountains Peak Bagging Find New Walking Friends Camping GPS Waypoints for Walking Contents Walk Search Talk To Us go4awalk.com Help Free Example Walks Newsletter