   |
Vital Statistics:
| Length: | 6mls (9.5km) |
| Ascent: | 1,887ft (575m) |
| Time: | 4hrs |
| Grade: |  |
Route outline for walk d123:
Castleton - The Limestone Way - Peveril Castle - Cave Dale - Old Moor - Rowter Farm - Windy Knoll - Mam Tor - Hollins Cross - Backtor Nook - Castleton
Points of Interest/Notes on this walk:
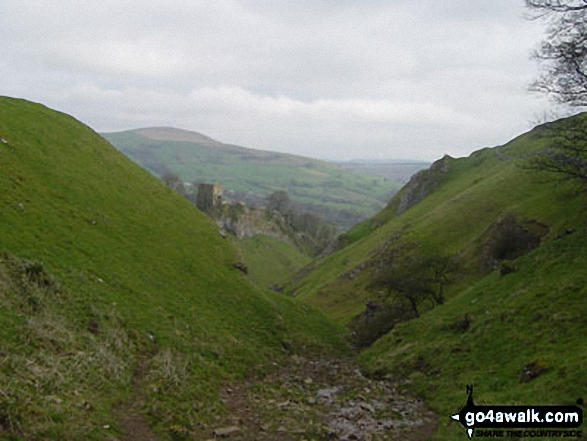
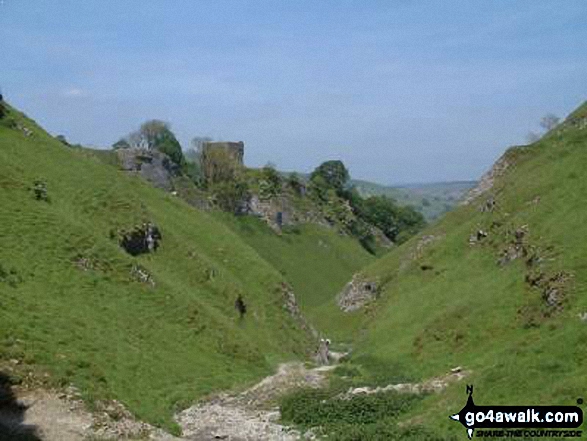
The imposing ruins of Peveril Castle stand high above the pretty village of Castleton in the heart of Derbyshire's Peak District. Mentioned in the Domesday survey, Peveril Castle is one of England's earliest Norman fortresses. The keep was built by Henry II in 1176.
The odd shaped lumps of rock strewn across so many of the South West's tors are collectively known as 'clitter'.
Peaks, Summits and Tops reached on this walk:
 0 English Mountains |
 0 Wainwrights |
 0 English Nuttalls |
 1 English Dewey |
 0 Wainwright Outlying Fells |
 0 Marilyns |
 0 Bridgets |
Peak Bagging Statistics for this walk:
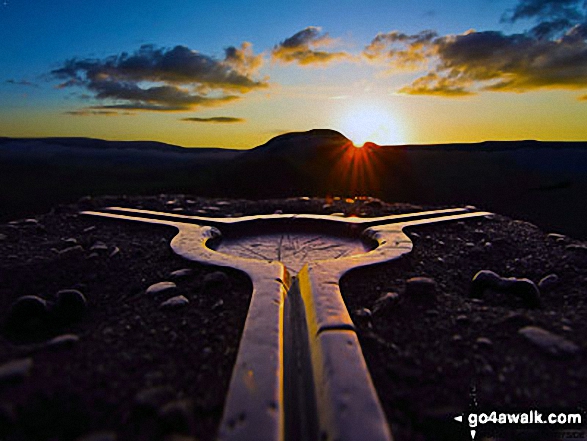
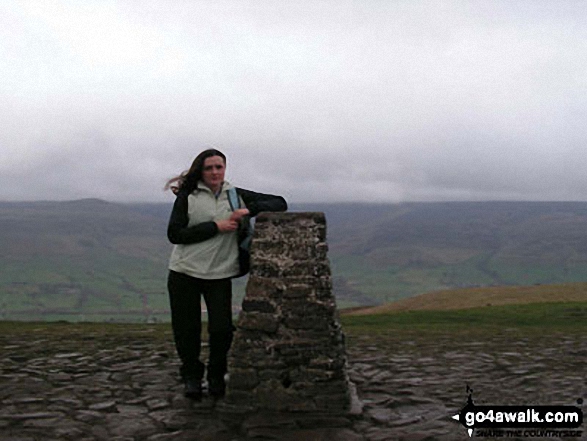
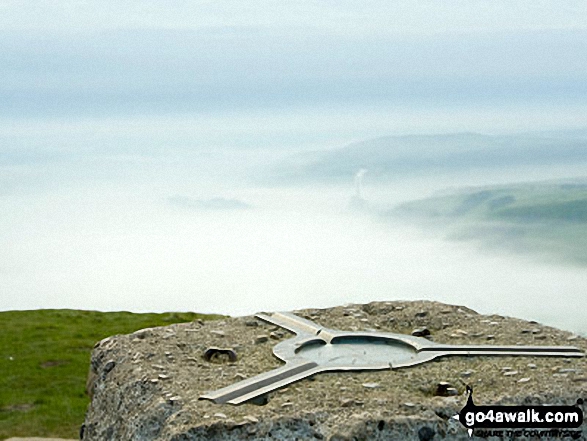
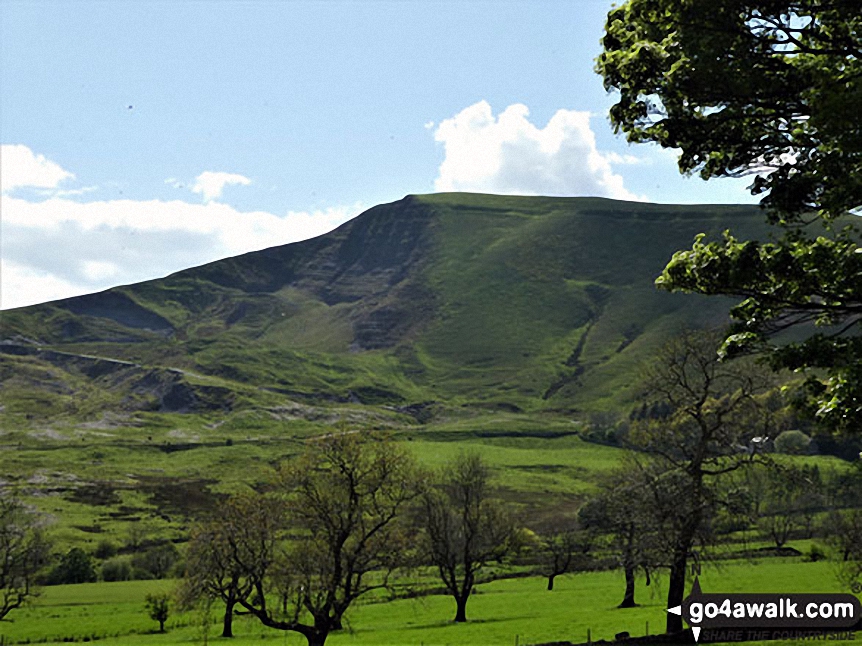
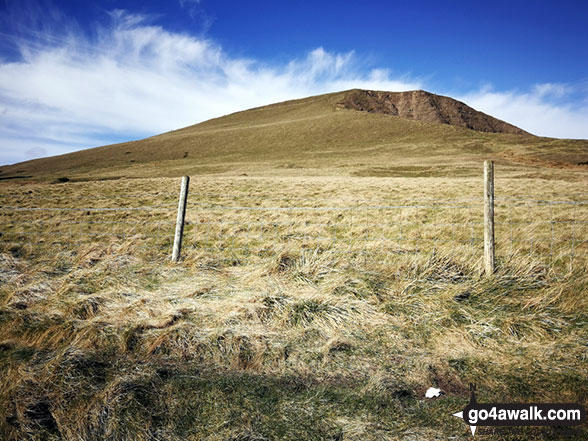
The highest point of this walk is Mam Tor at 517m (1696ft). Mam Tor is also known as an English Dewey (145th highest in England, 334th in England & Wales) The summit of Mam Tor is marked by an Ordnance Survey Trig Point.
National Trails & Long Paths included on this walk:
Part of this walk follows a section of The Limestone Way, an 80km (50 miles) linear footpath connecting Castleton in Derbyshire, England with Rocester in Staffordshire, England. The Limestone Way is waymarked by a Derby ram. For more walks that include a section of this trail see The Limestone Way.
You can find more walks near this one on these unique free-to-access Interactive Walk Planning Maps: (click/TAP to select)
1:25,000 scale OS Explorer Map (the ones with orange/yellow covers):
1:50,000 scale OS Landranger Map (the ones with pink/magenta covers):
Some Photos and Pictures from Walk d123 Mam Tor via Cavedale from Castleton
In no particular order . . .
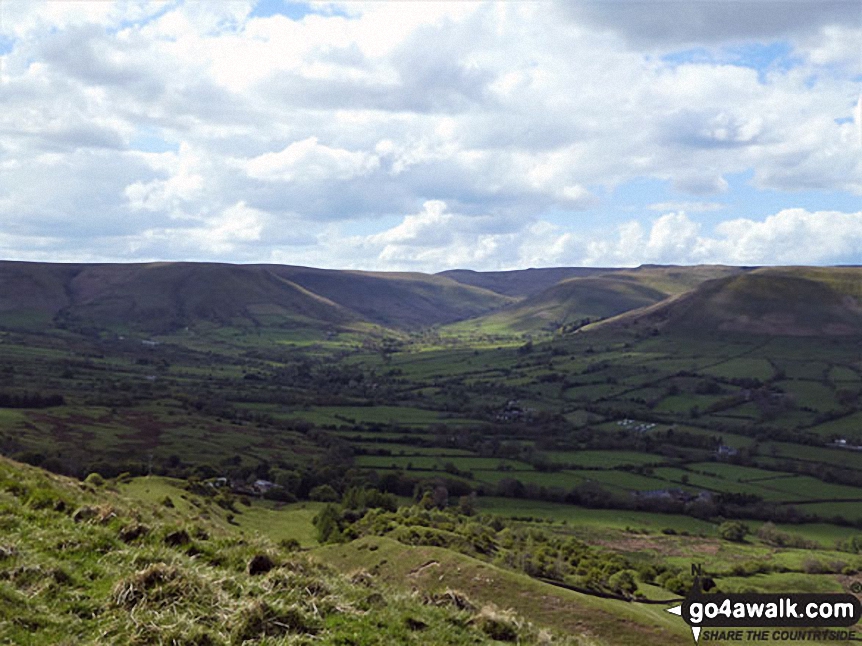
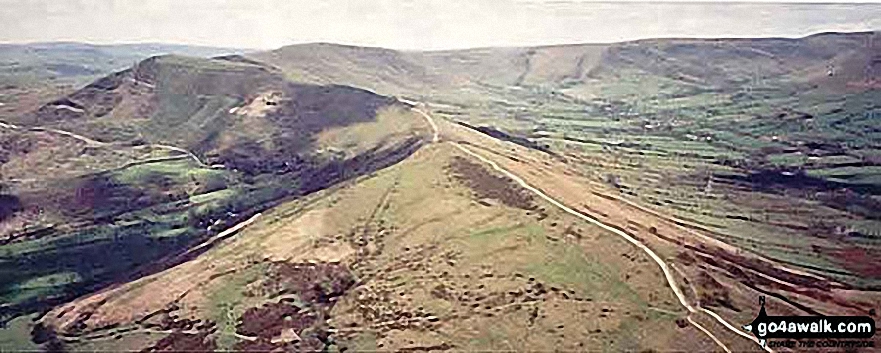
Lord's Seat (Rushup Edge) (left), Brown Knoll, Kinder Scout and The Vale of Edale from the summit of Mam Tor
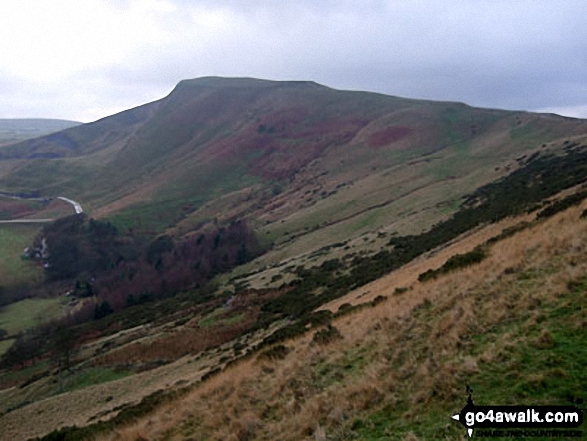
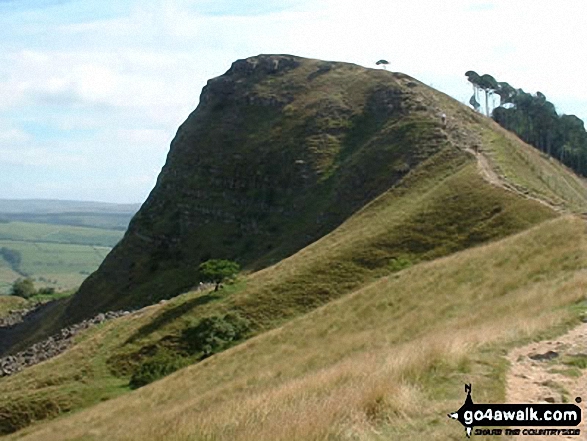
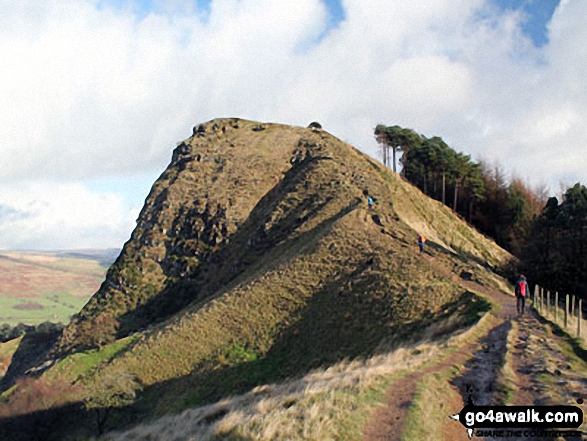
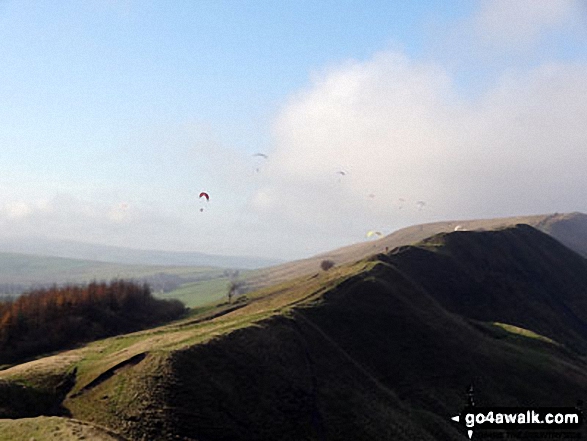
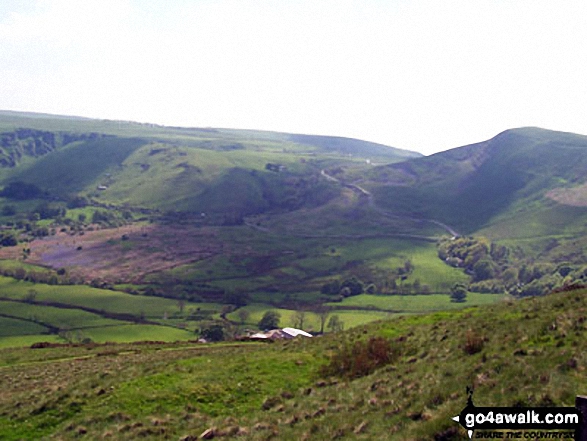
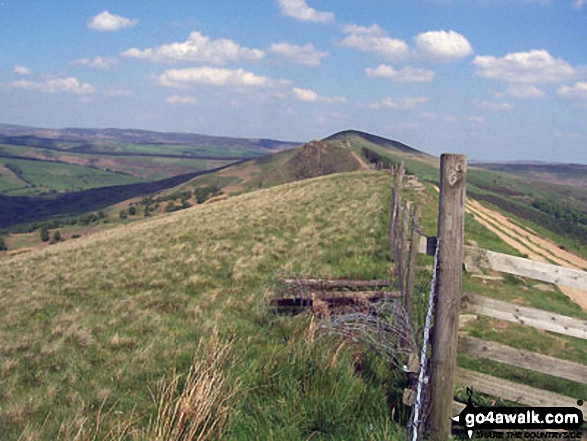
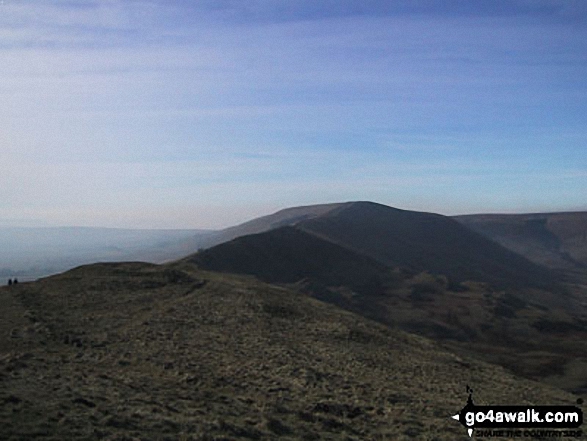
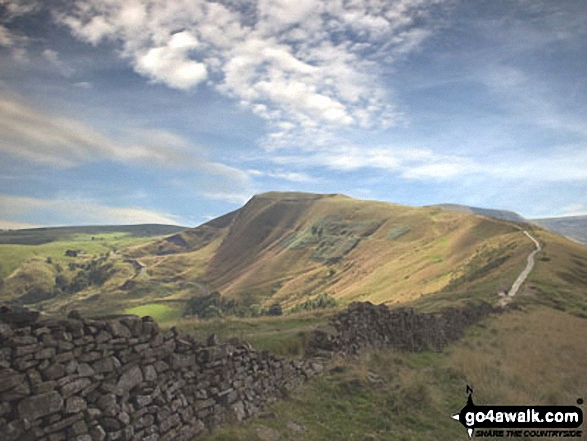
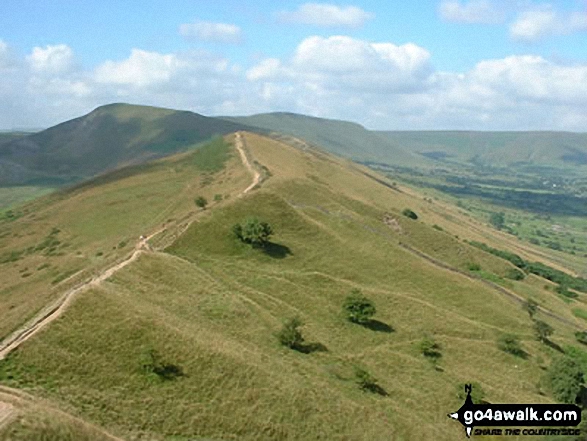
Looking east across Barker Bank to Backtor Nook and Back Tor (Hollins Cross) from Hollins Cross
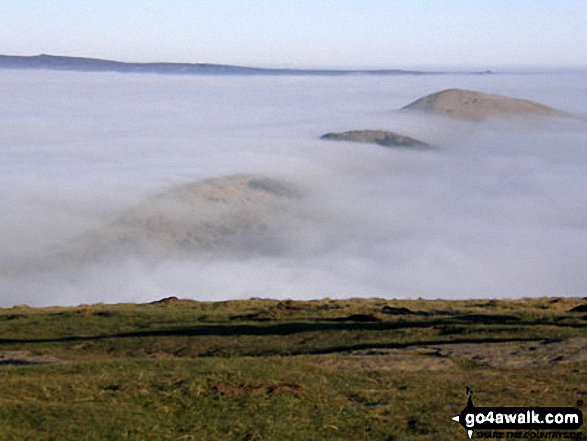
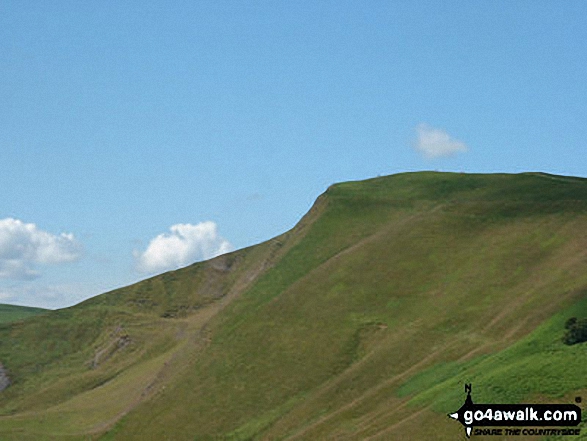
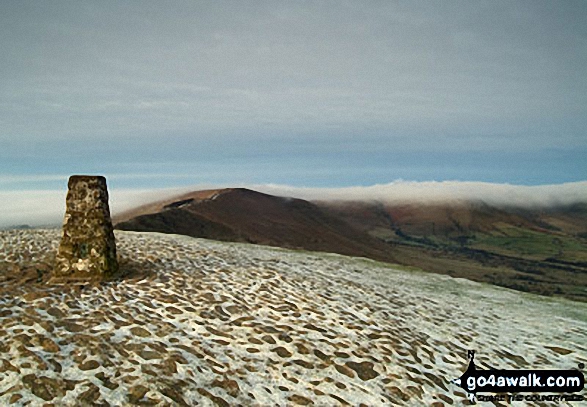
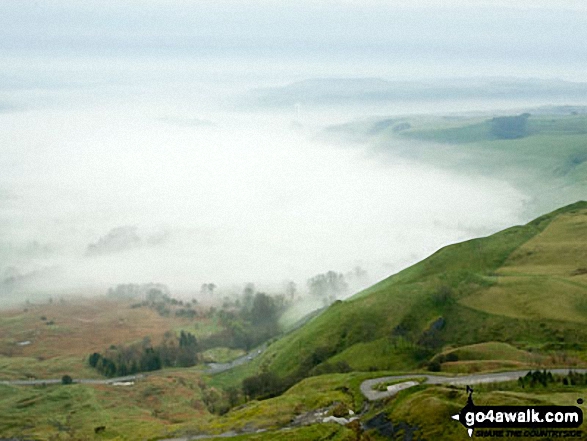
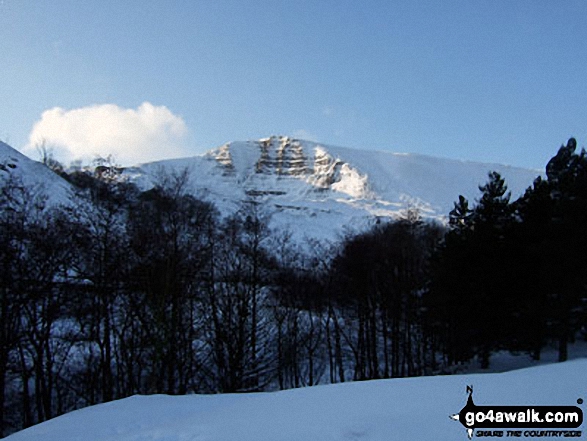
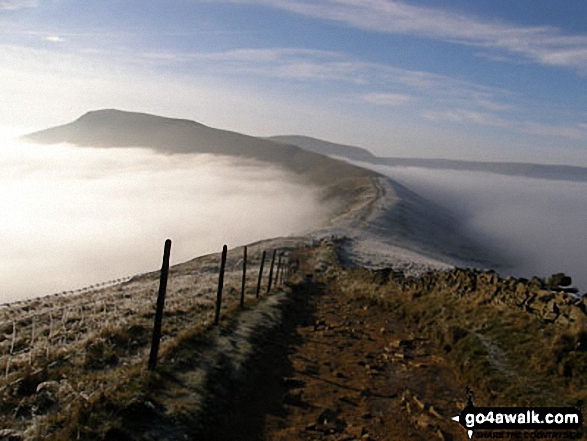
Hollins Cross, Back Tor (Hollins Cross) and Lose Hill (Ward's Piece) from Mam Tor during a temperature inversion
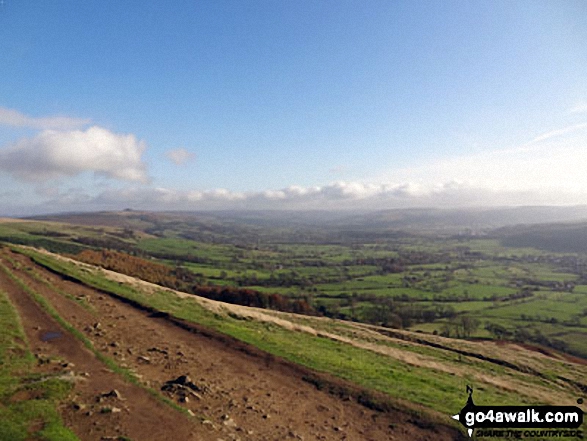
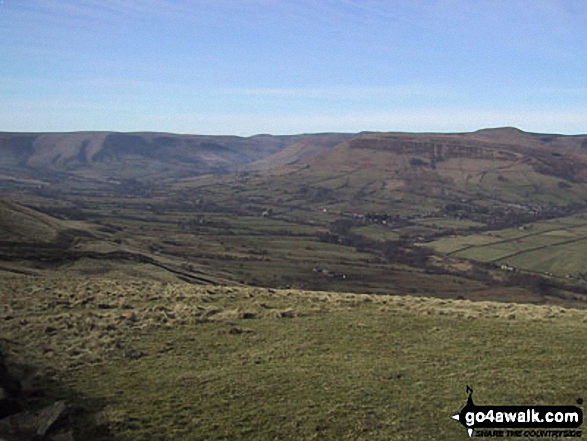
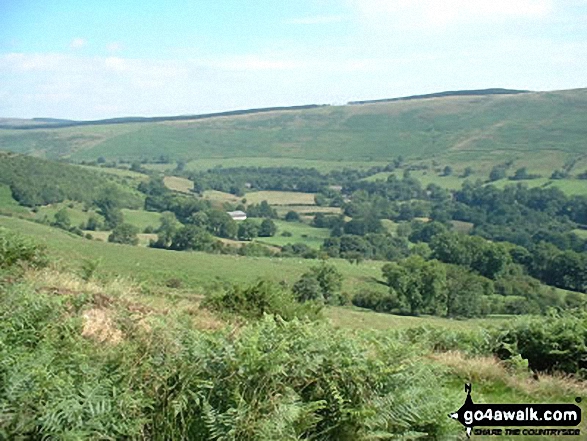
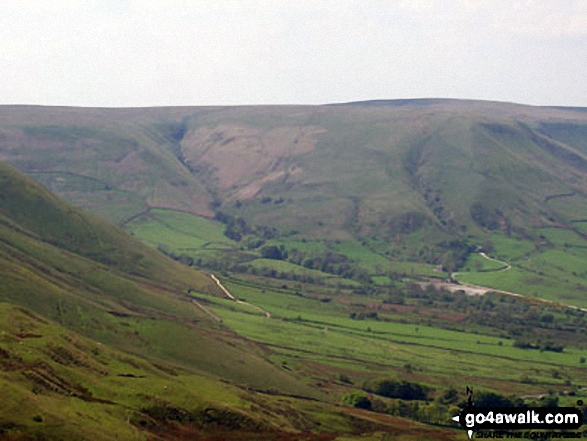
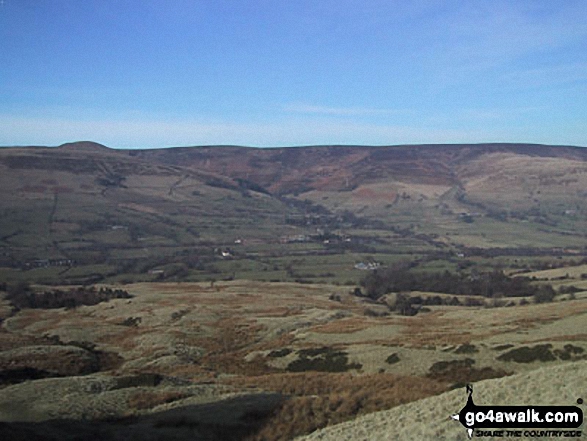
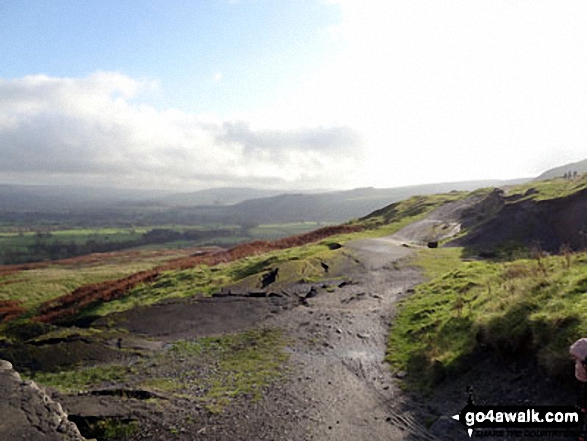
Castleton, Hope and The Hope Valley from the ridge between Mam Tor and Hollins Cross
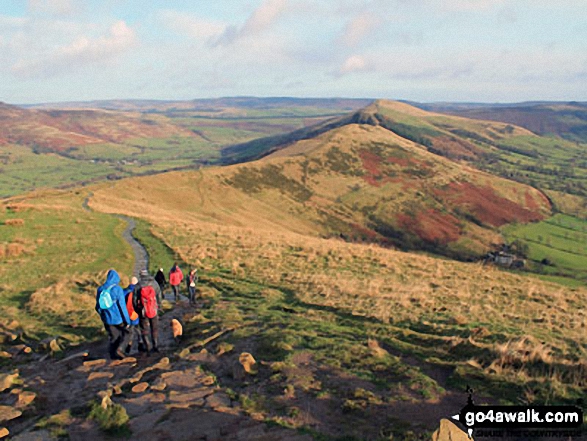
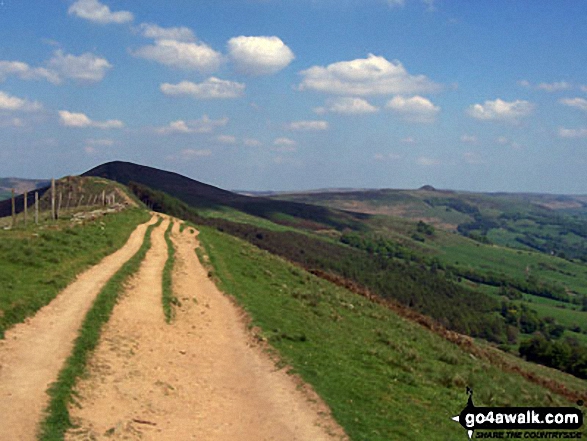
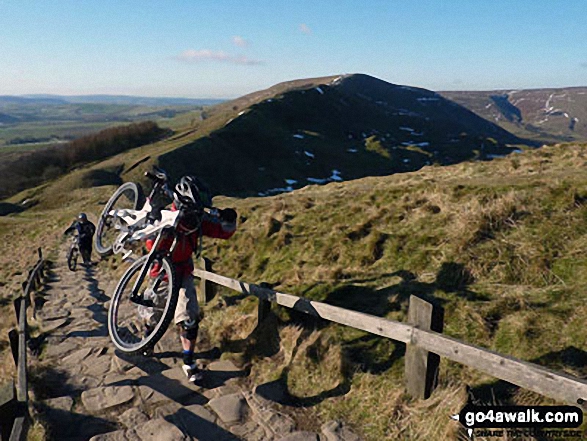
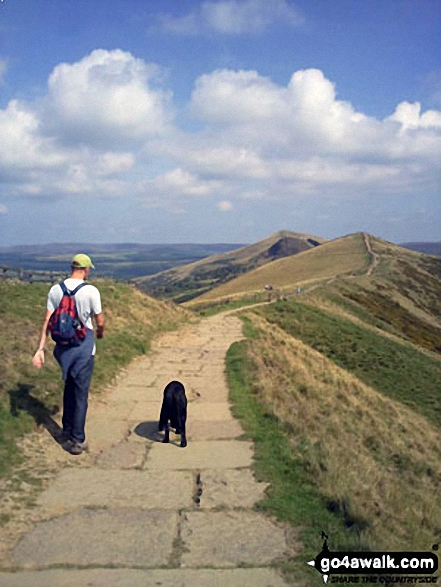
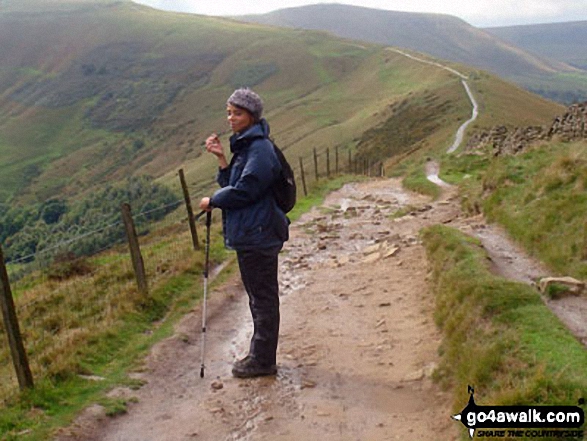
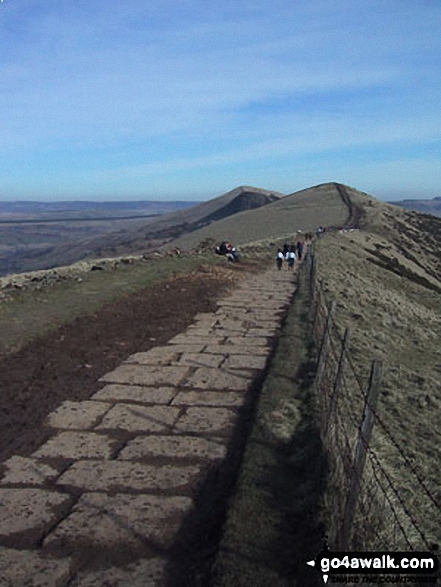
Heading towards Hollins Cross, Back Tor (Hollins Cross) and Lose Hill (Ward's Piece)
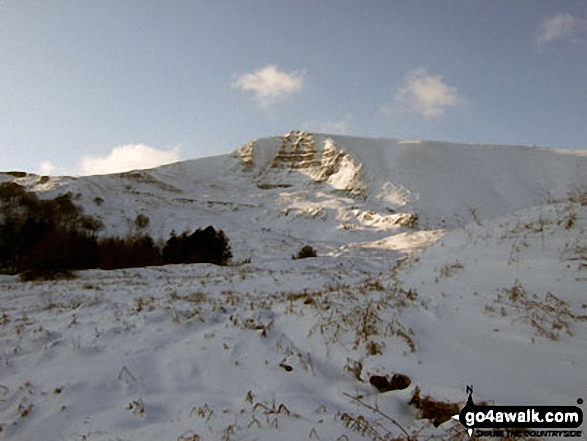

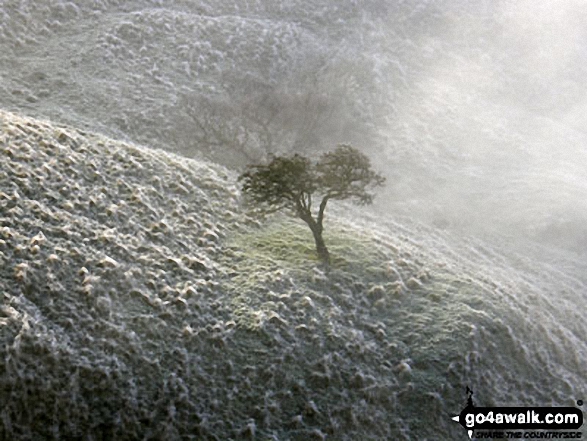
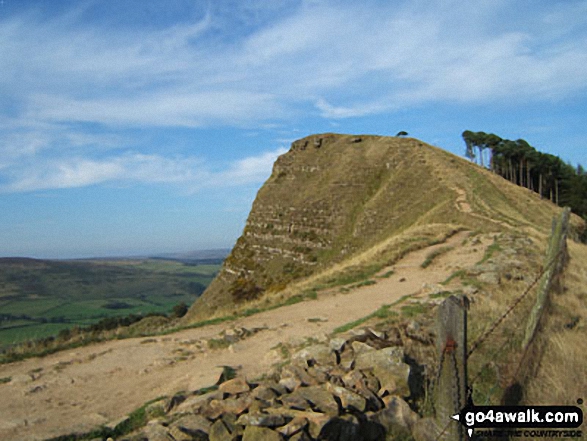
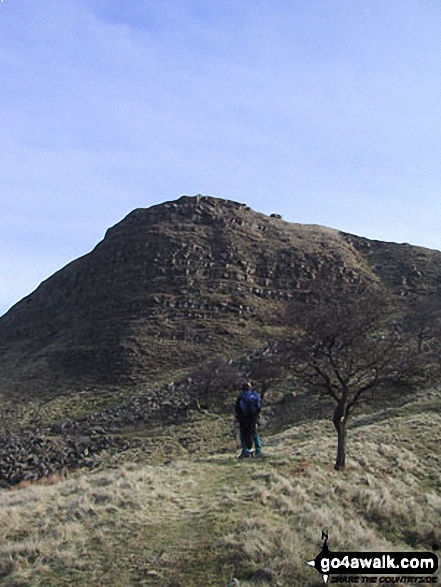
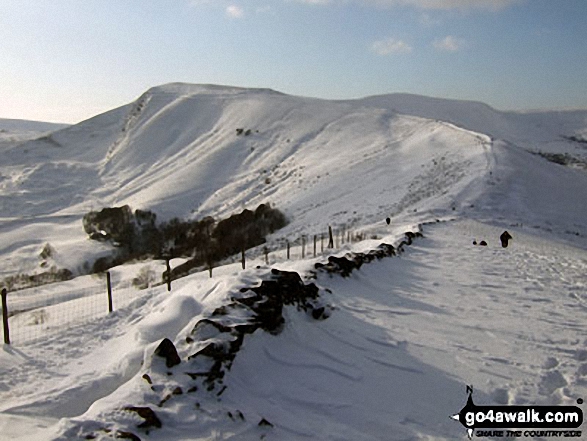
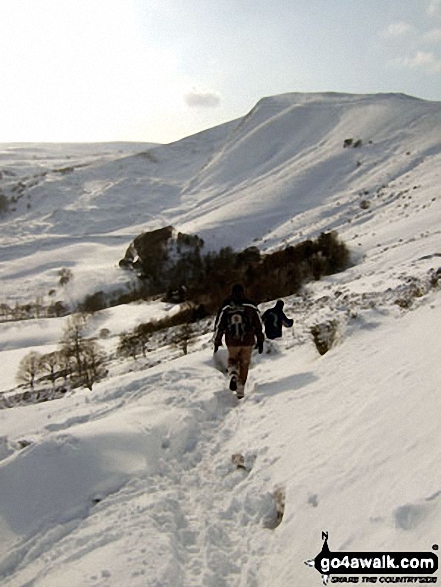
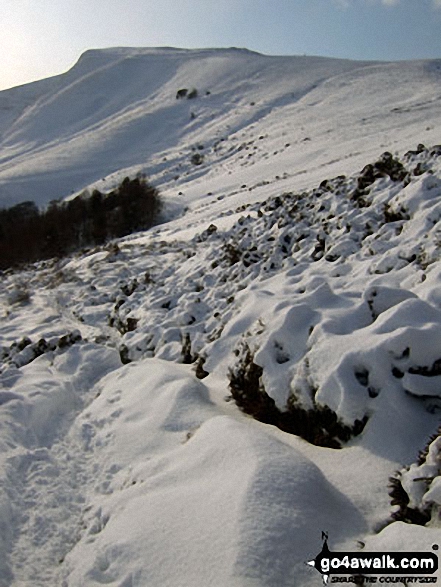
Frozen tree on the slopes of Back Tor (Hollins Cross) viewed from Hollins Cross


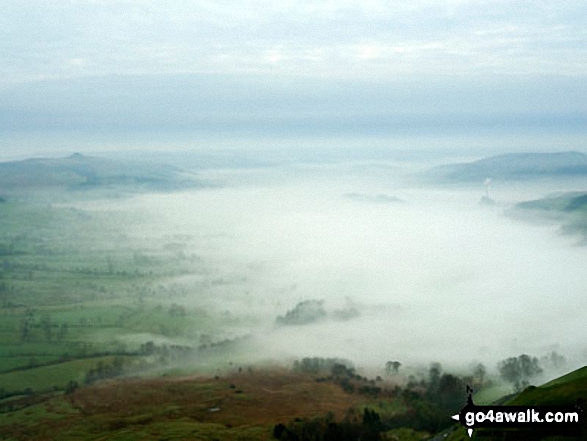

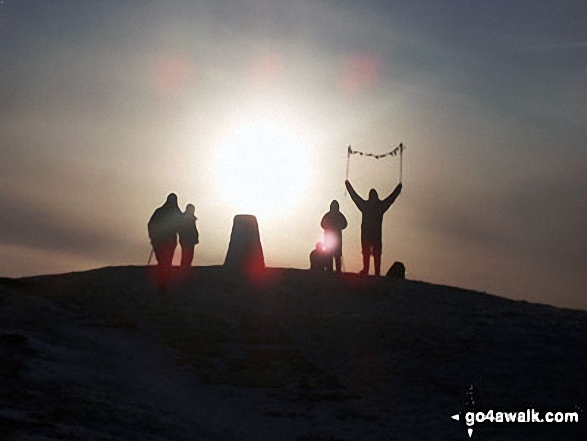

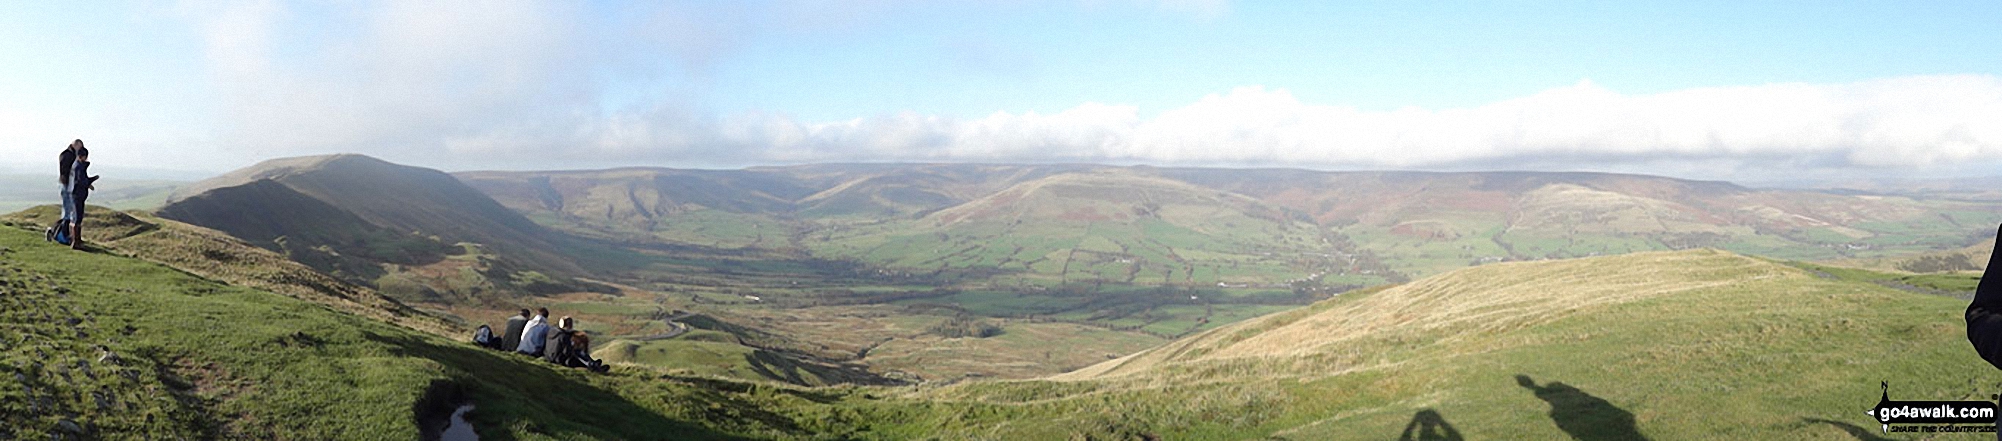
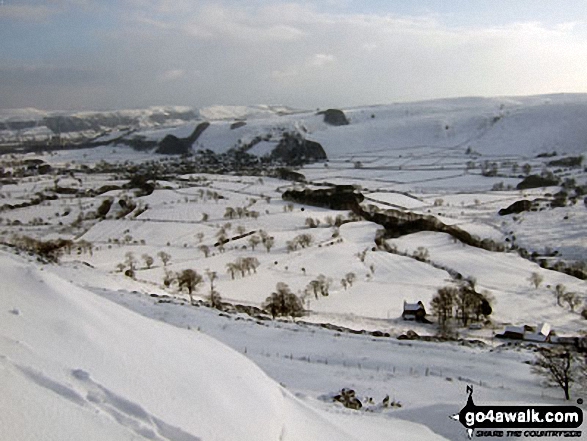
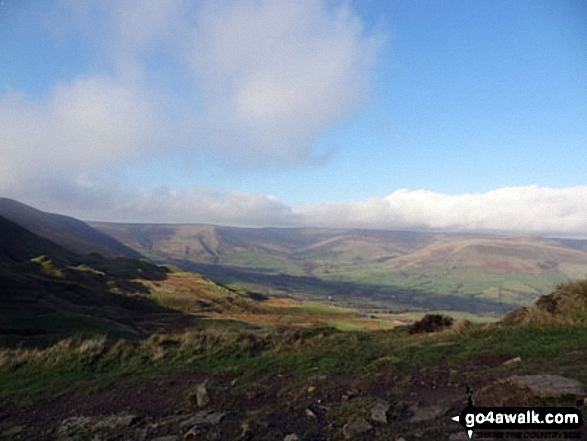
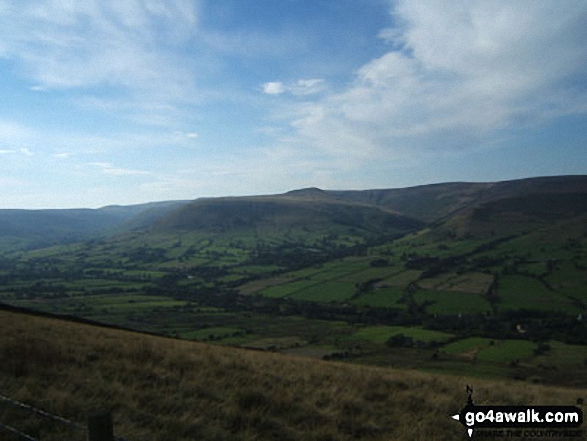
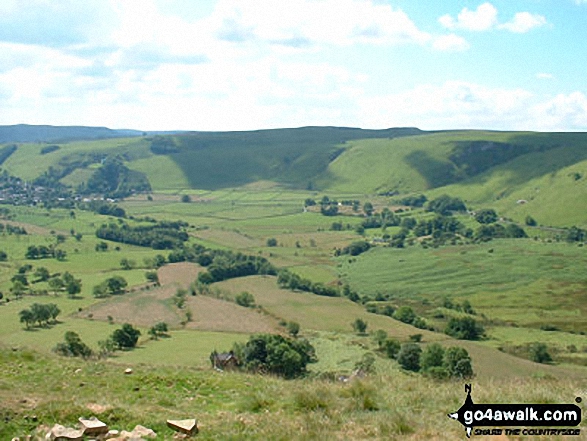
The Great Ridge - Lord's Seat (Rushup Edge), Rushup Edge, Kinder Scout, The Vale of Edale, Edale, Hollins Cross, Back Tor (Hollins Cross), Lose Hill (Ward's Piece), Hope and Castleton under the mist from Mam Tor
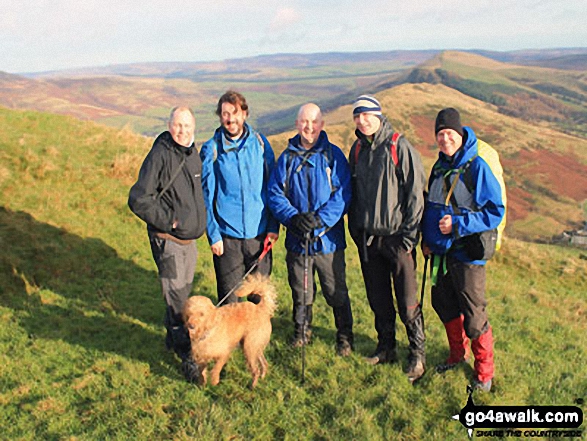
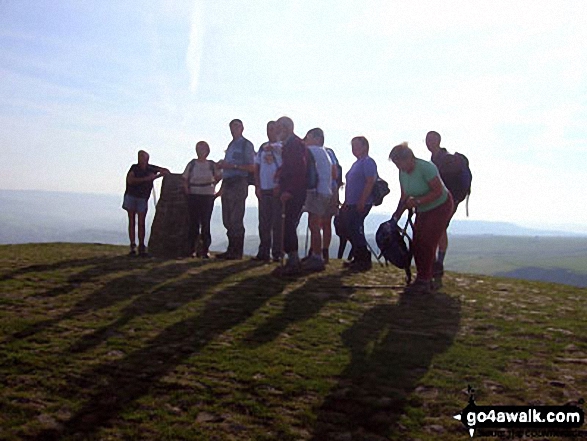
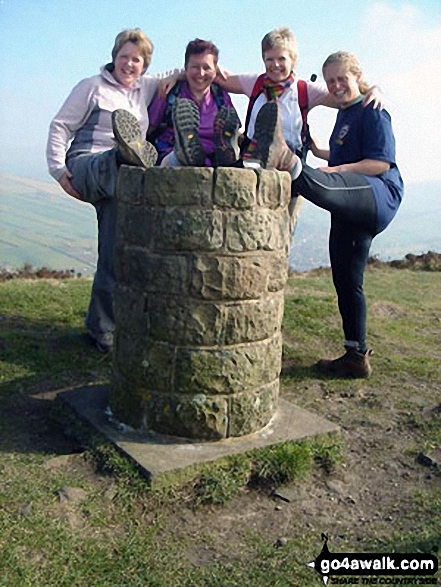
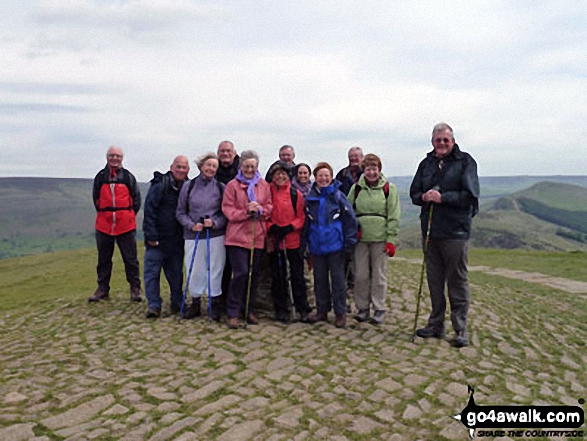
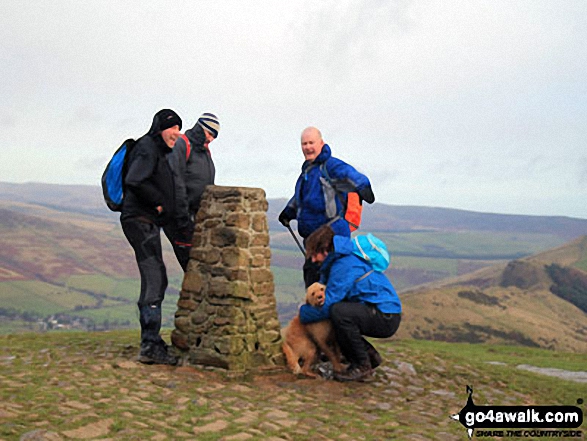
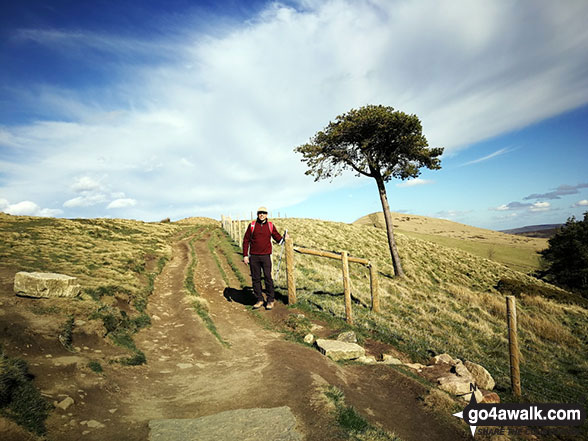
Mozzer, Rob, Jimbles, Big Truck and me on the Hollins Cross ridge below summit of Mam Tor
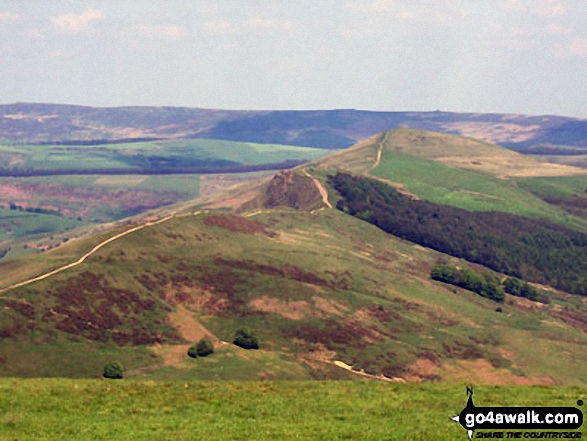
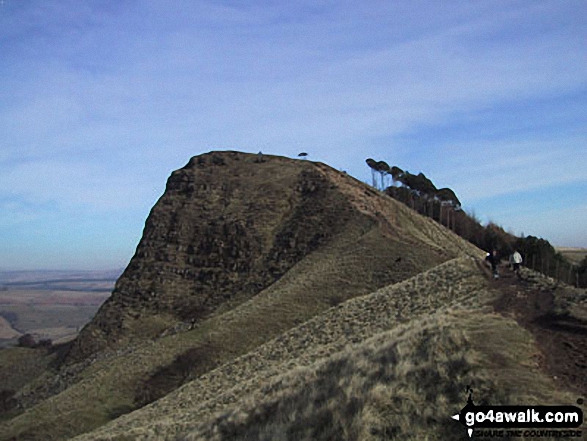
On the path between Back Tor (Hollins Cross) and Hollins Cross itself with Mam Tor (left) and Lord's Seat (Rushup Edge) in the background
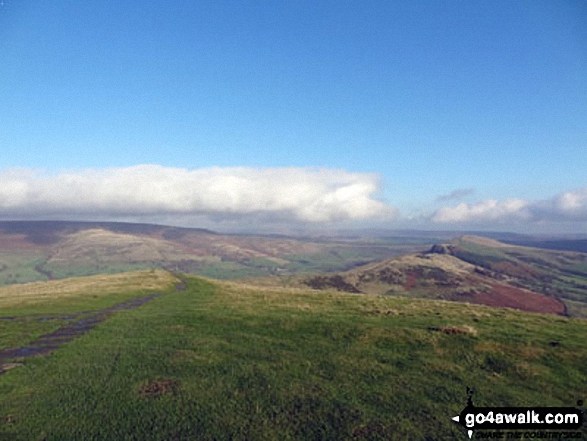
Alport Moor (left) and Hollins Cross, Back Tor (Hollins Cross) and Lose Hill (Ward's Piece) (right) from the summit of Mam Tor
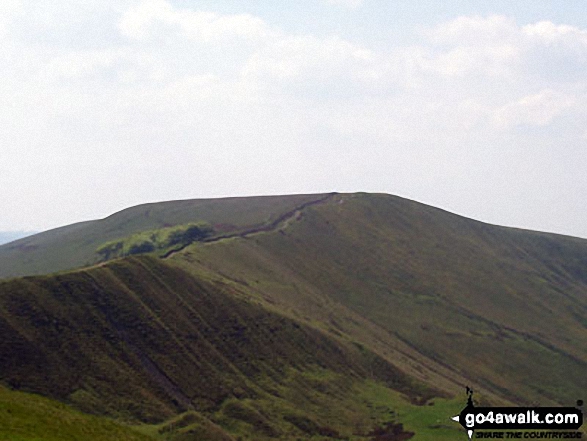
Hollins Cross, Back Tor (Hollins Cross) and Lose Hill (Ward's Piece) from Mam Tor
Hollins Cross, Barker Bank, Backtor Nook, Back Tor (Hollins Cross) and Lose Hill (Ward's Piece) from Mam Tor

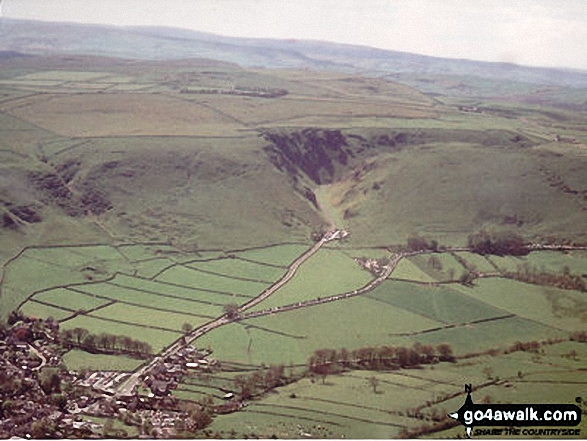
Aerial Shot of Castleton with Winnats Pass and Lord's Seat (Mam Tor) and Mam Tor

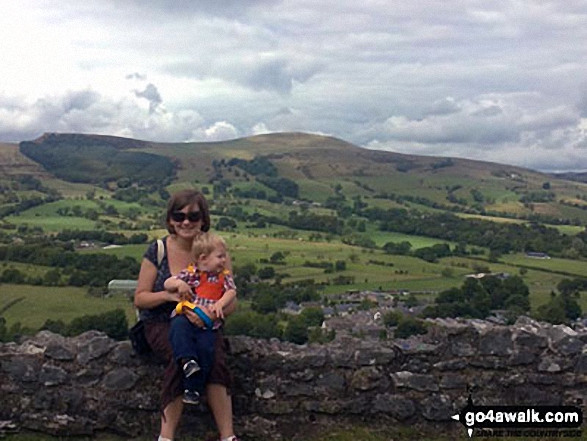
Me and my son in Castleton with Back Tor (Hollins Cross) (left) and Lose Hill (Ward's Piece) (right) in the background
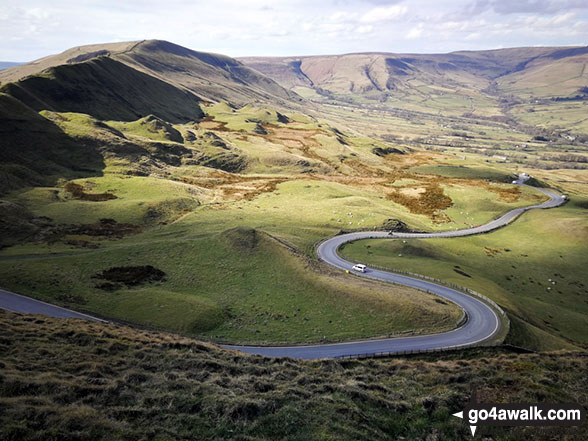
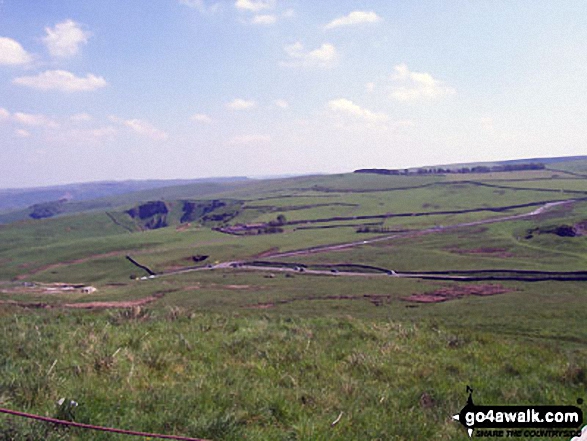
The road winding its way down to Edale from Mam Tor with Lord's Seat (Rushup Edge) (left) and Kinder Scout in the distance

Send us your photographs and pictures from your walks and hikes
We would love to see your photographs and pictures from walk d123 Mam Tor via Cavedale from Castleton. Send them in to us as email attachments (configured for any computer) along with your name and where the picture was taken to:
and we shall do our best to publish them.
(Guide Resolution = 300dpi. At least = 660 pixels (wide) x 440 pixels (high).)

You can also submit photos from walk d123 Mam Tor via Cavedale from Castleton via our Facebook Page.
NB. Please indicate where each photo was taken.

To contribute to go4awalk.com or to contact us about anything at all - see Talk To Us. For help see Help.
go4awalk.com and go4awalk.co.uk are registered trademarks of TMDH Limited.
Copyright © 2000-2025 TMDH Limited. All rights reserved.
Copyright Terms & Conditions Privacy Statement
A - Z Walks Home Log On/Accounts Photo Gallery Walk Ideas and Collections Fell Facts Hill Skills Walking Questions and Answers Your Stories News Competitions Product Reviews/Gear Tests Walking Gear Guides Peaks and Mountains Peak Bagging Find New Walking Friends Camping GPS Waypoints for Walking Contents Walk Search Talk To Us go4awalk.com Help Free Example Walks Newsletter